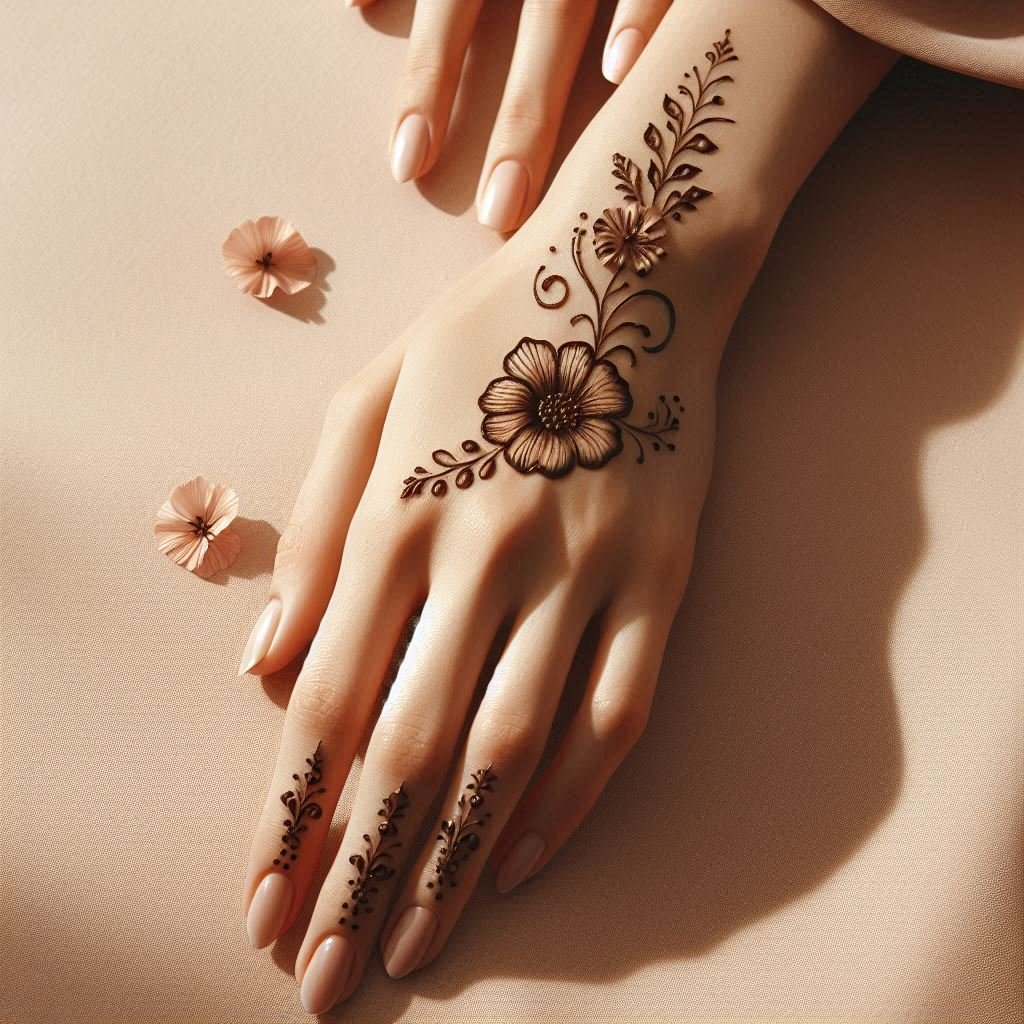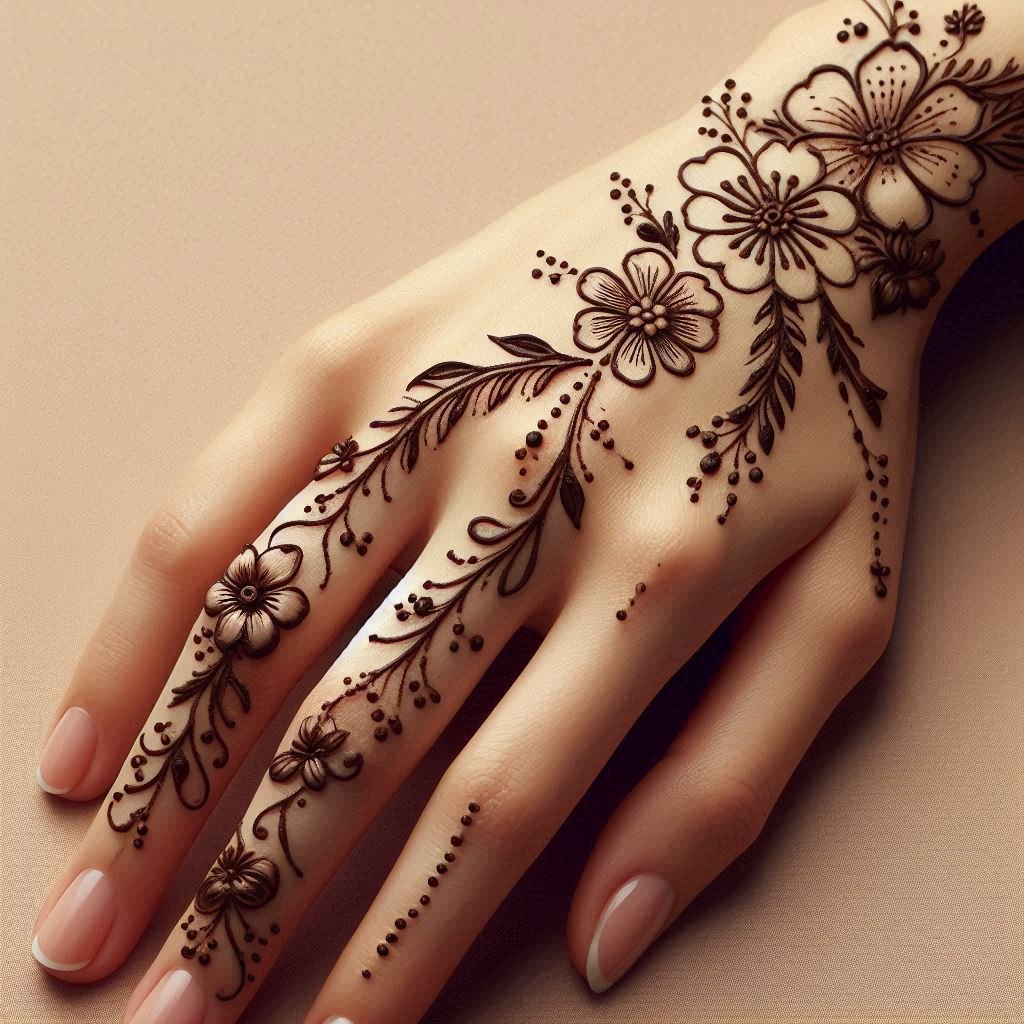
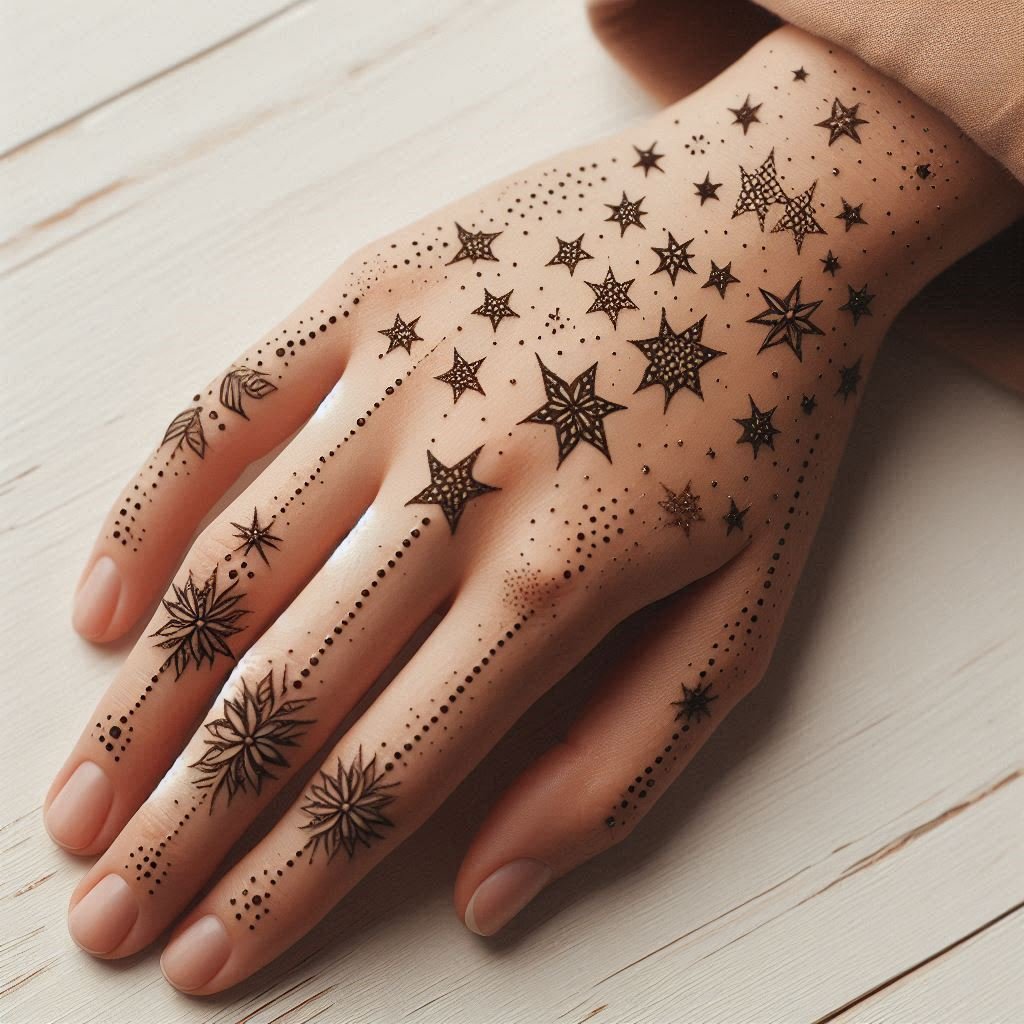
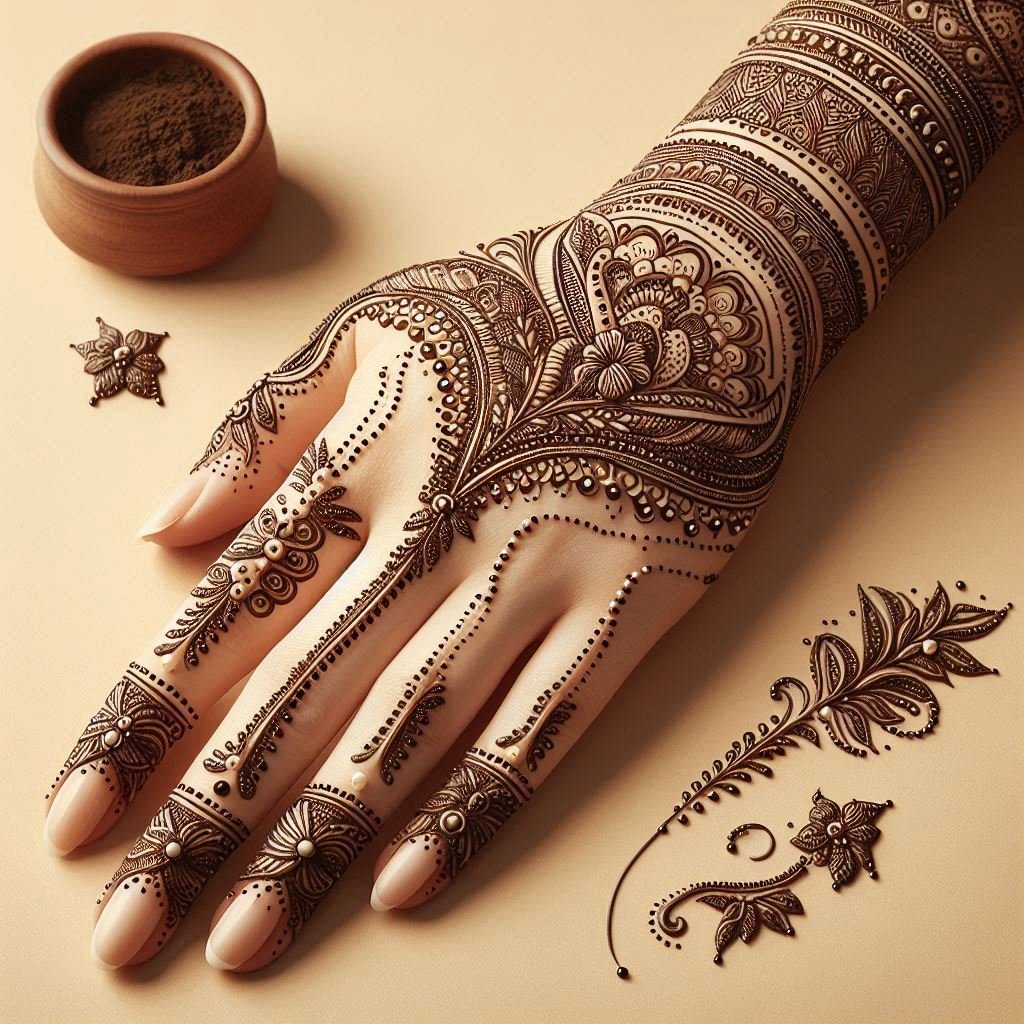
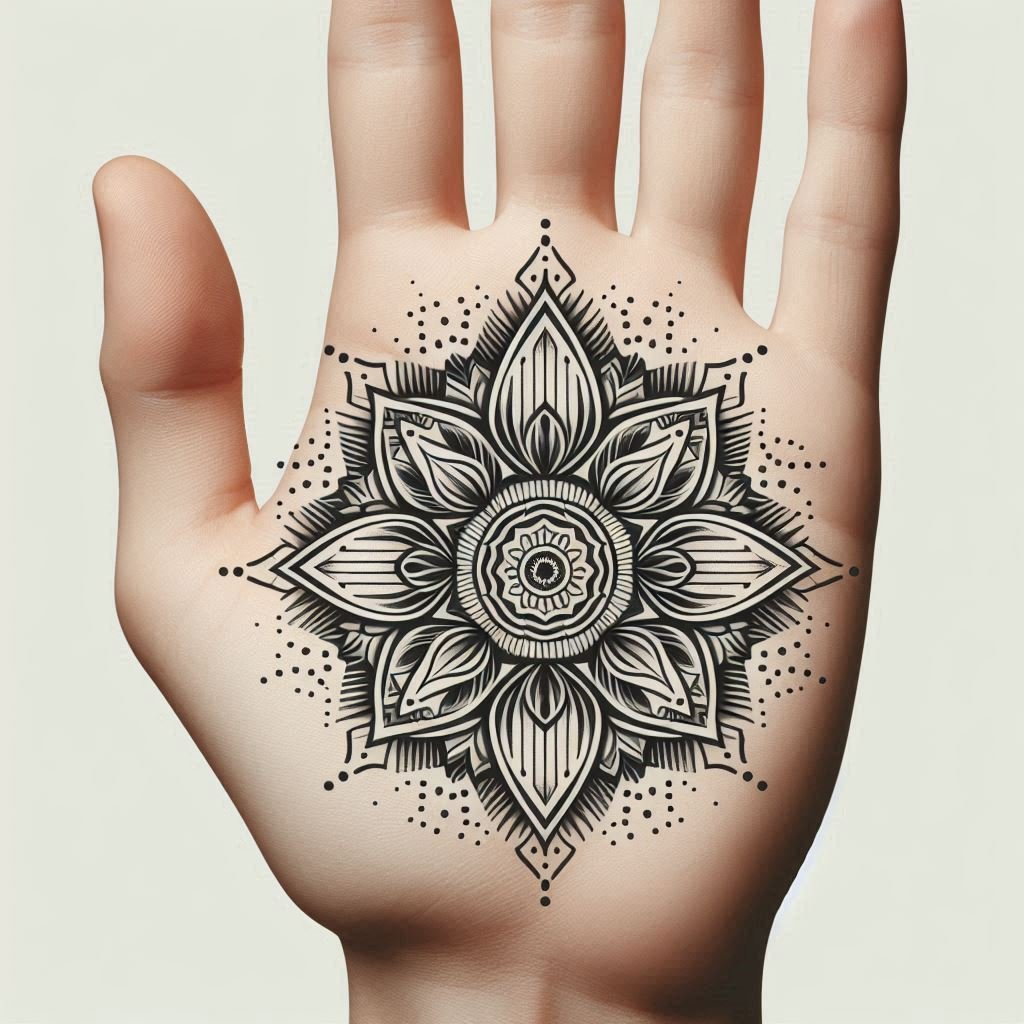
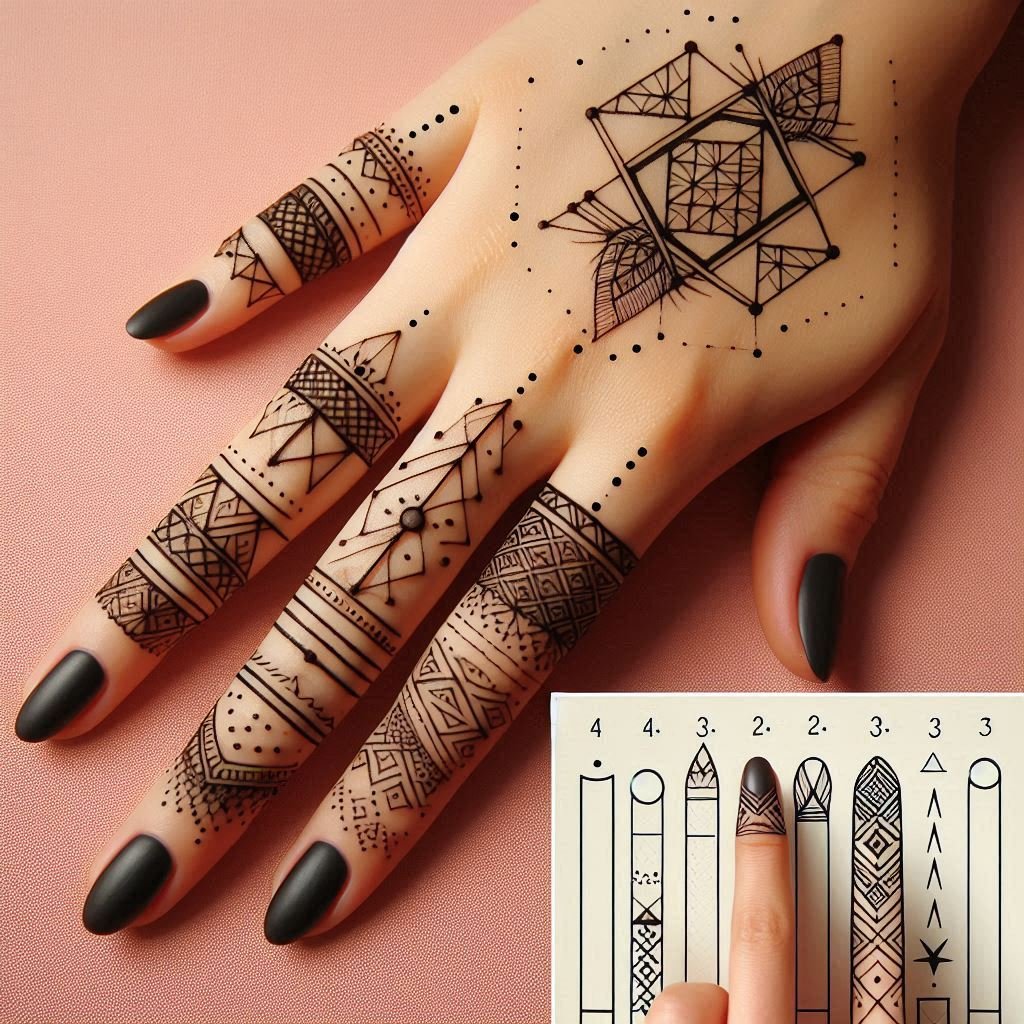
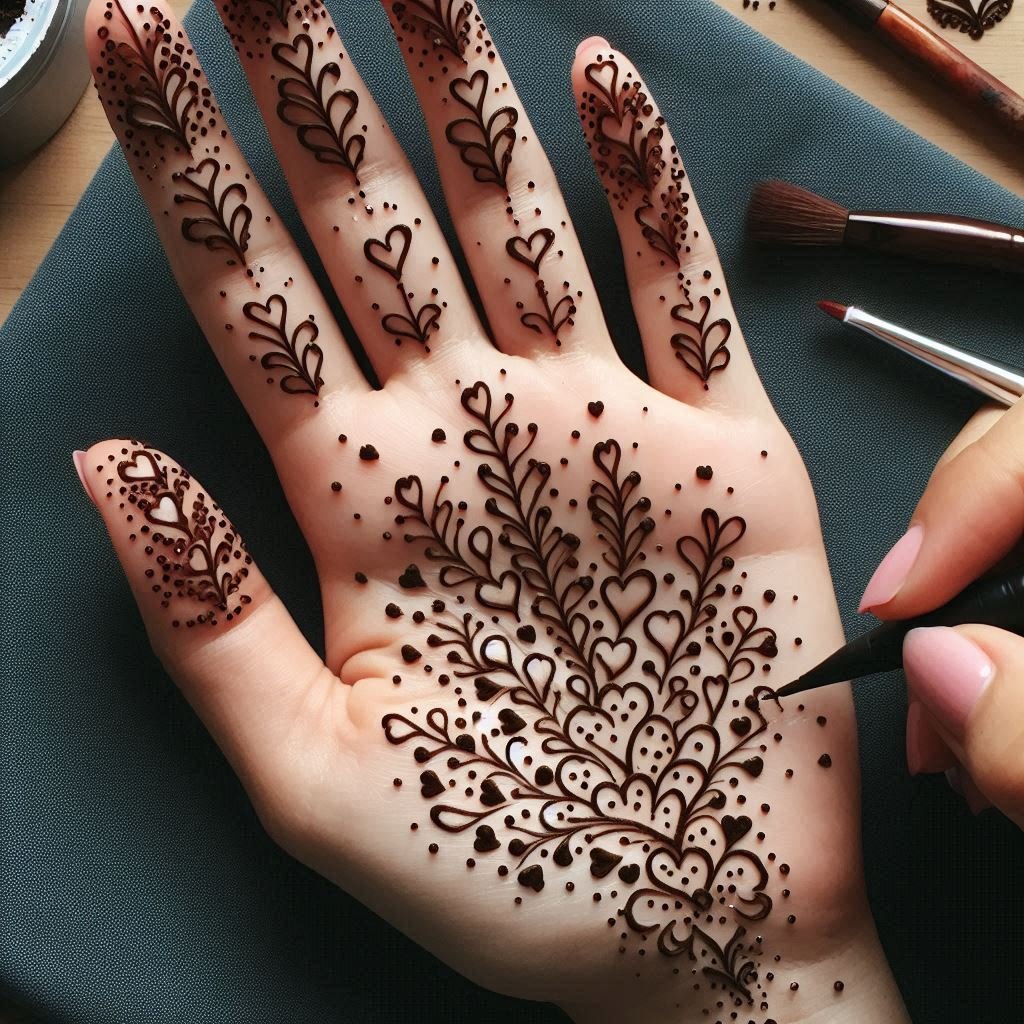
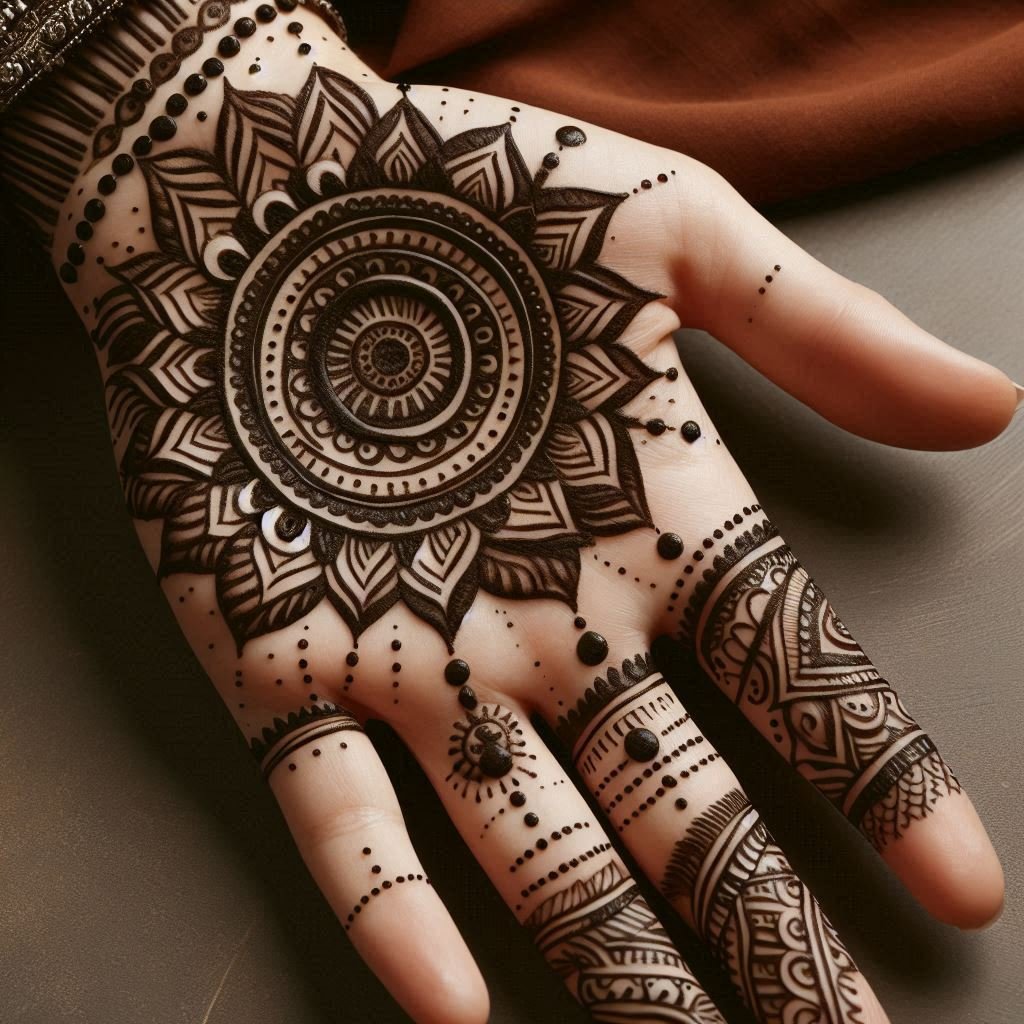
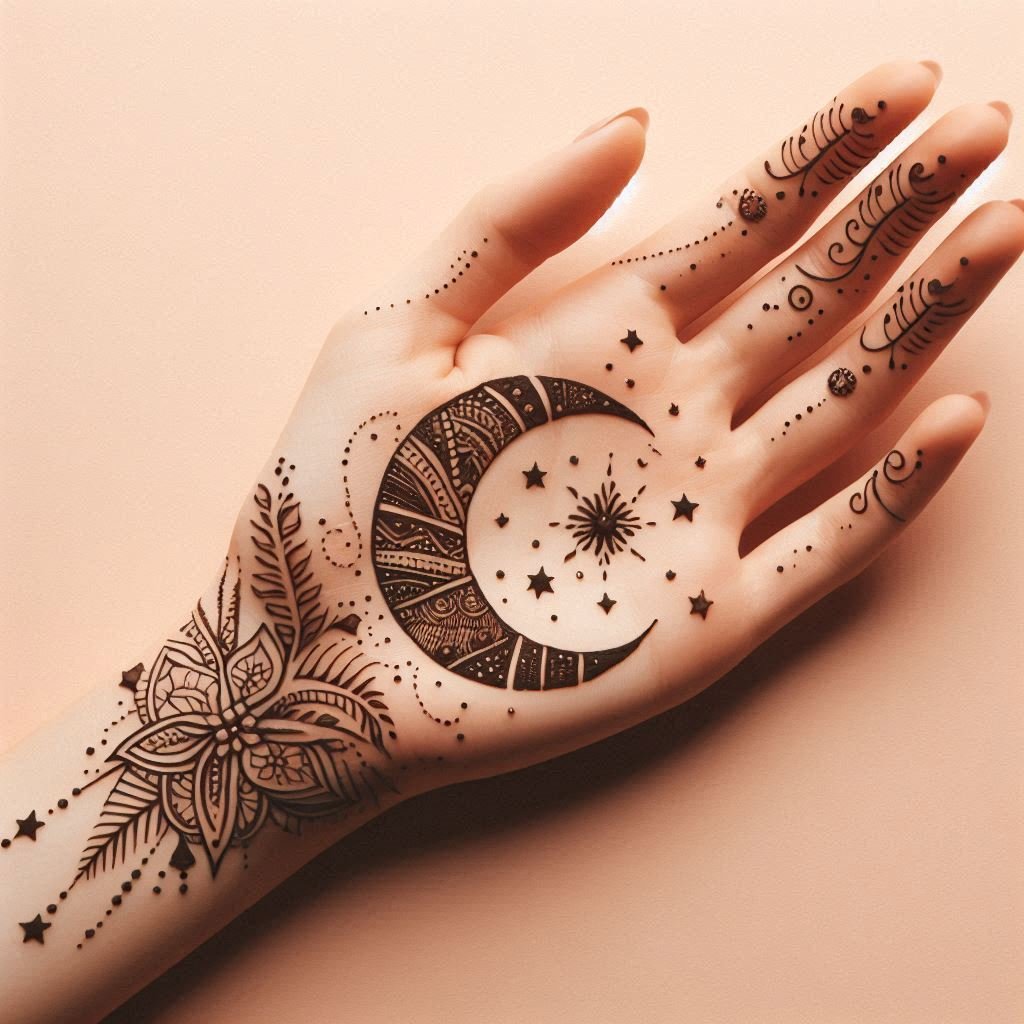
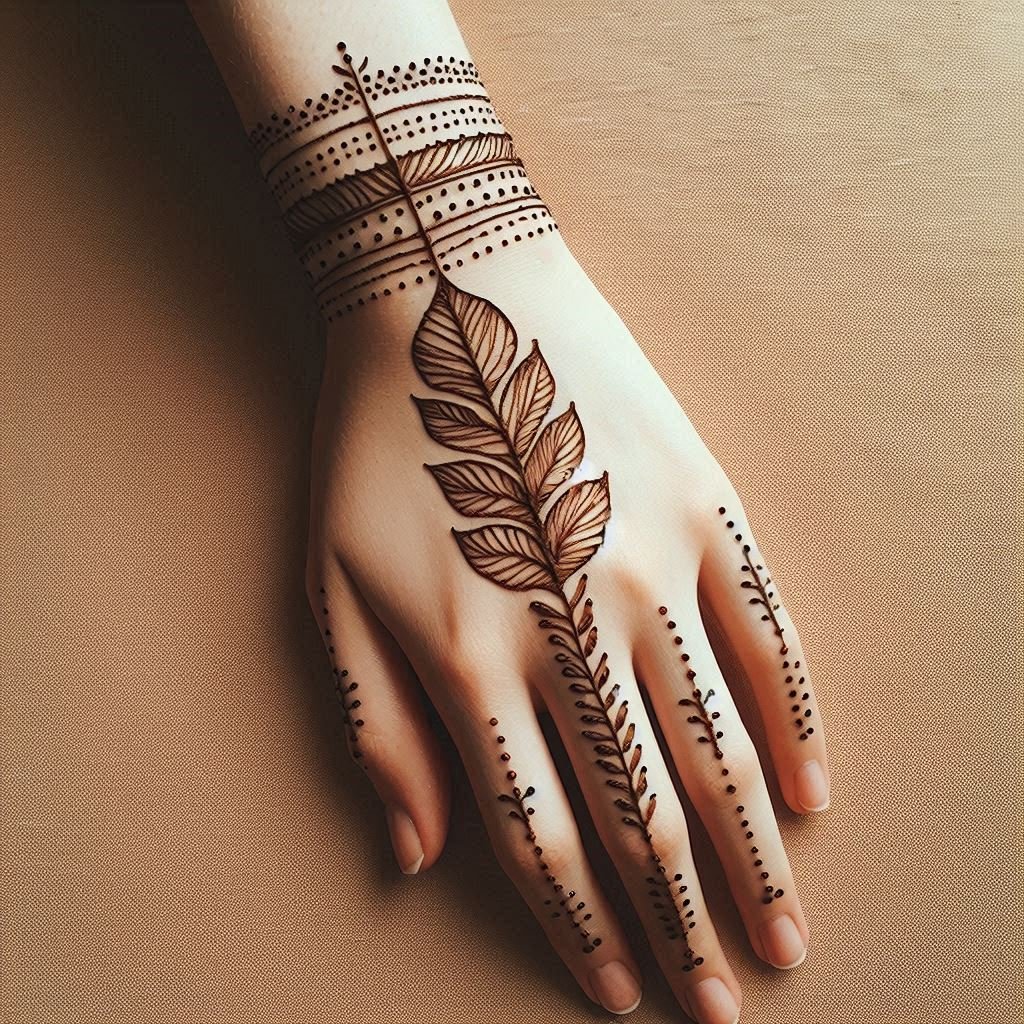
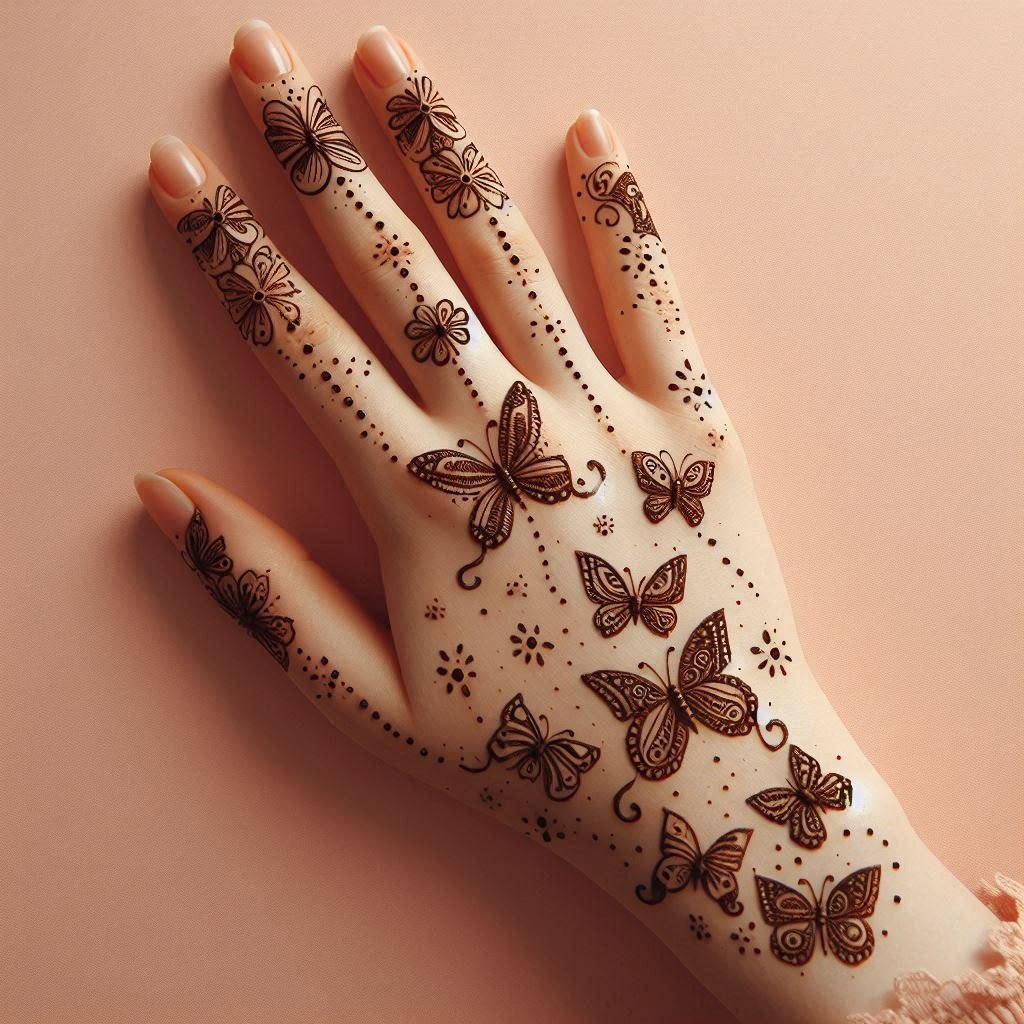
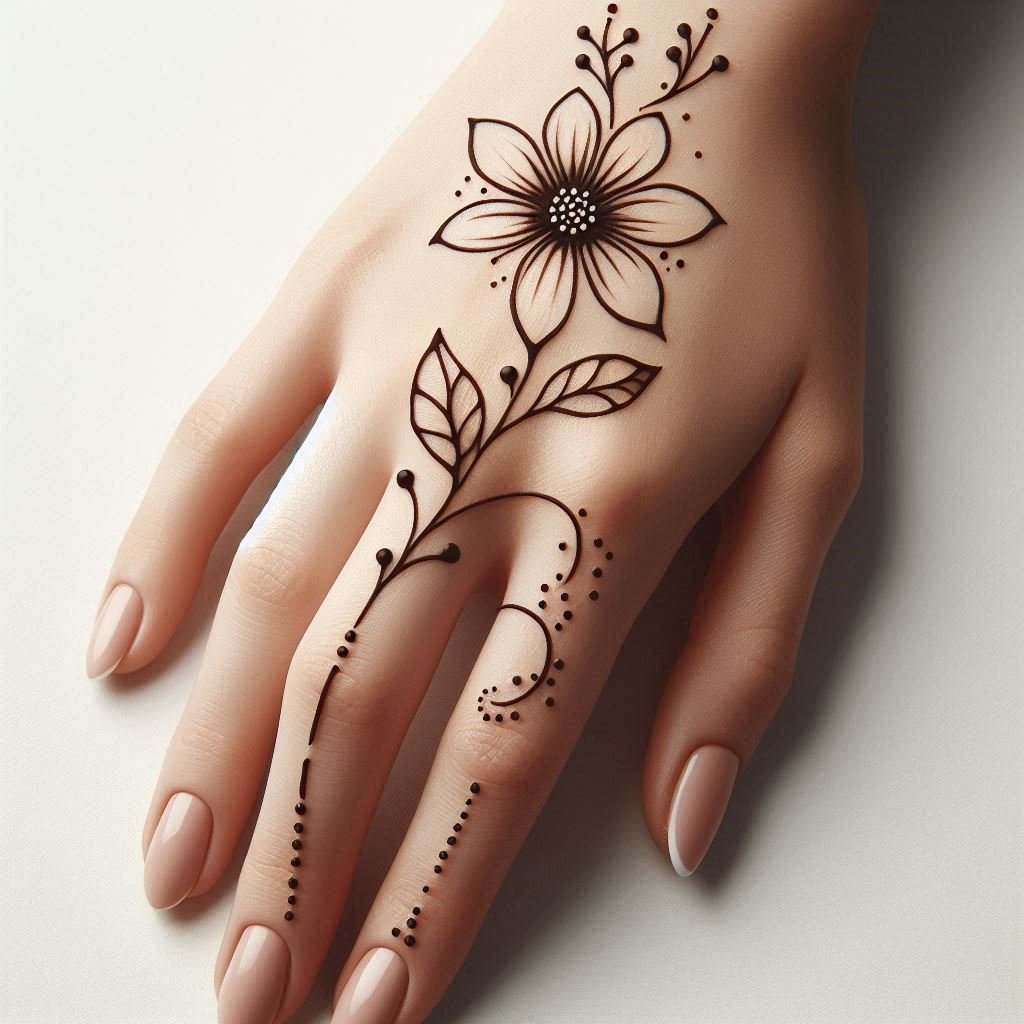
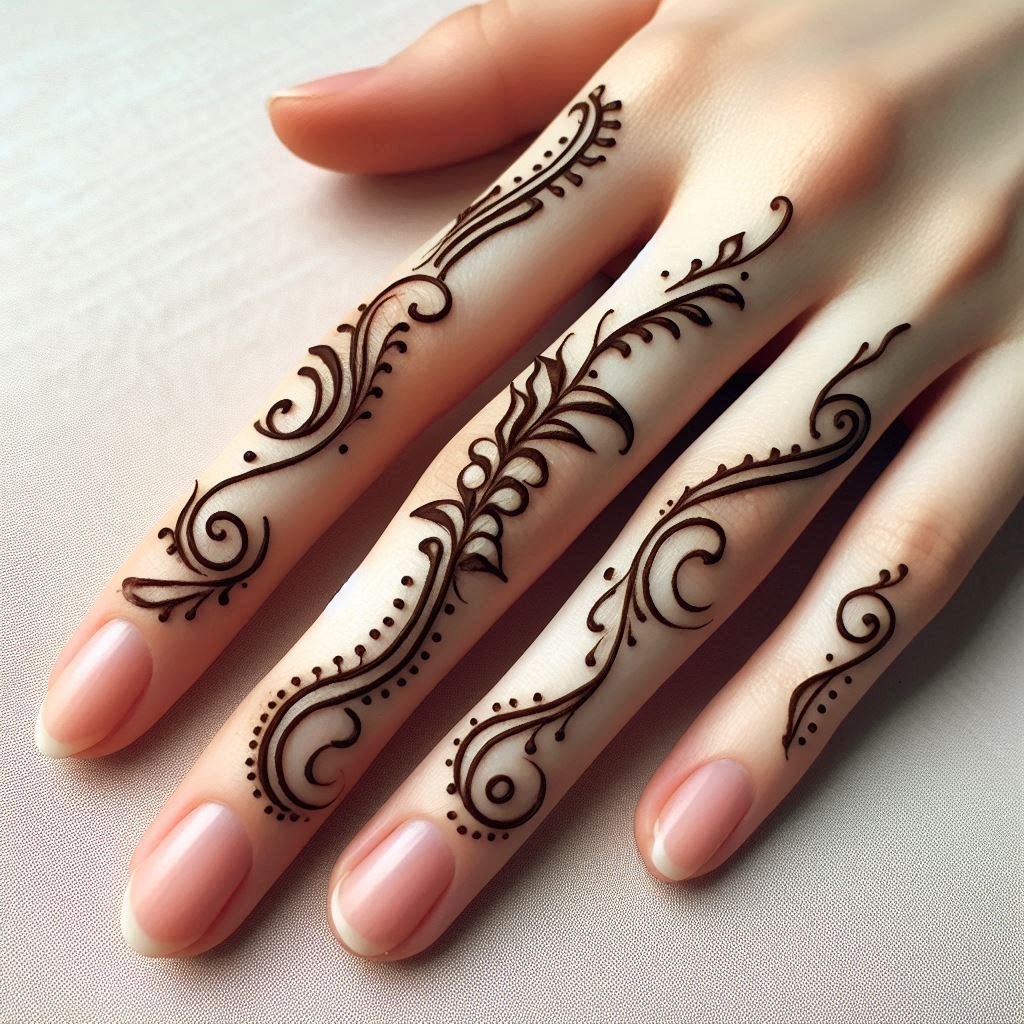
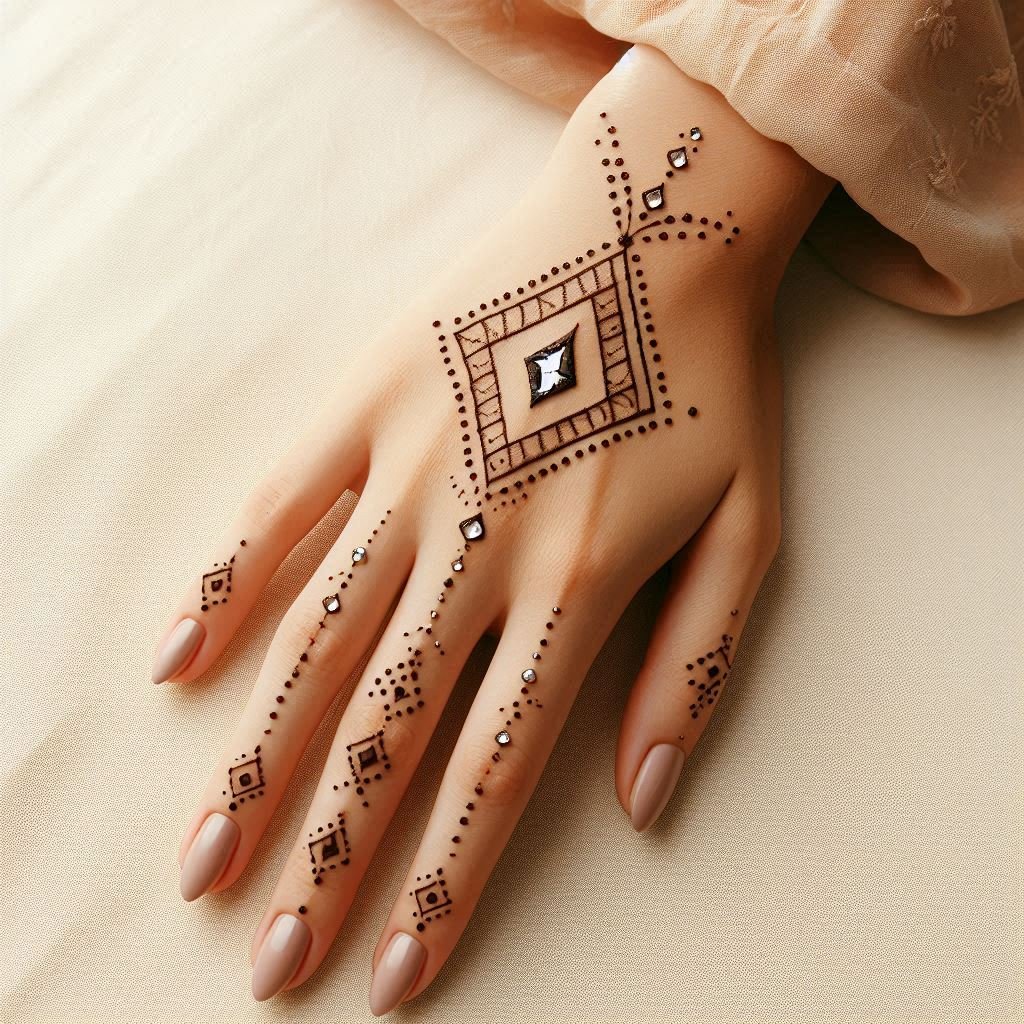
Front hand simple mehndi designs are a beautiful blend of tradition and modern aesthetics, making them a popular choice for various occasions. These designs often feature elegant motifs such as delicate florals, geometric patterns, and intricate vines that gracefully adorn the palm and fingers. The simplicity of these designs allows for a chic and understated look, perfect for contemporary brides or anyone looking to enhance their festive attire without overwhelming detail. Additionally, the use of negative space in modern mehndi adds a unique flair, showcasing the artistry of henna while allowing the skin’s natural beauty to shine through.
For many years, mehndi, often referred to as henna, has been a crucial part of cultural celebrations in North Africa, the Middle East, and South Asia. Traditionally applied at weddings, festivals, and other festive events, mehndi designs adorn the skin with lovely patterns that stand for luck, beauty, and wealth. Front hand simple mehndi designs are very popular because of their elegance and adaptability to the many types and locations of mehndi. Whether for a wedding, a celebration party, or a laid-back day out, these designs are perfect for anyone who wants a simple yet fashionable style.
This detailed guide will take you deep into the world of front-hand simple mehndi designs. We will look at several styles, give step-by-step directions, and offer advice on how to create your own stunning designs. Whether you are a novice or an expert mehndi artist, this guide will teach you how to create a simple mehndi pattern for the front hand.
Table of Contents
Why Choose Front Hand Simple Mehndi Design?
- Ease of Application: Front hand simple mehndi designs are typically less intricate than traditional patterns, making them easier to apply. This is especially beneficial for beginners who are still learning the art of mehndi and for those who may not have hours to spend on a more complex design.
- Quick and Stylish: One of the greatest advantages of front hand simple mehndi designs is their time efficiency. These designs can be created quickly, making them ideal for last-minute occasions or for those who want a beautiful yet understated look.
- Versatile for All Occasions: The simplicity of these designs allows them to be worn on various occasions, from casual gatherings and daily wear to formal events like weddings and festivals. Their versatility ensures that you always have a go-to design that suits any outfit or occasion.
- Elegant and Modern: Simple mehndi designs for the front hand offer a modern twist on traditional henna patterns. They often incorporate minimalistic elements such as geometric shapes, delicate floral motifs, and negative space, which give them a contemporary and chic look.
- Easy to Customise: Simple designs provide a great canvas for personalization. You can easily modify the patterns to include initials, symbols, or motifs that have personal significance, making the design uniquely yours.
Popular Styles of Front Hand Simple Mehndi Designs
There are several popular styles that fall under the category of front hand simple mehndi designs. Here are a few that you can try:
- Floral Patterns: Floral motifs are a classic choice for mehndi designs, consider using a single flower or a small cluster of flowers with leaves. You can place the design in the centre of the palm or along the wrist, extending slightly onto the fingers for a graceful effect.
- Geometric Designs: Geometric shapes such as circles, squares, and triangles are becoming increasingly popular in modern mehndi designs. These shapes can be repeated in patterns or combined to create a unique, minimalist look. For the front hand, try drawing a series of overlapping circles or a triangular pattern that extends from the base of the fingers to the wrist.
- Mandala Designs: A mandala is a circular design that radiates outward from a central point. Mandala mehndi designs can range from simple to complex, making them ideal for beginners. For a simple front hand design, start with a small mandala in the centre of the palm and add a few concentric circles or petals around it.
- Paisley Motifs: Paisleys are a traditional element in Mehndi designs that can be simplified for a modern look. A single paisley on the front hand, perhaps extending from the wrist to the base of the fingers, can create a classic yet contemporary design.
- Finger Accents: Sometimes, less is more. Focus on decorating the fingers with small patterns such as dots, lines, or tiny flowers. This minimalist approach draws attention to the fingers and creates a stylish, understated look.
- Bracelet Designs: Bracelet-style mehndi designs wrap around the wrist like a piece of jewellery. A simple band of flowers, vines, or geometric shapes can serve as a beautiful bracelet that complements any outfit.
How to Create a Front Hand Simple Mehndi Design: Step-by-Step Guide
Creating a simple mehndi design for the front hand does not require professional skills. With a little practice and creativity, anyone can achieve beautiful results. Here’s a step-by-step guide to help you get started:
Step 1: Gather Your Materials
Before you start, make sure you have all the necessary materials:
- Henna cone or applicator
- Tissue or cloth for wiping excess henna
- A design reference (if needed)
- Lemon juice and sugar mixture (for sealing the henna)
- Cotton swabs for applying the lemon-sugar mixture
Step 2: Prepare Your Hand
Wash your hands thoroughly to remove any oils or dirt that could prevent the henna from adhering properly. It’s also a good idea to exfoliate your skin to create a smooth surface for the henna.
Step 3: Choose Your Design
Decide on a simple mehndi design for the front hand that you want to create. You can choose from one of the popular styles mentioned earlier or create your own unique pattern.
Step 4: Start with Basic Shapes
Begin by drawing the basic shapes of your design. If you are doing a floral pattern, start with the main flower in the center of your palm. If you are doing a geometric design, begin with the primary shape (such as a circle or triangle) and build from there.
Step 5: Add Details Gradually
Once you have the basic outline, start adding details to your design. This could include small leaves around a flower, additional lines within a geometric shape, or dots and accents to fill in empty spaces. Remember to keep it simple; the goal is to create a clean, elegant design without overcrowding the hand.
Step 6: Utilize Negative Space
Negative space is an important element in simple mehndi designs. It helps to create a balanced composition and draws attention to the patterns. Be mindful of the areas you leave blank, as this will enhance the overall appearance of your design.
Step 7: Apply the Lemon-Sugar Mixture
Once you are satisfied with your design, allow the henna to dry for about 10–15 minutes. Then, apply a lemon-sugar mixture over the design using a cotton swab. This helps to seal the henna and ensures a darker stain.
Step 8: Let the Henna Dry Completely
Allow the henna to dry completely on your hand, ideally for 4-6 hours or overnight for a richer colour. Avoid moving your hand too much during this time to prevent smudging.
Step 9: Remove the Henna
Once the henna is dry, gently scrape it off using a tissue or the back of a spoon. Do not wash your hands with water immediately after removing the henna, as this can affect the stain. Instead, apply a light oil (such as coconut or olive oil) to moisturize the skin and enhance the colour.
Step 10: Enjoy Your Beautiful Design
Now, you have a beautiful front hand simple mehndi design that is perfect for any occasion! The stain will darken over the next 24-48 hours, revealing its full beauty.
Tips for Perfecting Your Front Hand Simple Mehndi Design
- Practice Makes Perfect: The more you practice, the better you will become at creating simple mehndi designs. Try different patterns and styles to see what works best for you.
- Use a Steady Hand: A steady hand is crucial for applying mehndi smoothly. Take your time and focus on creating clean lines and consistent shapes.
- Keep It Balanced: Balance is key in any Mehndi design. Ensure that your design is symmetrical and evenly spaced to create a harmonious look.
- Experiment with Placement: Don’t be afraid to experiment with different placements on the front hand. You can create designs that start at the wrist and extend to the fingers, or focus on just one area, such as the palm or fingers.
- Start Simple and Build Up: If you are new to Mehndi, start with very simple designs and gradually add more details as you become more comfortable with the application process.
Conclusion
The front hand Basic mehndi patterns provide the ideal balance of modernity and heritage. Because they are time-efficient, simple to use, and adaptable, they are perfect for every situation. Basic mehndi for the front hand offers countless opportunities for creativity and expression, regardless of your level of competence.
We invite everyone to discover the elegance of basic mehndi designs at Mehndi Baazar. With a little imagination and effort, you can make beautiful patterns that complement any outfit and express your personal style. In order to begin experimenting with front hand easy mehndi patterns, get your henna cone now!
