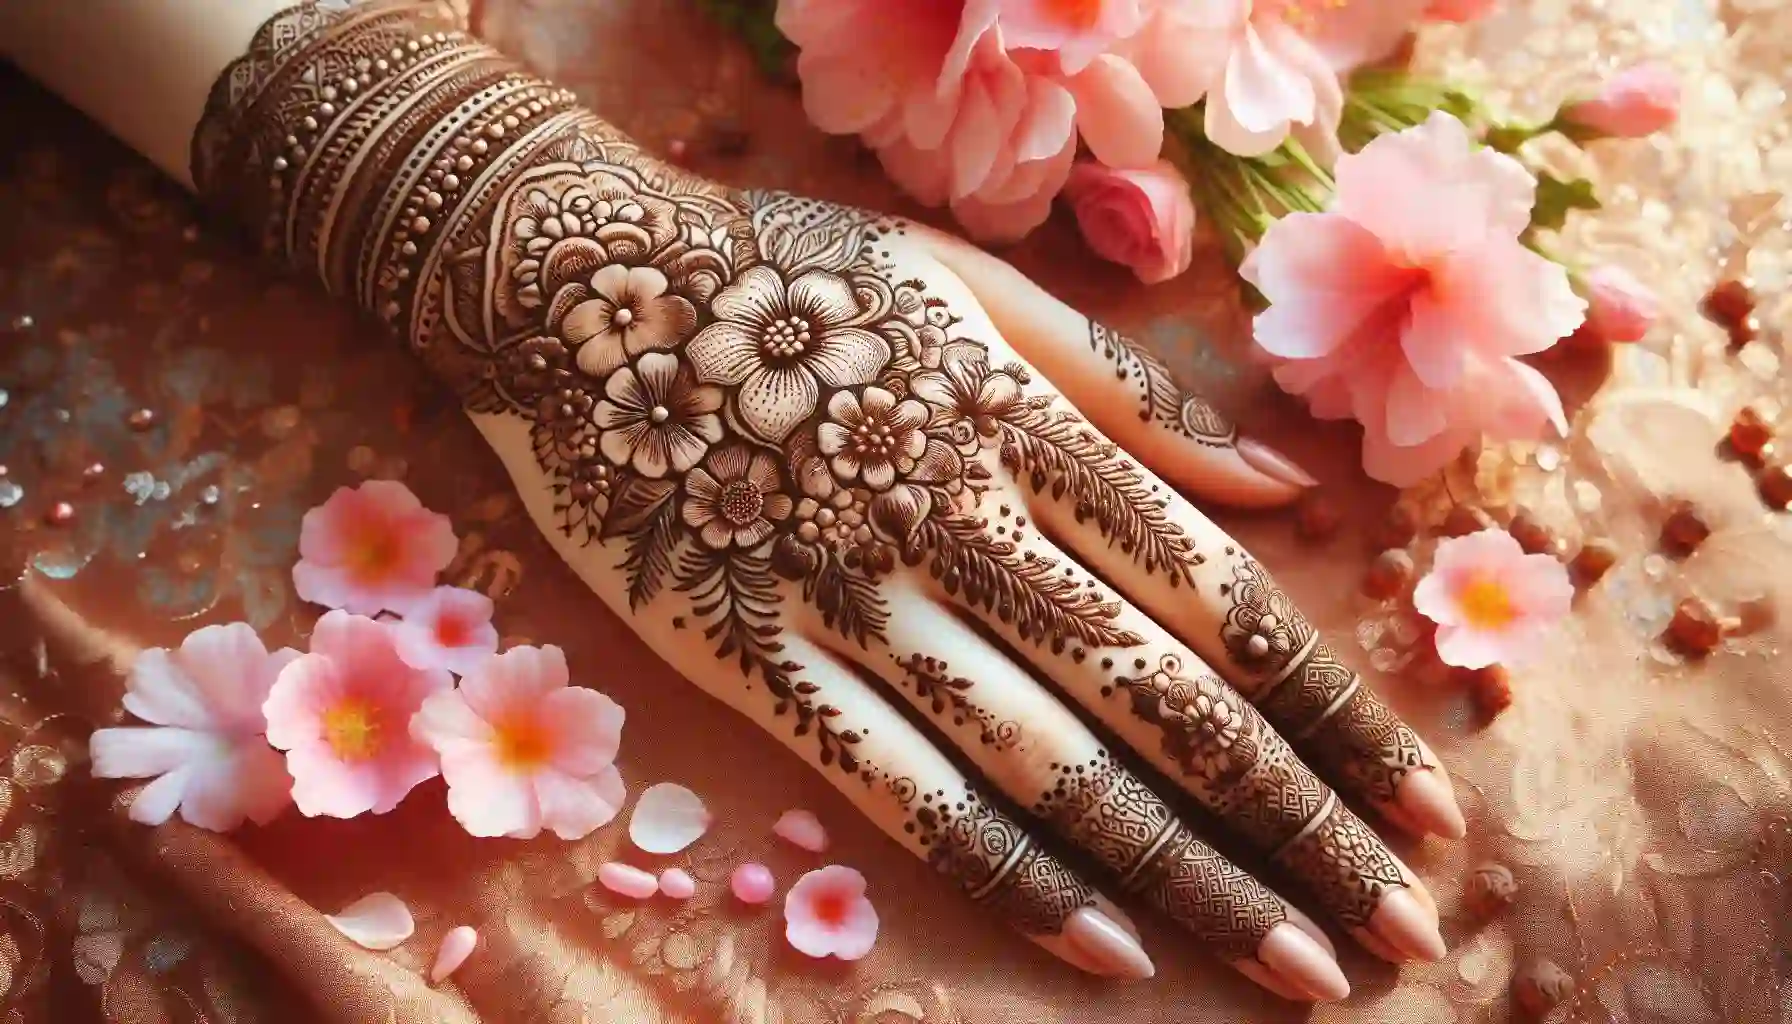
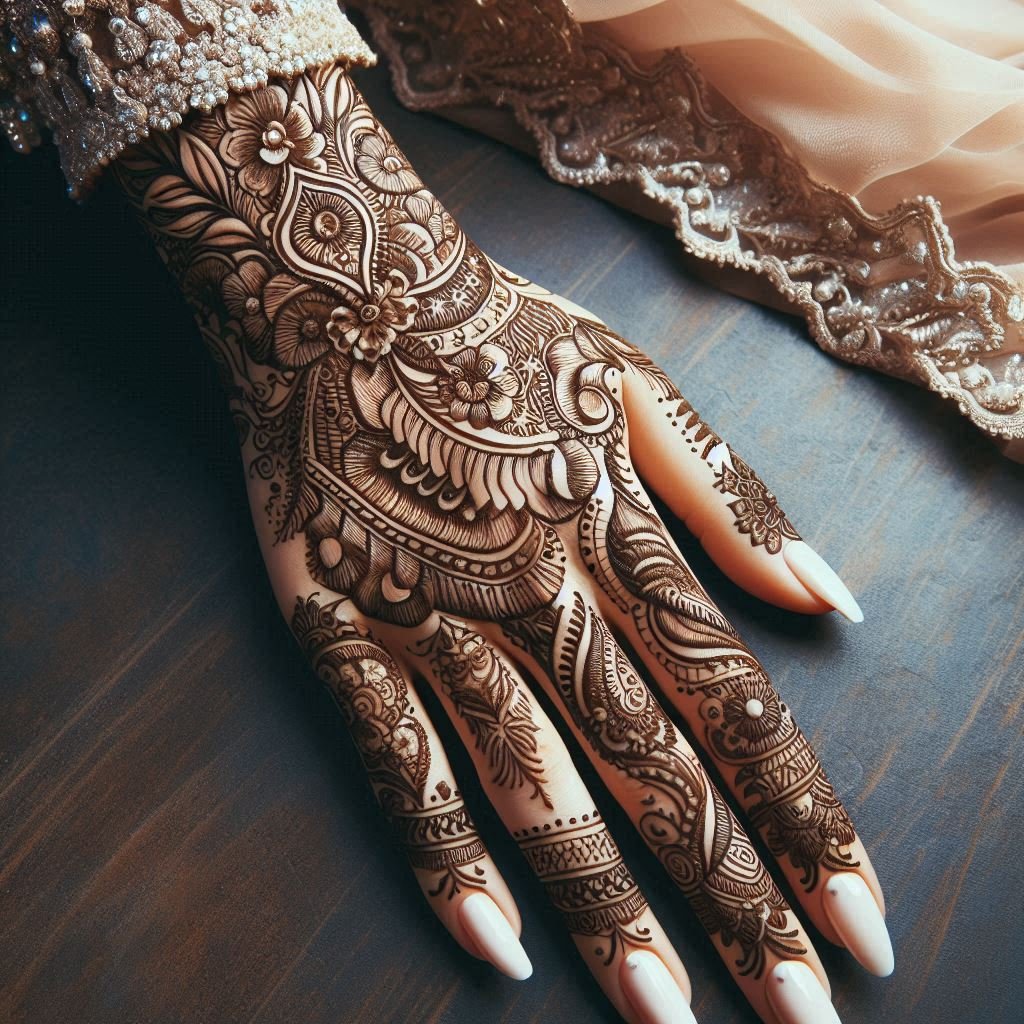
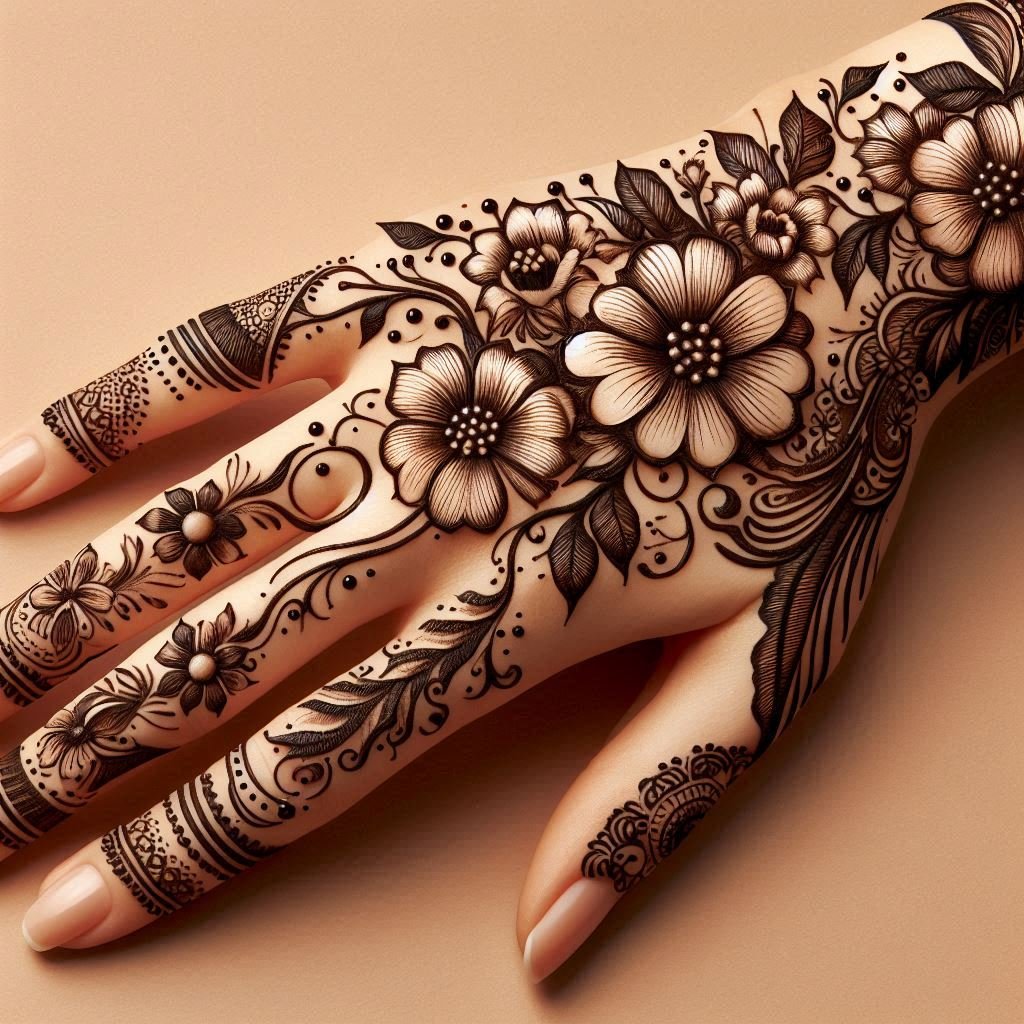
Arabic mehndi designs have become increasingly popular for their bold patterns, intricate details, and cultural significance. Whether you’re preparing for a wedding or festival, or just want to adorn your hands and feet, Arabic mehndi offers a beautiful way to express yourself. This blog post will guide you through the process of applying Arabic mehndi designs, ensuring you achieve stunning results.
Understanding Arabic Mehndi Designs
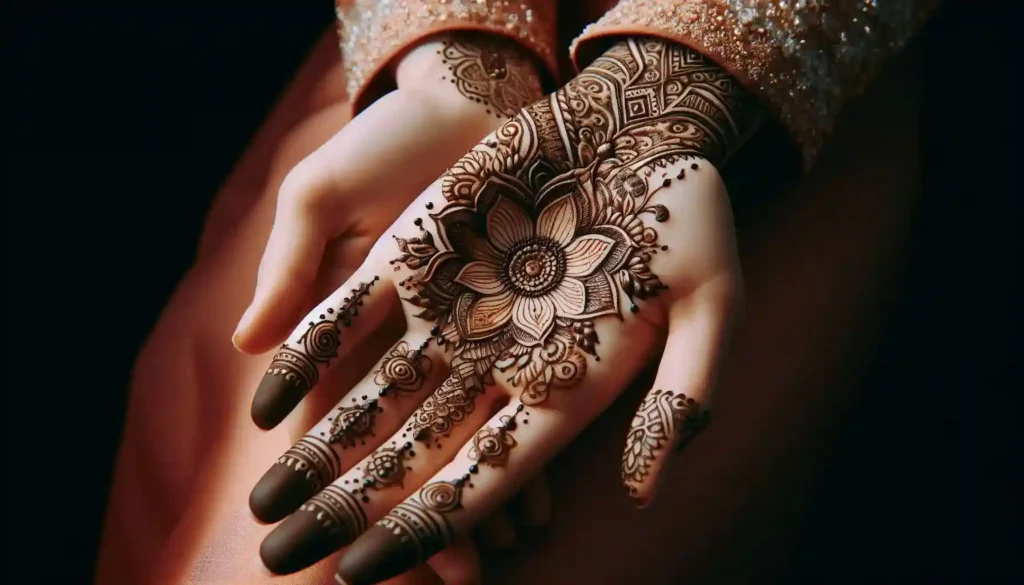
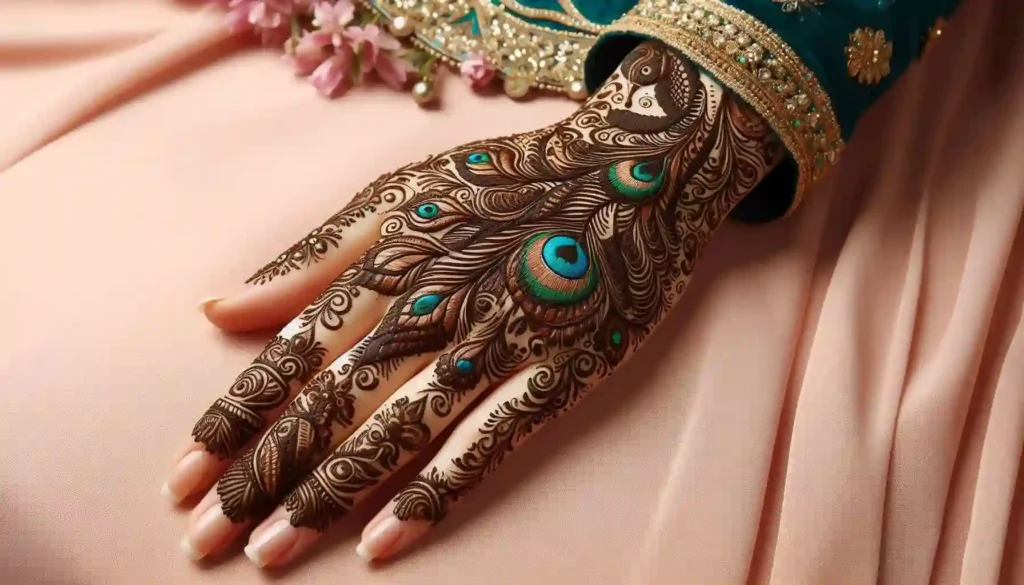
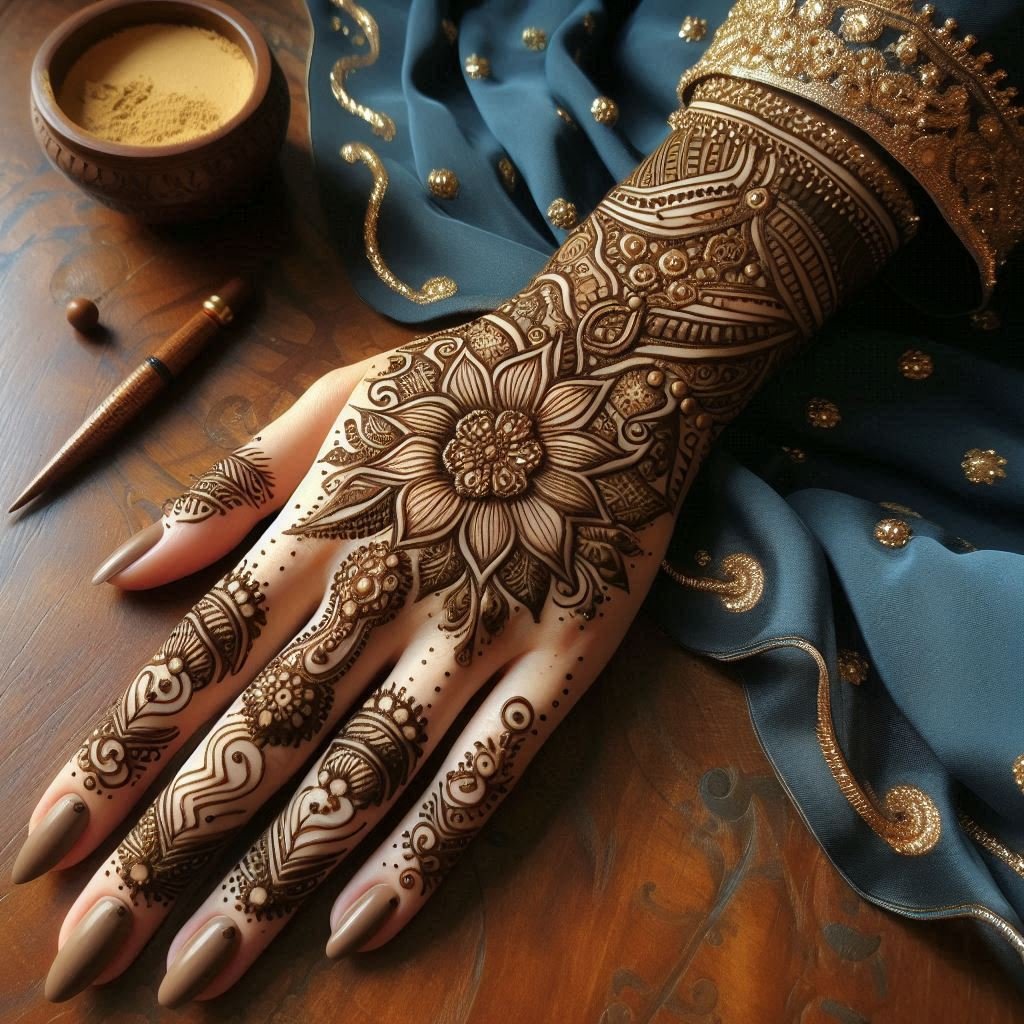
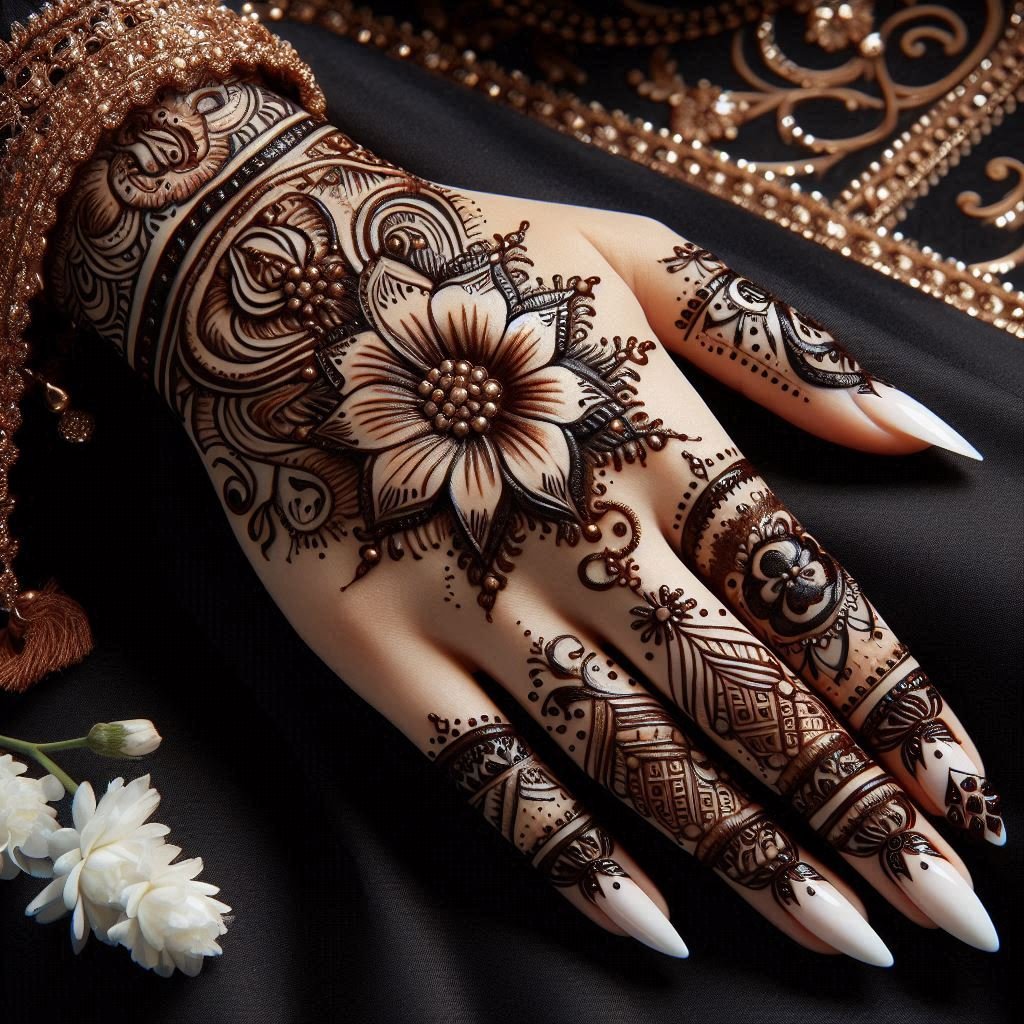
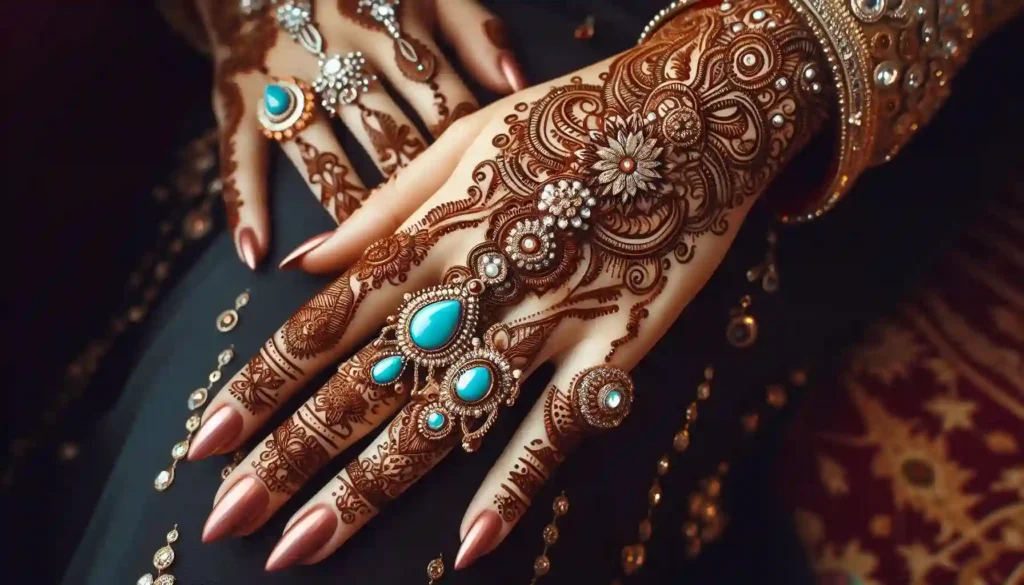
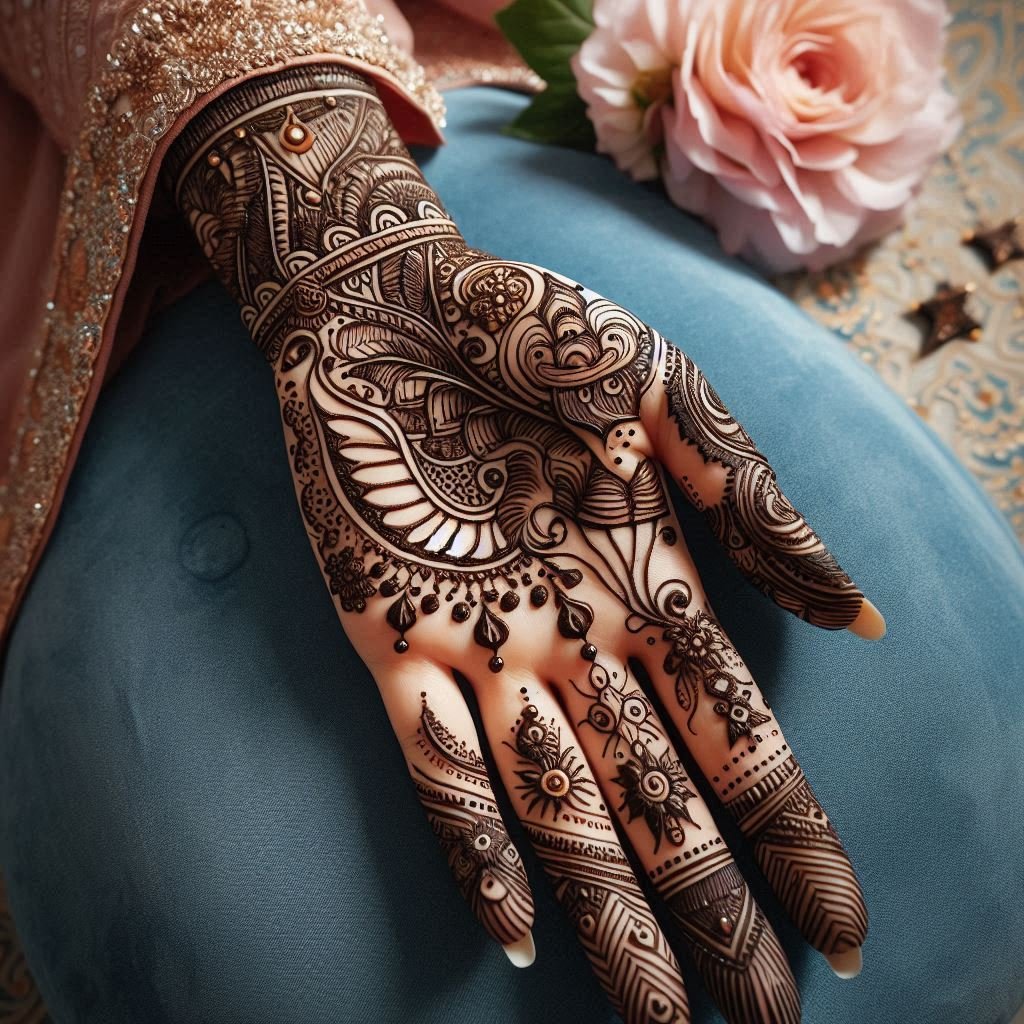
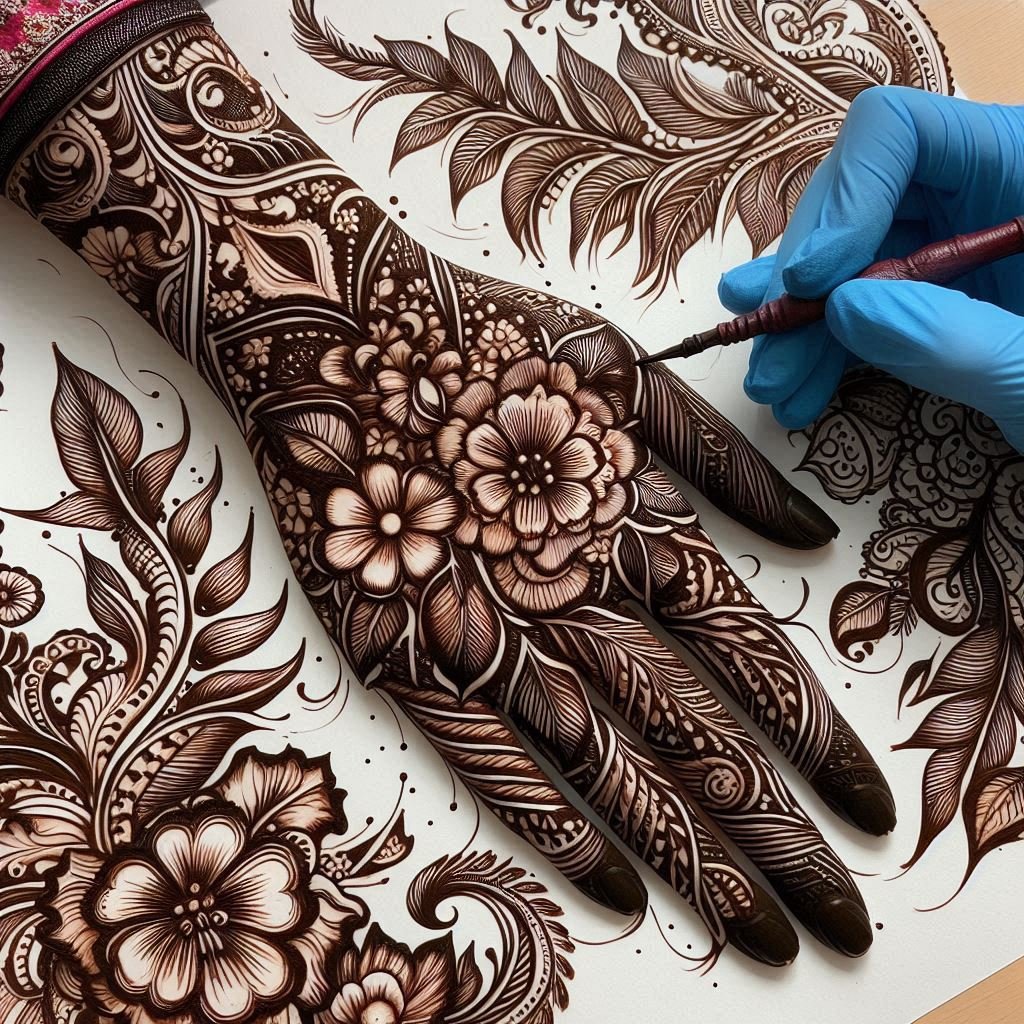
Before diving into the application process, it’s essential to understand what makes Arabic mehndi unique. Unlike traditional Indian mehndi, which often features intricate details and shading, Arabic mehndi emphasizes bold lines, open spaces, and large floral motifs. This style allows for creativity and personalization, making it a popular choice among brides and henna enthusiasts.
Table of Contents
Step 1: Gather Your Materials
To get started, you’ll need the following materials:
- High-Quality Henna Paste: Ensure you use natural henna without harmful chemicals for the best results.
- Applicator Cone or Bottle: This will help you control the flow of henna while applying intricate designs.
- Cotton Swabs: Useful for correcting mistakes or cleaning edges.
- Lemon Juice and Sugar: A mixture of lemon juice and sugar can be applied after the henna dries to enhance the color.
- Plastic Wrap or Tissue: To cover the henna while it sets and to protect it from smudging.
Step 2: Prepare Your Skin
Preparation is key to achieving a beautiful Mehndi design. Follow these steps:
- Cleanse Your Hands: Wash your hands thoroughly with soap and water to remove any oils or dirt. This ensures better adhesion of the henna.
- Exfoliate: Gently exfoliate your skin a day before applying mehndi. This helps remove dead skin cells, allowing the henna to stain better.
- Dry Your Skin: Make sure your skin is completely dry before application. Moisture can affect the quality of the henna stain.
Step 3: Choose Your Design
Selecting the right design is crucial. Arabic mehndi offers a variety of styles, from simple to intricate. Here are some popular options:
- Floral Motifs: Large flowers and leaves can create a stunning effect.
- Geometric Patterns: Bold lines and shapes add a modern touch.
- Negative Space Designs: Leaving spaces between patterns creates a unique look.
You can find inspiration online or in Mehndi design books. Choose a design that resonates with you and fits the occasion.
Step 4: Apply the Mehndi
Now that you have your materials ready and your design chosen, it’s time to apply the mehndi:
- Fill the Applicator: If using a cone, fill it with henna paste and snip a small opening at the tip. If using a bottle, ensure the nozzle is clean and functional.
- Start with the Outline: Begin by outlining your design. Use a steady hand to create clean lines. Don’t worry about perfection; you can always correct mistakes later.
- Fill in the Design: Once the outline is complete, fill in the design with henna. Use varying pressure to create different line thicknesses. For intricate designs, take your time and work slowly.
- Add Details: After filling in the main design, add smaller details like dots, swirls, or additional floral elements to enhance the overall look.
Step 5: Let It Dry
After applying the henna, allow it to dry completely. This can take anywhere from 30 minutes to 2 hours, depending on the thickness of the application. Here are some tips to ensure the best results:
- Avoid Touching: Be careful not to touch anything while the henna is drying to prevent smudging.
- Cover the Henna: If you want to enhance the stain, wrap your hands with plastic wrap or tissue. This helps retain heat and moisture, allowing the henna to penetrate deeper into the skin.
Step 6: Remove the Henna
Once the henna is completely dry, it’s time to remove it:
- Gently Scrape Off: Use your fingers or a blunt tool to gently scrape off the dried henna. Avoid using water at this stage, as it can dilute the stain.
- Apply Lemon Juice and Sugar: Mix lemon juice and sugar and apply it to the design using a cotton swab. This helps darken the stain and prolong its longevity.
- Moisturize: After the henna has been removed, moisturize your skin with a natural oil, like coconut or olive oil, to keep it hydrated.
Step 7: Enjoy Your Beautiful Arabic Mehndi Design
Your Arabic Mehndi design is now complete! The stain will continue to darken over the next 24-48 hours, revealing the intricate beauty of your design. Remember to avoid scrubbing your hands and keep them dry to ensure the color lasts longer.
Conclusion
Applying Arabic mehndi designs can be a fun and rewarding experience, allowing you to express your creativity while embracing a beautiful cultural tradition. With these simple steps, you can achieve stunning results that enhance your beauty for any occasion. Whether you’re a bride preparing for your big day or simply looking to adorn your hands for a festive celebration, Arabic mehndi designs offer endless possibilities. Enjoy the process, and don’t hesitate to experiment with different patterns and styles!
