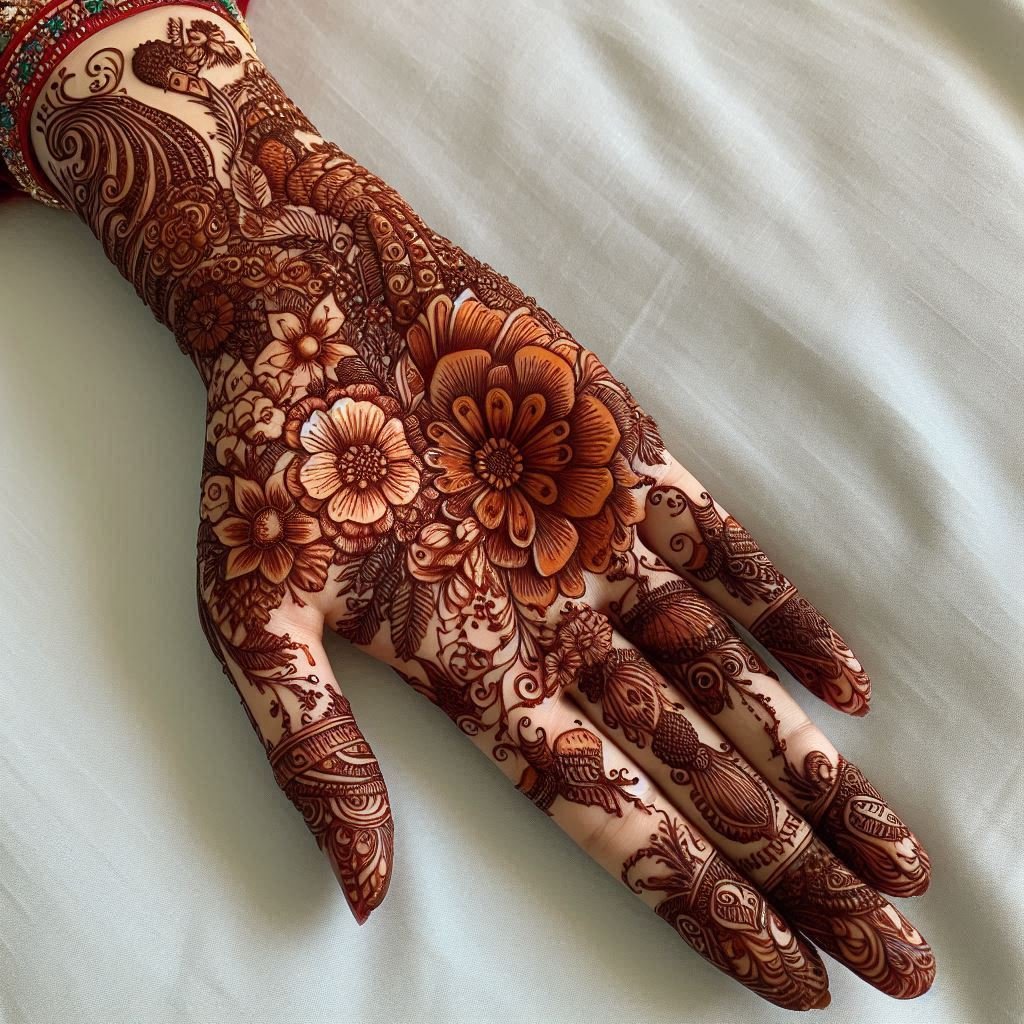
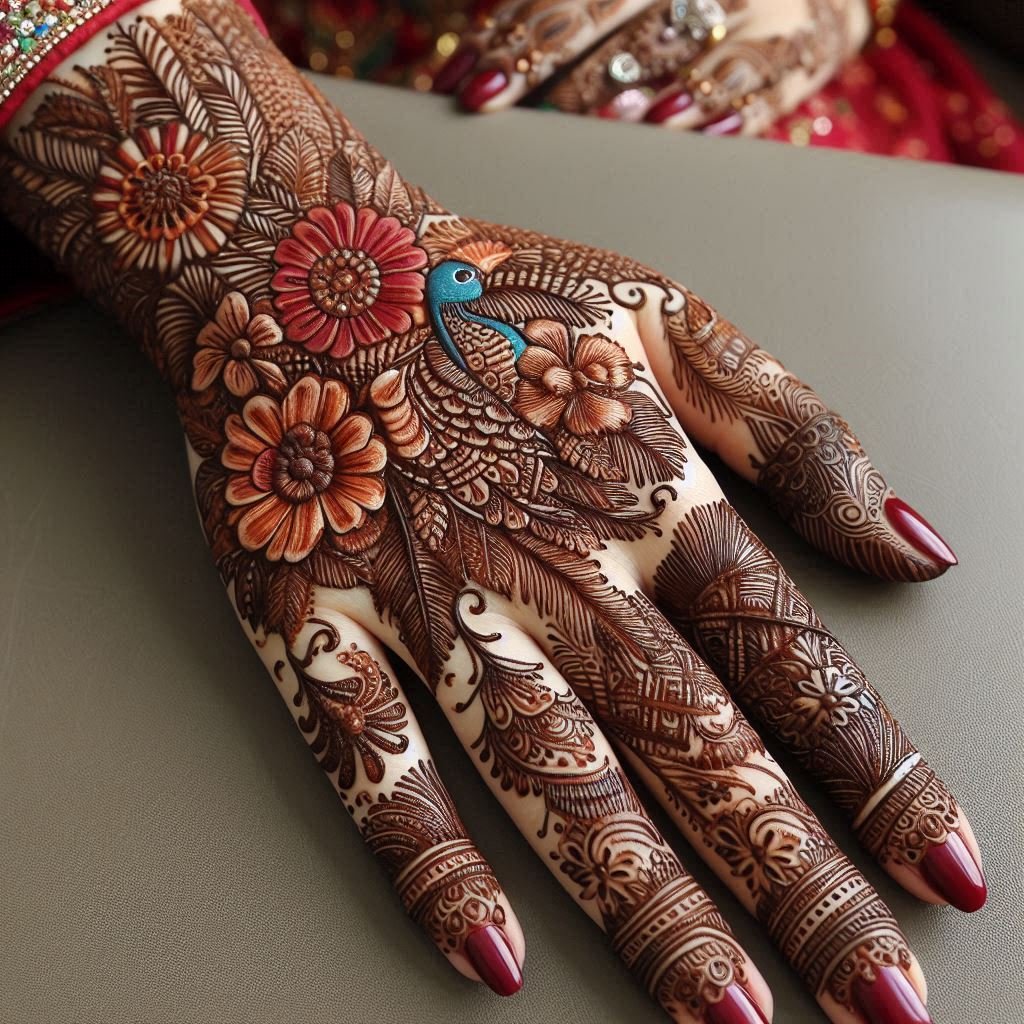
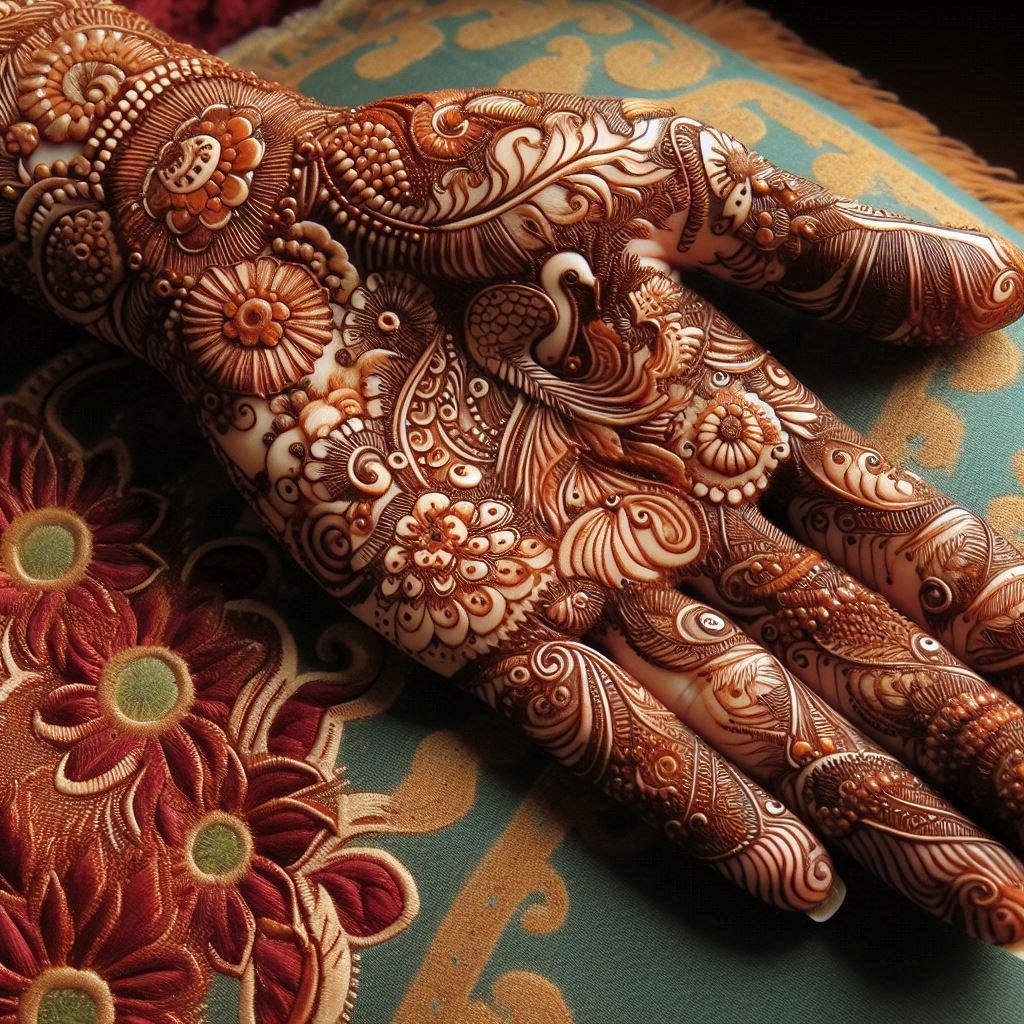
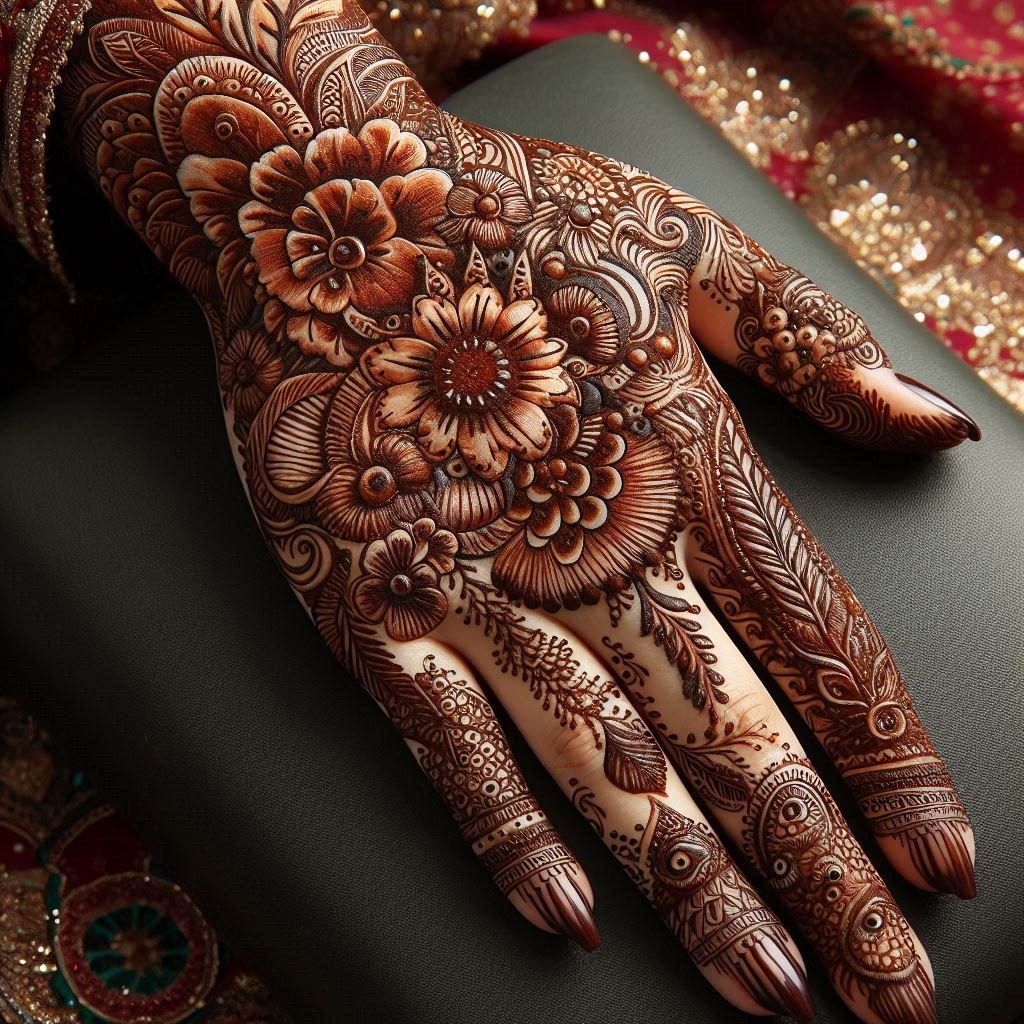
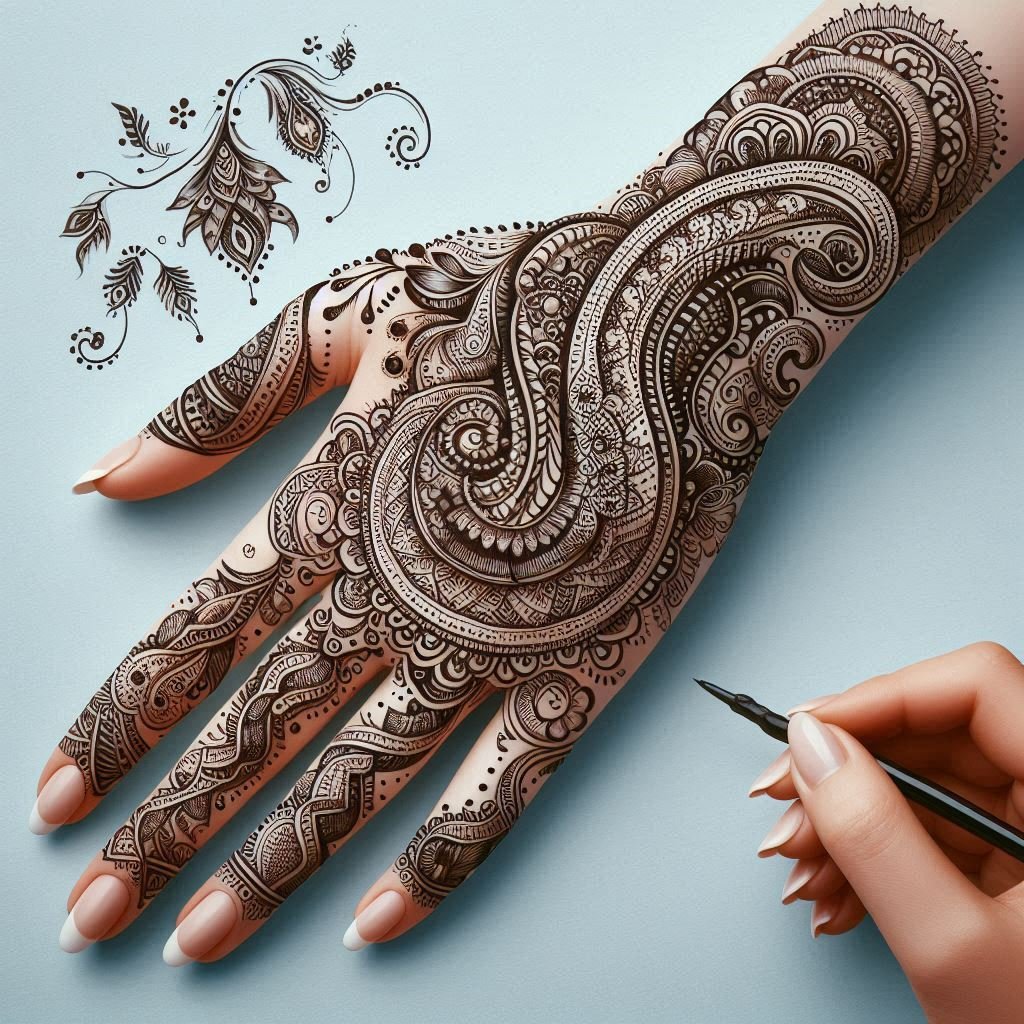
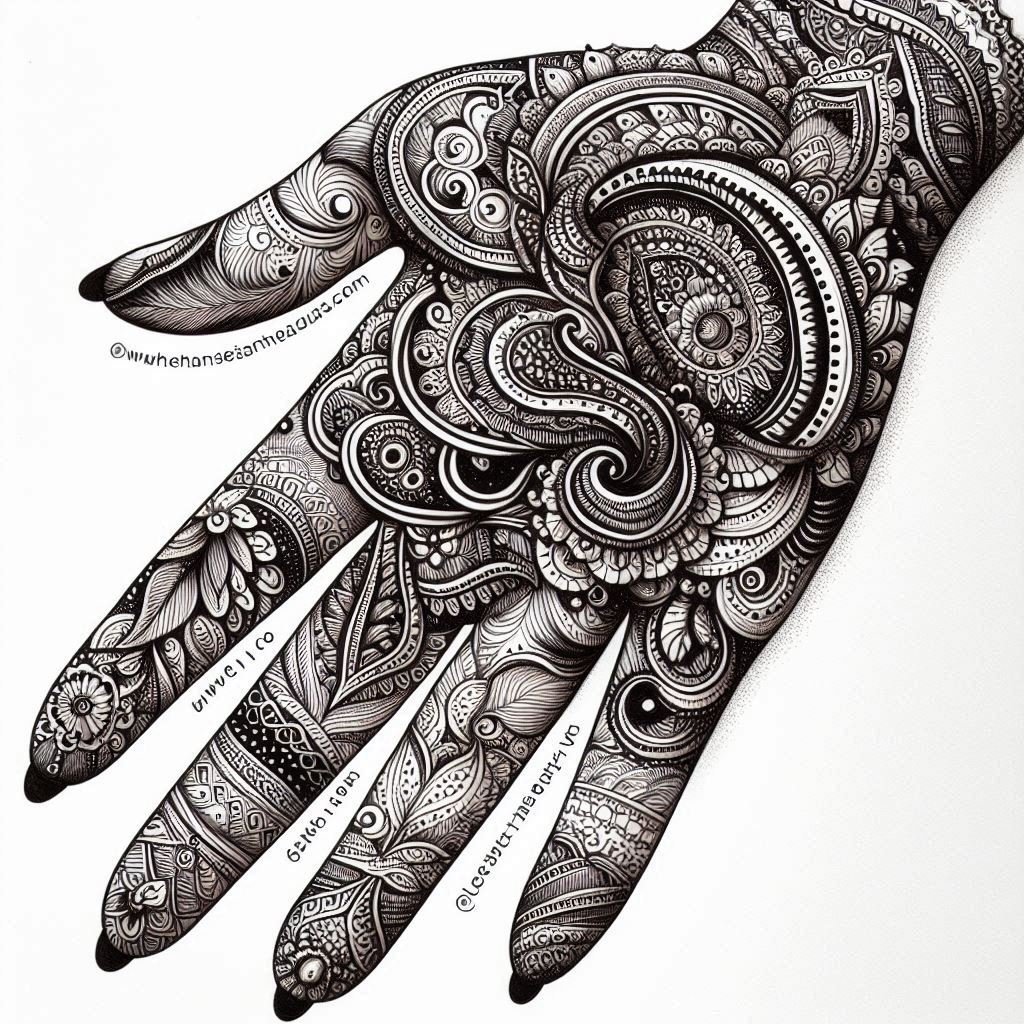
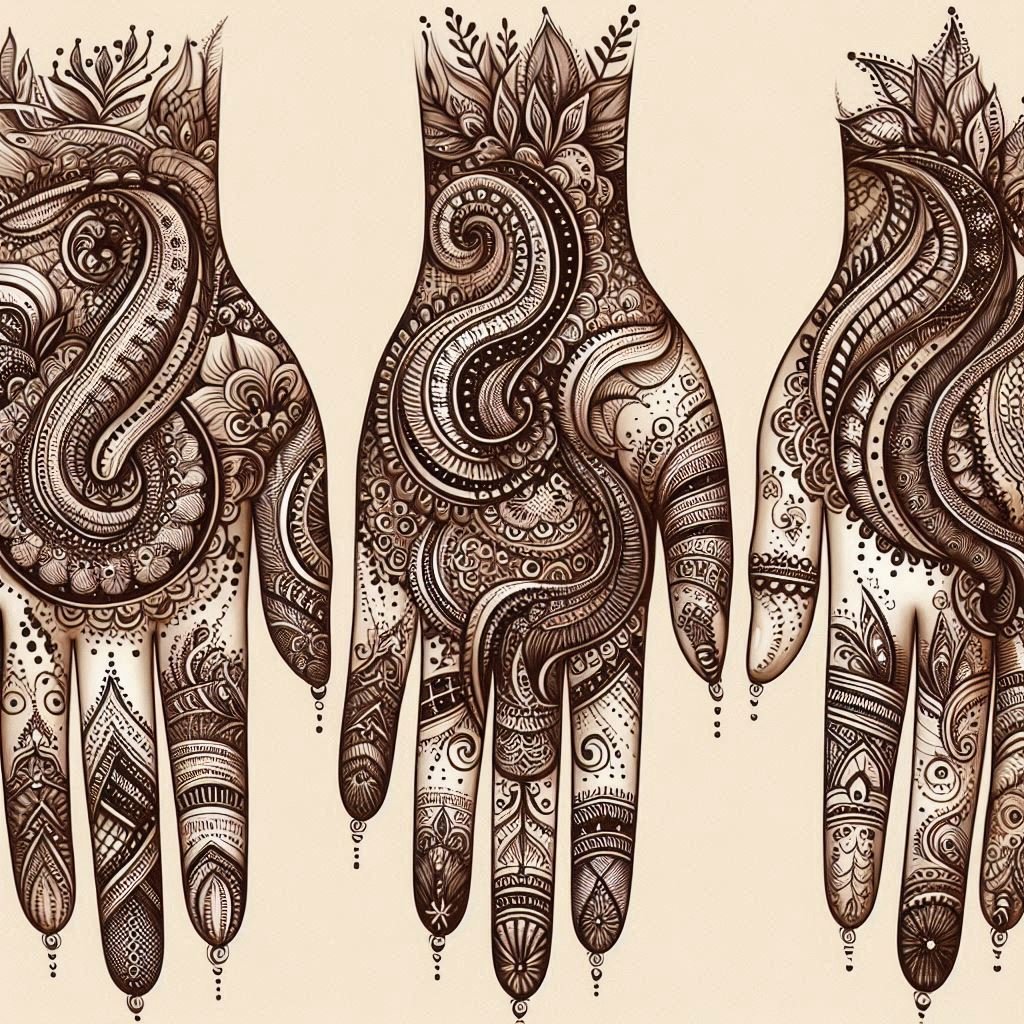
Mehndi, also known as henna, is a beautiful and intricate art form that has been cherished for centuries across various cultures, especially in South Asia, the Middle East, and North Africa. Full hand mehndi designs are particularly popular for special occasions such as weddings, festivals, and religious celebrations, where they add an extra touch of elegance and tradition. These designs cover the entire hand, from the fingertips to the wrist, and sometimes even extend to the forearm, showcasing an array of patterns ranging from floral motifs and geometric shapes to traditional paisleys and mandalas.
In this blog, we will explore the allure of full hand mehndi designs, provide a detailed step-by-step guide on how to apply them, and offer tips to help you perfect your art. Whether you are a beginner or an experienced mehndi artist, this guide will help you create stunning full hand designs that are sure to impress.
Table of Contents
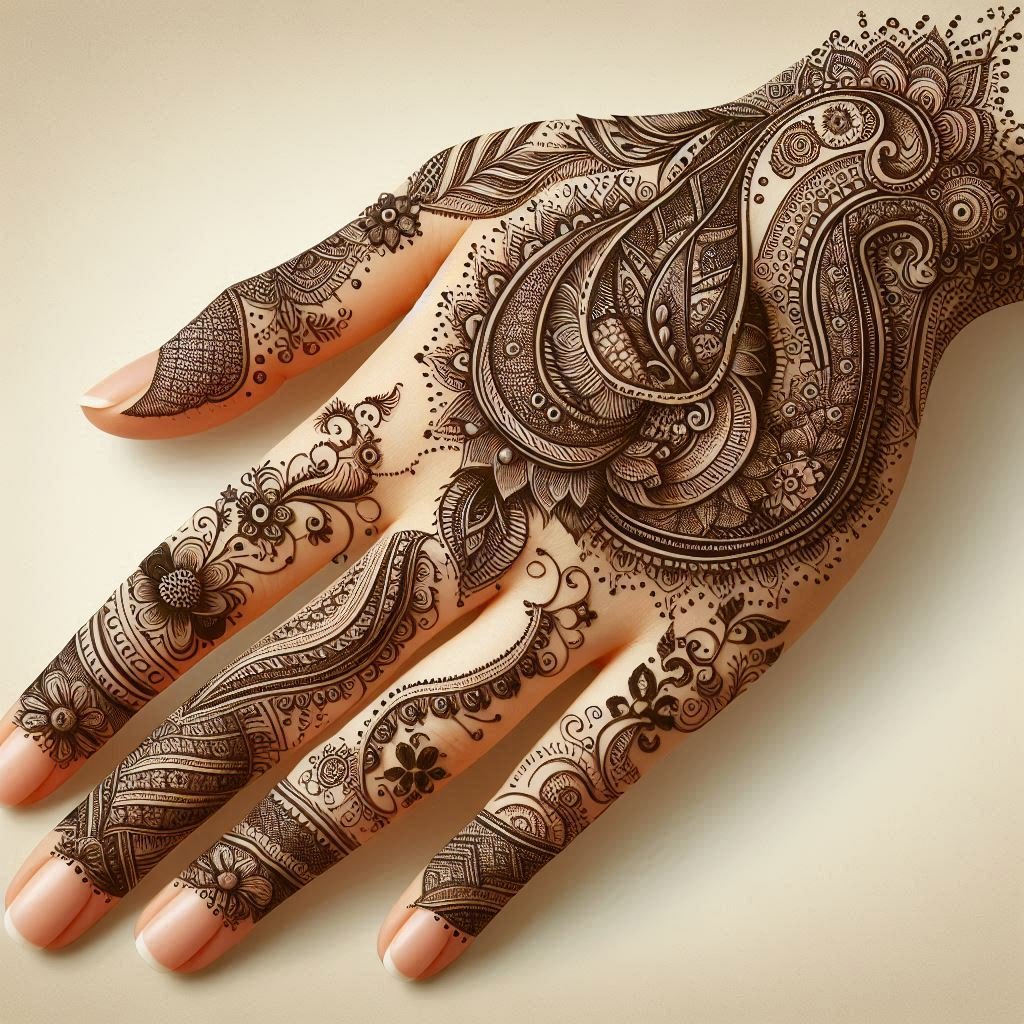
Why Choose Full Hand Mehndi Designs?
- Symbolic Significance: Full hand mehndi designs are often chosen for their symbolic meanings. They are believed to bring good luck, prosperity, and protection, especially during important life events like weddings and festivals.
- Maximum Coverage for Maximum Impact: Unlike simpler designs, full hand mehndi covers a larger area, allowing for more intricate and detailed patterns. This creates a stunning visual impact, making it a perfect choice for brides and those who want to stand out.
- Traditional Elegance: Full hand designs are deeply rooted in tradition. They have been passed down through generations and are often considered an essential part of cultural rituals and ceremonies.
- Versatility of Design: Full hand mehndi allows for a wide range of creativity. You can incorporate various motifs and styles, from traditional Indian and Arabic patterns to more contemporary designs.
- Long-Lasting Beauty: Full hand mehndi designs often use thicker layers of henna, which results in a deeper stain. This means the designs last longer and continue to look beautiful as they gradually fade.
Popular Styles of Full Hand Mehndi Designs
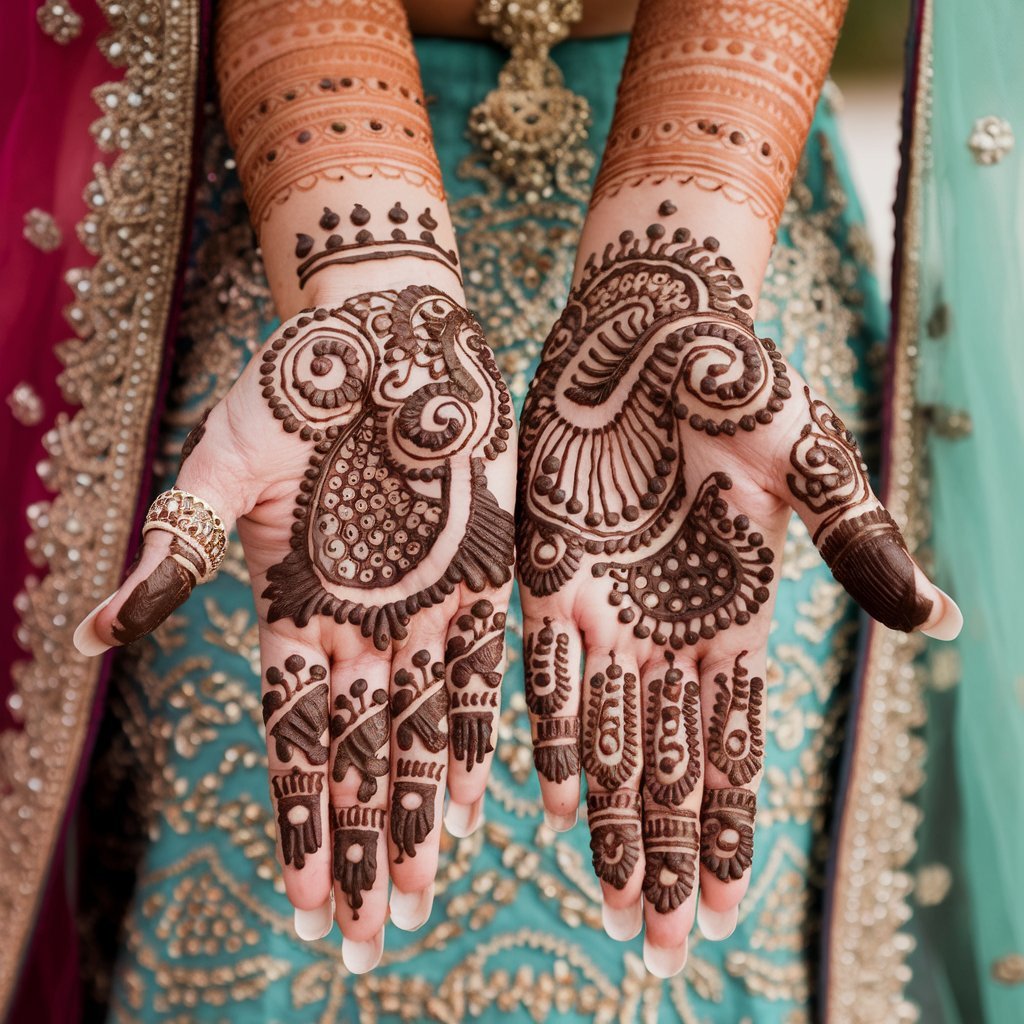
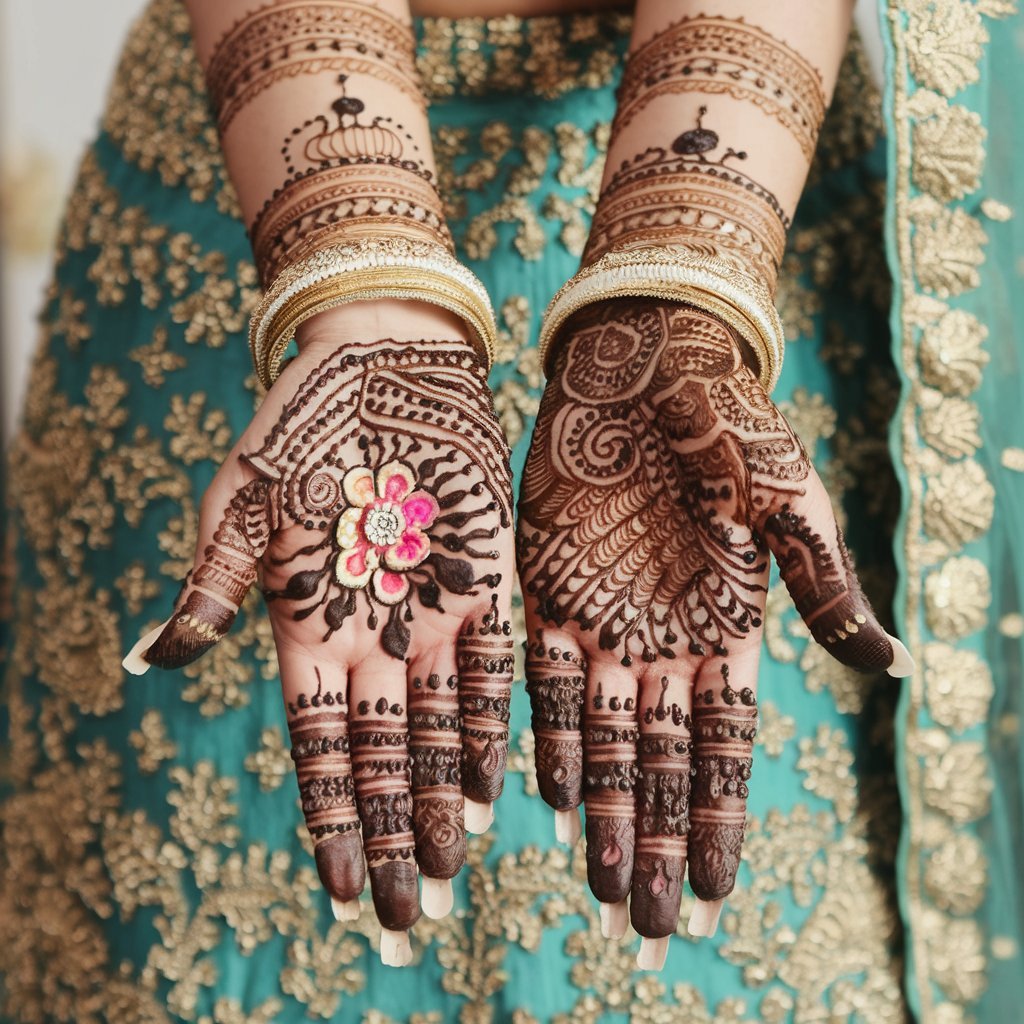
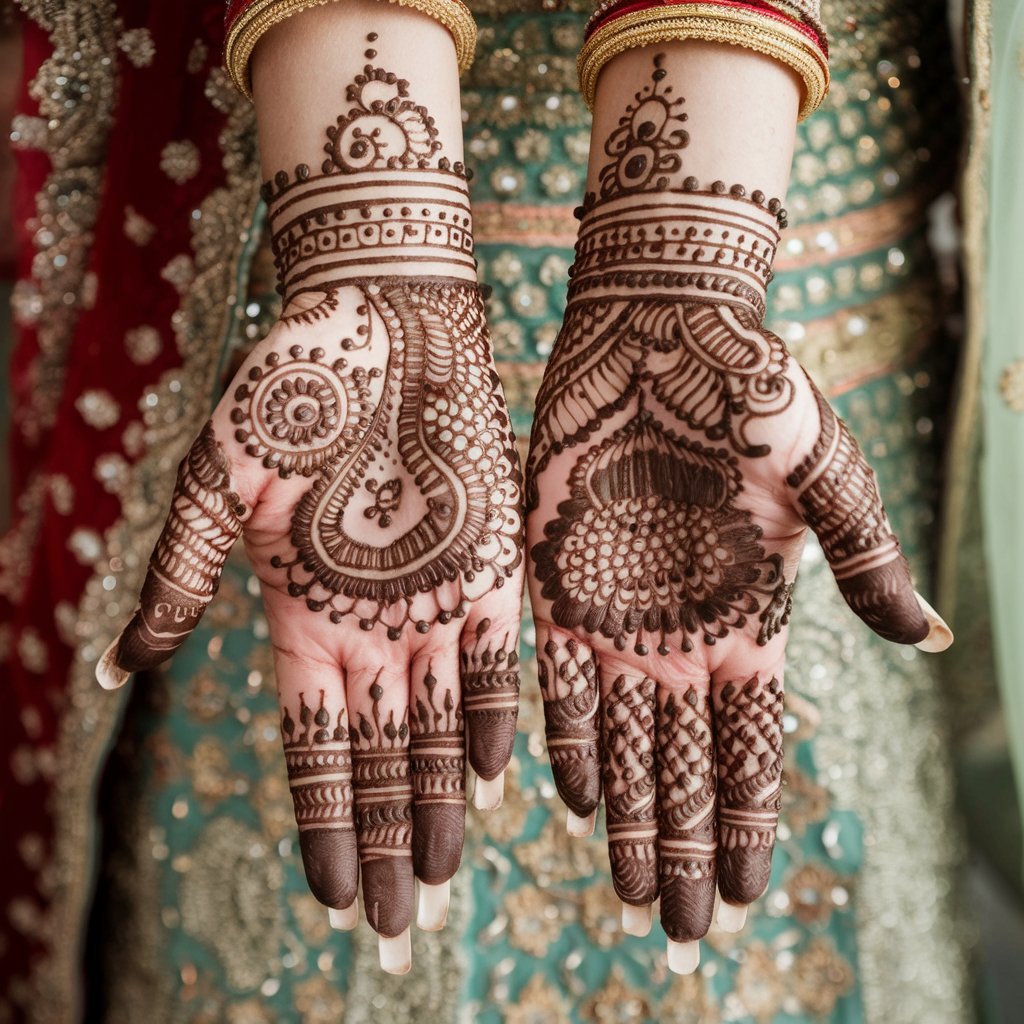
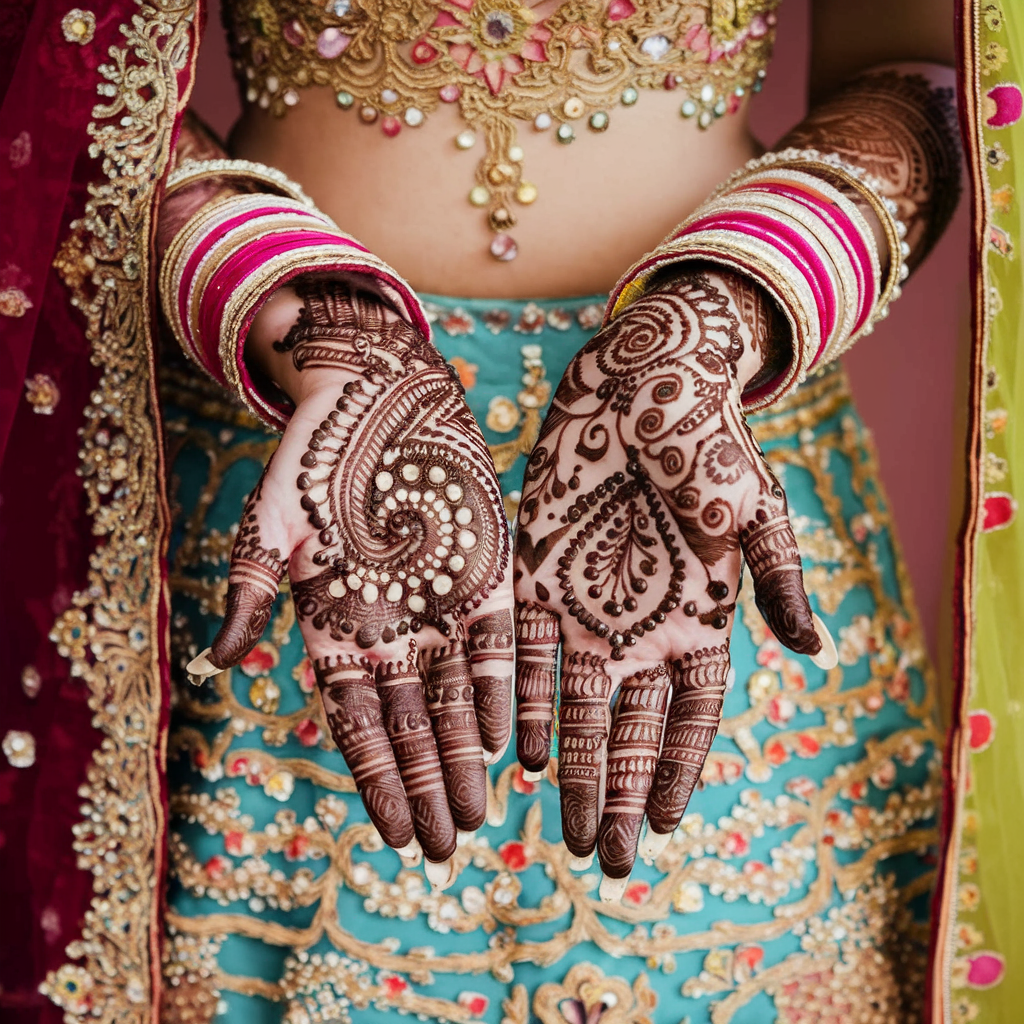
- Traditional Indian Designs: These designs are characterised by intricate details, including paisleys, florals, peacocks, and fine lines. They often cover the entire hand and are filled with elaborate patterns that interconnect seamlessly.
- Arabic Mehndi Designs: Arabic designs are known for their bold and less dense patterns, often featuring floral motifs, leaves, and vines. They have a more free-flowing style and typically include open spaces, giving them a modern and chic appearance.
- Pakistani Mehndi Designs: Pakistani mehndi designs are a blend of Indian and Arabic styles, featuring intricate patterns that are densely packed. They often include a combination of geometric shapes, floral motifs, and complex patterns that cover the full hand.
- Moroccan Mehndi Designs: These designs are geometric and tribal in nature, featuring sharp lines, triangles, and dots. Moroccan mehndi is perfect for those who want a unique and contemporary full hand design.
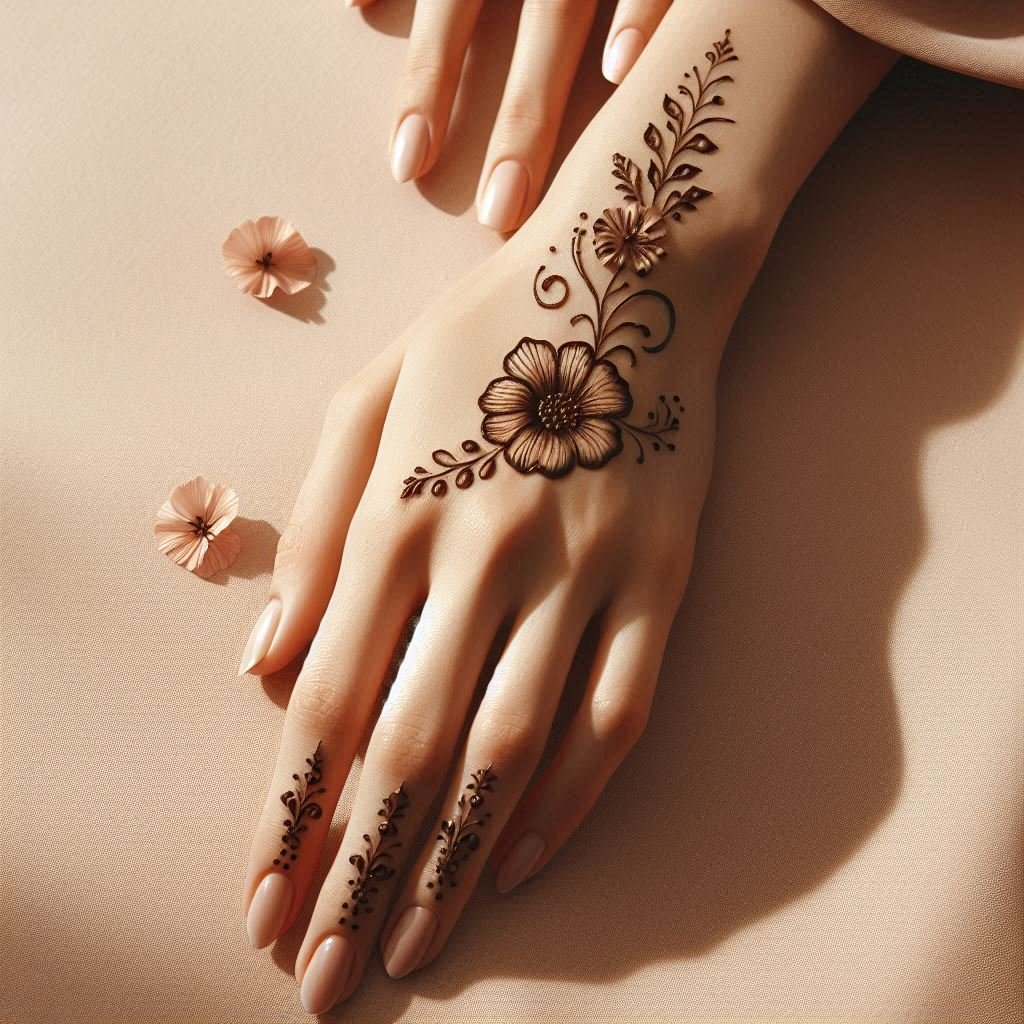
- Modern Minimalist Designs: For those who prefer a more contemporary look, modern minimalist designs offer a fresh take on traditional mehndi. These designs use clean lines, geometric shapes, and negative space to create a sophisticated yet simple full hand look.
Step-by-Step Guide to Applying Full Hand Mehndi Design
Creating a full hand mehndi design can be a daunting task, especially if you are a beginner. However, with patience and practice, you can master the art. Here’s a step-by-step guide to help you get started:
Step 1: Prepare Your Materials
Before you start applying mehndi, make sure you have all the necessary materials ready:
- Fresh henna cone or applicator
- A design reference or sketch
- Tissue paper or cloth for wiping excess henna
- Lemon juice and sugar mixture (for sealing the henna)
- Cotton swabs for applying the lemon-sugar mixture
Step 2: Prep Your Hands
Wash your hands thoroughly to remove any oils, dirt, or lotions that could prevent the henna from adhering properly to the skin. It’s also helpful to exfoliate your skin beforehand to create a smooth surface for the mehndi application.
Step 3: Start with a Simple Outline
Begin by outlining the main elements of your design. If you are working on a traditional Indian design, start with the central motifs like a large paisley or a flower in the middle of the palm. For Arabic designs, you might start with bold flower patterns or vine motifs on the wrist or palm.
Step 4: Build Around the Outline
Once the main motifs are in place, start building around them with smaller patterns. For example, if you have started with a large flower, add leaves, vines, or paisleys around it. For geometric designs, continue adding shapes like triangles, squares, and circles to fill in the space.
Step 5: Fill in the Details
After the primary shapes are completed, begin filling in the details. Use fine lines to add intricate patterns inside the larger motifs. You can also add dots, stripes, or smaller shapes to enhance the design. Remember to keep the patterns consistent throughout to maintain harmony in the design.
Step 6: Extend the Design to the Fingers
When working on a full hand mehndi design, don’t forget to extend the patterns onto the fingers. You can use a combination of lines, dots, and small motifs to create continuity from the palm to the tips of the fingers. This helps to tie the whole design together.
Step 7: Utilize Negative Space
Negative space, or the areas left blank, is an important aspect of mehndi design. It helps to balance the composition and makes the intricate patterns stand out. Be mindful of the areas you leave empty, as this can enhance the overall look of your full hand mehndi design.
Step 8: Add Finishing Touches
Once you are satisfied with the main design, add any final details or touches. This could include adding smaller motifs, filling in any gaps, or refining the lines to make them sharper.
Step 9: Apply Lemon-Sugar Mixture
Allow the henna to dry for about 10-15 minutes. Once it is slightly dry but still sticky, apply a lemon-sugar mixture over the design using a cotton swab. This helps to keep the henna in place and ensures a darker stain.
Step 10: Let the Henna Dry Completely
For the best results, let the henna dry completely on your hands. This usually takes 4-6 hours, but for a deeper color, you can leave it on overnight. Avoid moving your hands too much during this time to prevent smudging.
Step 11: Remove the Henna Paste
Once the henna is fully dry, gently scrape it off using a tissue or the back of a spoon. Do not wash your hands with water immediately after removing the henna, as this can affect the stain. Instead, apply a light oil (such as coconut or olive oil) to moisturize the skin and enhance the color.
Step 12: Reveal Your Beautiful Design
After removing the henna, the stain will appear light orange but will darken over the next 24-48 hours. Enjoy your stunning full hand mehndi design, which will continue to look beautiful as it gradually fades over the next one to two weeks.
Tips for Perfecting Your Full Hand Mehndi Design
- Practice Regularly: Like any form of art, practice is key to mastering mehndi design. Regular practice will help you improve your technique and build confidence in creating intricate patterns.
- Keep a Steady Hand: A steady hand is essential for applying mehndi smoothly and creating clean lines. Take your time and focus on maintaining a steady hand throughout the application process.
- Plan Your Design: Before you start applying mehndi, it’s helpful to have a plan or reference design in mind. This will guide you and ensure that your design is well-balanced and cohesive.
- Start with Basic Patterns: If you are a beginner, start with simpler patterns and gradually move on to more complex designs as you gain confidence and skill.
- Maintain Consistency: Consistency is key in creating a beautiful mehndi design. Make sure that your lines are of uniform thickness and that your patterns are evenly spaced.
- Experiment with Different Styles: Don’t be afraid to experiment with different styles and patterns. Try combining elements from different cultures or creating your own unique motifs to add a personal touch to your design.
- Take Care of Your Mehndi: To ensure the best results, take care of your mehndi by avoiding water and harsh chemicals for the first 24 hours after application. Apply oil regularly to keep the design looking fresh and vibrant.
Conclusion
Full hand mehndi designs are a timeless and beautiful way to celebrate special occasions and add a touch of elegance to your look. Whether you choose a traditional Indian pattern, a bold Arabic design, or a modern minimalist style, the key to a stunning full hand mehndi design lies in practice, patience, and creativity.
At Mehndi Baazar, we encourage everyone to explore the art of mehndi and create their own unique designs. With the right tools and a bit of practice, you can master the art of full hand mehndi and create stunning patterns that reflect your personal style and culture. So grab your henna cone and start experimenting with full hand mehndi designs today!
