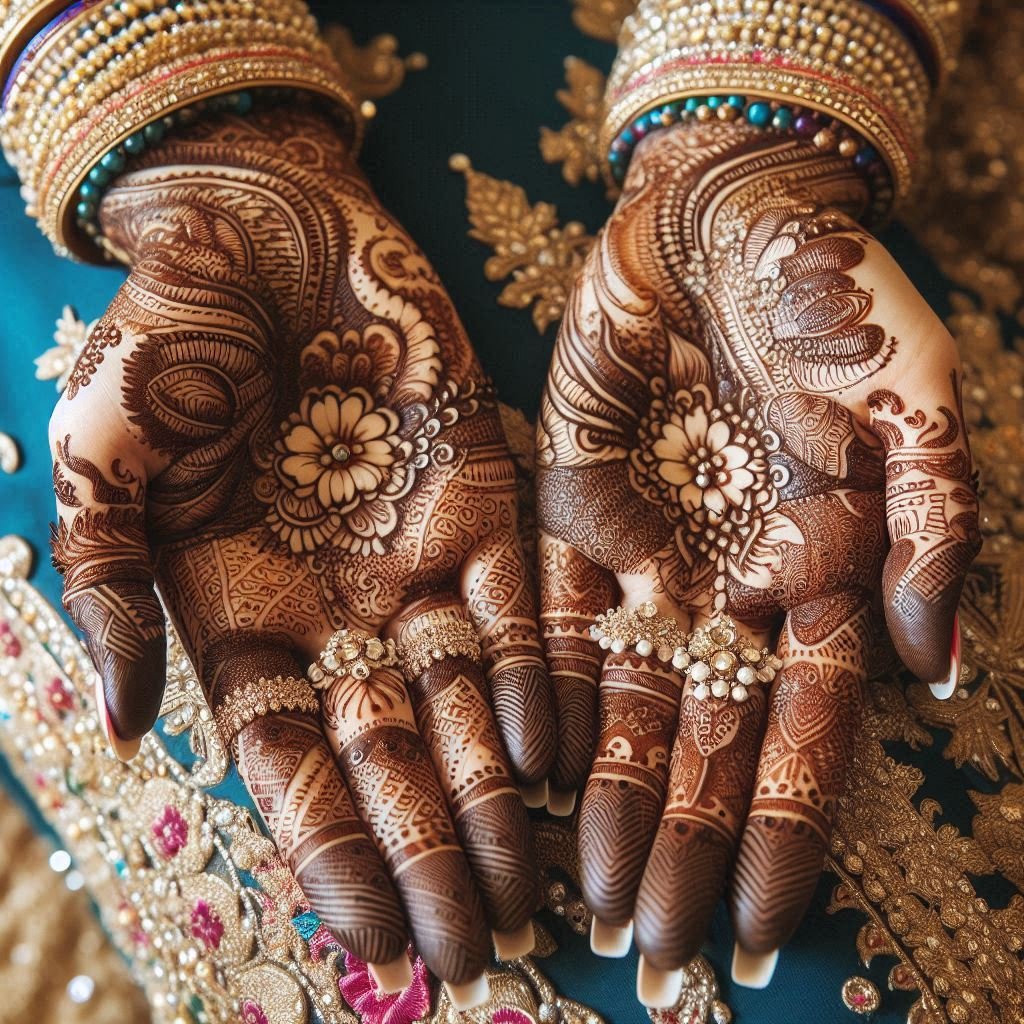
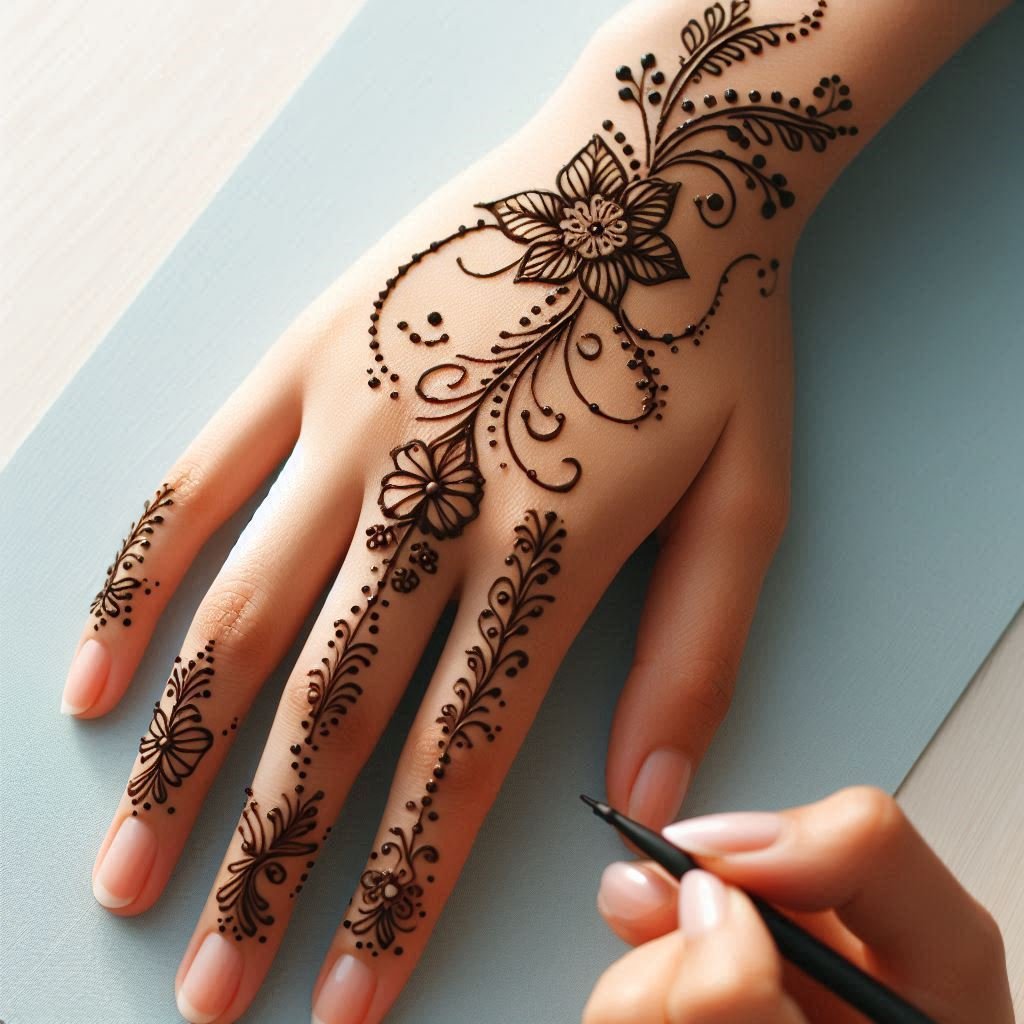
Mehndi, also known as henna, is an ancient art form that has been a part of South Asian, Middle Eastern, and North African cultures for centuries. Applying mehndi is not just a tradition; it’s a celebration of beauty, culture, and personal expression. In recent years, the popularity of Mehndi has spread worldwide, with people embracing its intricate designs for various occasions. If you are looking for a mehndi design easy and beautiful, this guide is perfect for you. We’ll explore various simple yet stunning mehndi designs and provide tips to make the application process effortless and enjoyable.
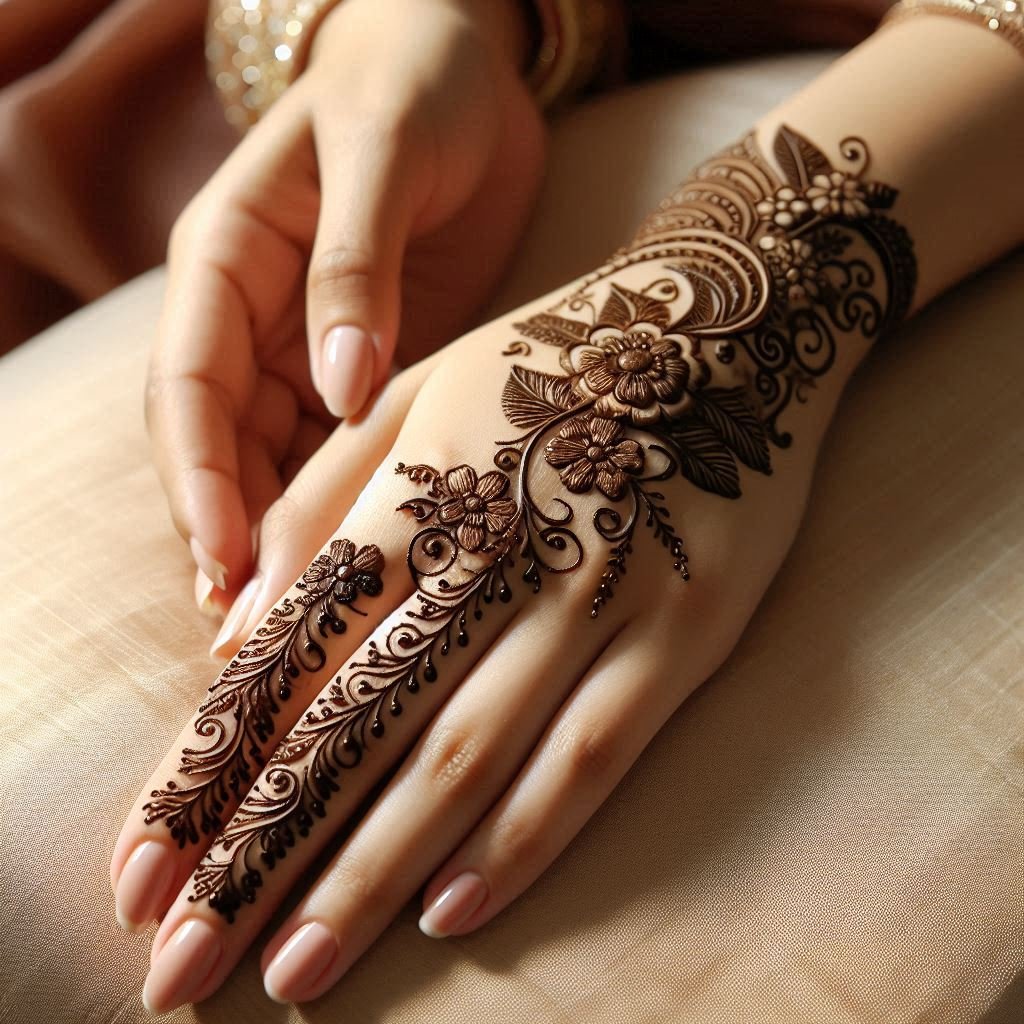
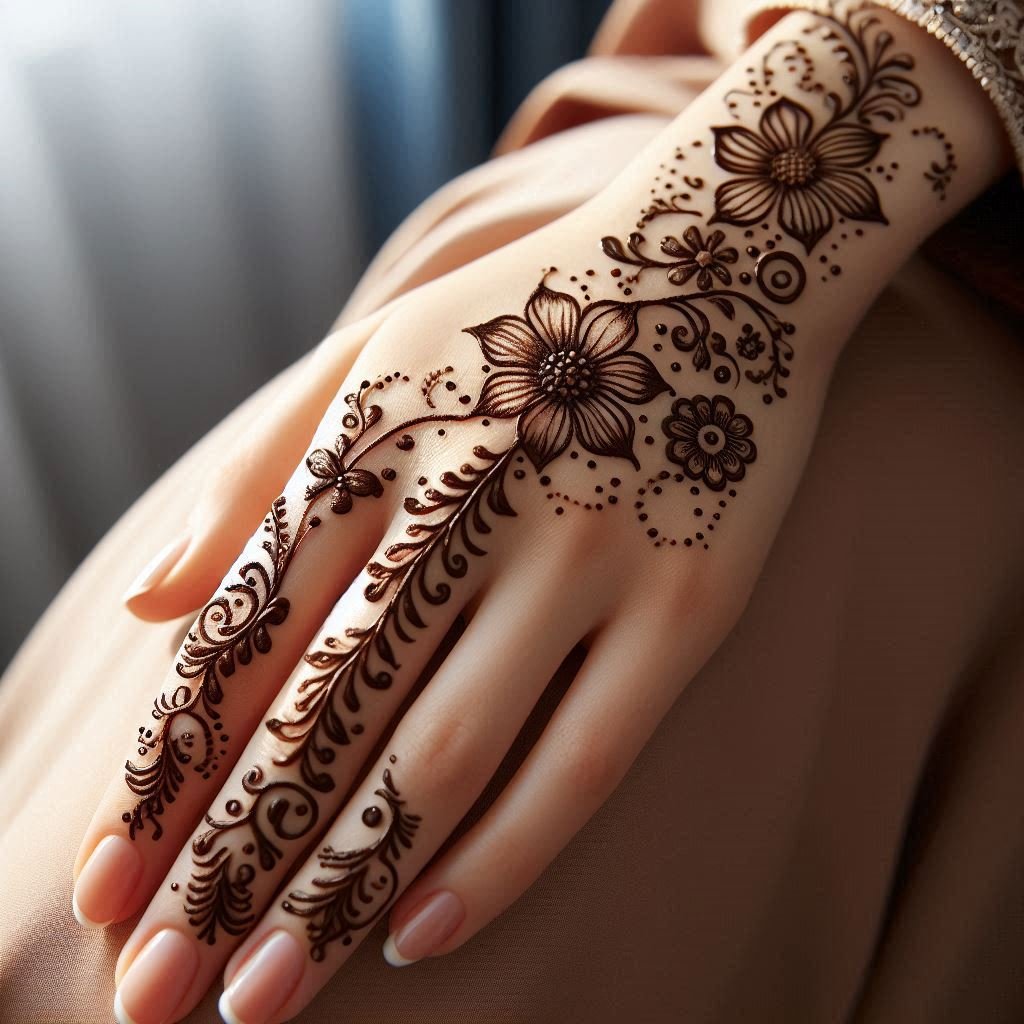
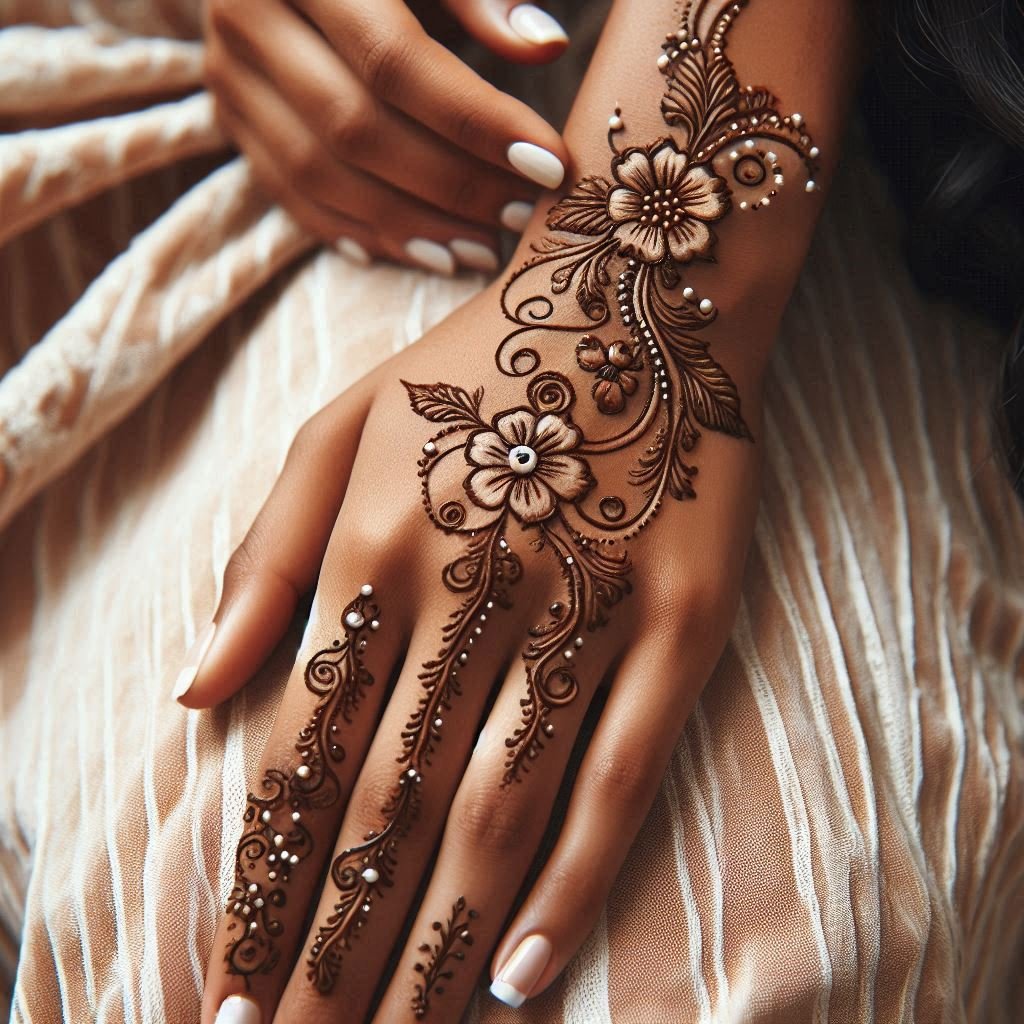
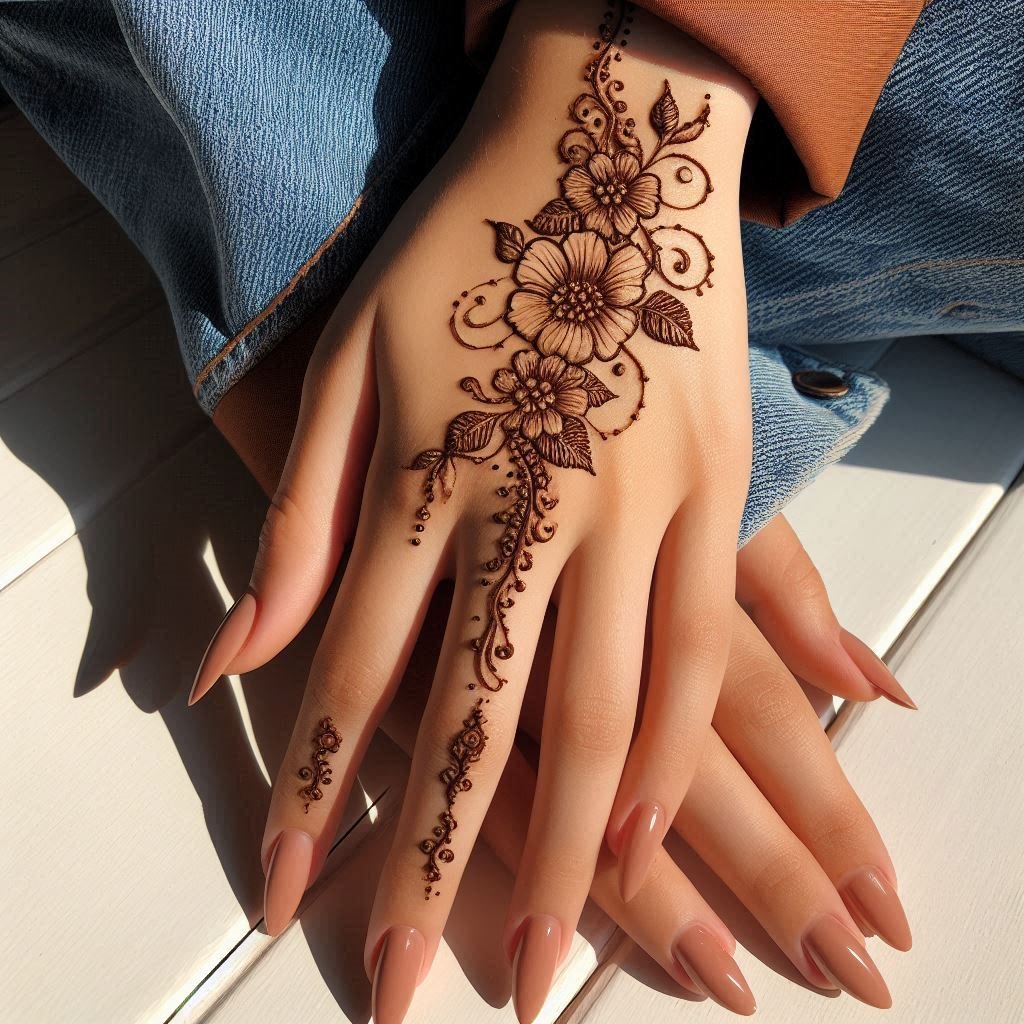
Table of Contents
Why Choose an Easy and Beautiful Mehndi Design?
A mehndi design that is easy and beautiful offers several benefits:
- Simplicity for Beginners: If you’re new to Mehndi, simple designs are a great starting point. They allow you to practice without feeling overwhelmed by complex patterns.
- Quick Application: Easy designs are quicker to apply, making them perfect for those who don’t have a lot of time but still want a gorgeous henna look.
- Versatility: Easy and beautiful mehndi designs can be worn for any occasion, from casual gatherings to festive celebrations.
- Less Messy: With fewer intricate details, the risk of smudging or mistakes is reduced, making the application process smoother.
Popular Mehndi Design Easy and Beautiful
Here are some popular styles of mehndi designs that are easy and beautiful:
- Floral Patterns: Floral mehndi designs are timeless and versatile. They are perfect for beginners because they typically consist of simple flower shapes and leaves. You can create a beautiful design by starting with a large flower on the palm and adding smaller flowers and leaves around it.
- Geometric Shapes: Geometric mehndi designs involve shapes like circles, triangles, and squares. These designs are easy to create and can be arranged in various ways to form a unique pattern. For a beautiful yet simple look, try a series of connected circles or a zigzag pattern.
- Finger Mehndi Designs: These designs focus on the fingers, using simple lines, dots, and small shapes to create an elegant look. They are perfect for those who prefer a minimalist approach. You can even add a small motif on the back of the hand for added charm.
- Mandala Designs: Mandalas are circular designs that start from the center and grow outward in a series of repeating patterns. They can be as simple or as complex as you like, making them a great option for both beginners and experienced artists. Start with a small circle in the center of your palm and add layers of petals or shapes around it.
- Minimalist Mehndi: Minimalist designs are characterized by their simplicity and clean lines. These designs often use negative space to create a modern and elegant look. For a mehndi design that is easy and beautiful, try a single line of small flowers running from your wrist to your fingertip.
How to Apply a Mehndi Design Easy and Beautiful: Step-by-Step Guide
Applying a mehndi design that is easy and beautiful doesn’t have to be daunting. Here’s a step-by-step guide to help you get started:
Step 1: Gather Your Materials
You will need a henna cone or applicator, tissues or cloth, lemon juice mixed with sugar (for sealing the henna), and cotton swabs.
Step 2: Prepare Your Hand
Wash your hands thoroughly to remove any oils or dirt. Exfoliating your skin can also help create a smooth surface for the henna application.
Step 3: Choose Your Design
Decide on the type of mehndi design you want to apply. If you’re new to mehndi, start with a simple floral or geometric pattern.
Step 4: Start with Basic Shapes
Begin by drawing the basic shapes of your design. For example, if you’re doing a floral pattern, start with the main flower in the center of your palm.
Step 5: Add Details
Once the basic outline is complete, add smaller details like leaves, dots, and lines. Keep it simple and avoid overcrowding the design.
Step 6: Use Negative Space
Utilize negative space to highlight the design and create a balanced look. This will make your mehndi design easy and beautiful.
Step 7: Apply Lemon-Sugar Mixture
Once the henna is dry, apply a lemon-sugar mixture to the design with a cotton swab. This helps seal the henna and ensures a darker stain.
Step 8: Let the Henna Dry Completely
Allow the henna to dry for at least 4-6 hours or overnight for the best results. Avoid moving your hand to prevent smudging.
Step 9: Remove the Henna
Gently scrape off the dried henna with a tissue or the back of a spoon. Avoid washing your hands with water immediately after removing the henna.
Step 10: Moisturize
Apply oil or balm to your skin to enhance the color and keep the henna stain vibrant.
Tips for a Perfect Mehndi Design Easy and Beautiful
- Practice on Paper: Before applying mehndi directly to your hand, practice the design on paper. This will help you get a feel for the patterns and improve your confidence.
- Use a Steady Hand: Apply the mehndi slowly and carefully, maintaining consistent pressure on the cone to ensure even lines.
- Incorporate Negative Space: Negative space helps to create a balanced composition and allows the intricate details to stand out.
- Start Simple: If you’re new to mehndi, start with a simpler design and gradually work your way up to more complex patterns.
FAQs About Mehndi Design Easy and Beautiful
1. What is the best type of mehndi for beginners?
For beginners, a mehndi design that is easy and beautiful is the best choice. Floral patterns, geometric shapes, and simple mandalas are great options because they are less complicated and easier to master.
2. How can I make my mehndi design last longer?
To make your mehndi design easy and beautiful last longer, avoid washing your hands with soap for the first 24 hours after application. Apply a lemon-sugar mixture to seal the henna and keep your skin moisturized with oil or balm.
3. How do I choose the right henna cone?
When choosing a henna cone for an easy and beautiful mehndi design, look for one with a fine tip for precise application. Ensure the henna is natural and free from harmful chemicals.
4. Can I create my own mehndi designs?
Yes, you can create your own mehndi design that is easy and beautiful. Start with basic shapes and patterns, and experiment with different elements to create a unique design.
5. How long does it take for mehndi to stain the skin?
The henna typically needs to be left on the skin for 4-6 hours or overnight to achieve a deep, long-lasting stain. The color will continue to darken over the next 24-48 hours.
6. Can I use stencils for an easy mehndi design?
Yes, stencils are a great tool for creating an easy mehndi design. They help guide your application and ensure clean, precise lines, making them perfect for beginners.
7. How do I care for my skin after applying mehndi?
To care for your skin after applying mehndi, avoid washing the area with soap for at least 24 hours. Moisturize your skin with natural oils to keep the henna stain vibrant and long-lasting.
8. What are the most common mistakes to avoid when applying mehndi?
Common mistakes include applying too much pressure on the cone, which can cause the paste to smear, not allowing the henna to dry completely before moving, and overcrowding the design with too many details.
9. Can I use colored henna for an easy mehndi design?
While traditional henna is usually a deep red or brown color, you can use colored henna for a unique look. However, be sure to use natural, skin-safe colored henna to avoid irritation.
10. How can I remove mehndi if I don’t like the design?
If you want to remove your mehndi design, you can try exfoliating your skin with a scrub, applying lemon juice, or using a mixture of baking soda and water. However, henna is a natural dye, so it may take a few days for the color to fade completely.
Conclusion
Creating a mehndi design that is easy and beautiful is a wonderful way to express your creativity and add a touch of elegance to any occasion. With practice, patience, and the right techniques, anyone can master the art of mehndi. Whether you’re a beginner or an experienced artist, there’s always something new to learn and explore in the world of mehndi. So, grab your henna cone and start creating stunning, simple designs that reflect your unique style and personality. Happy designing!
