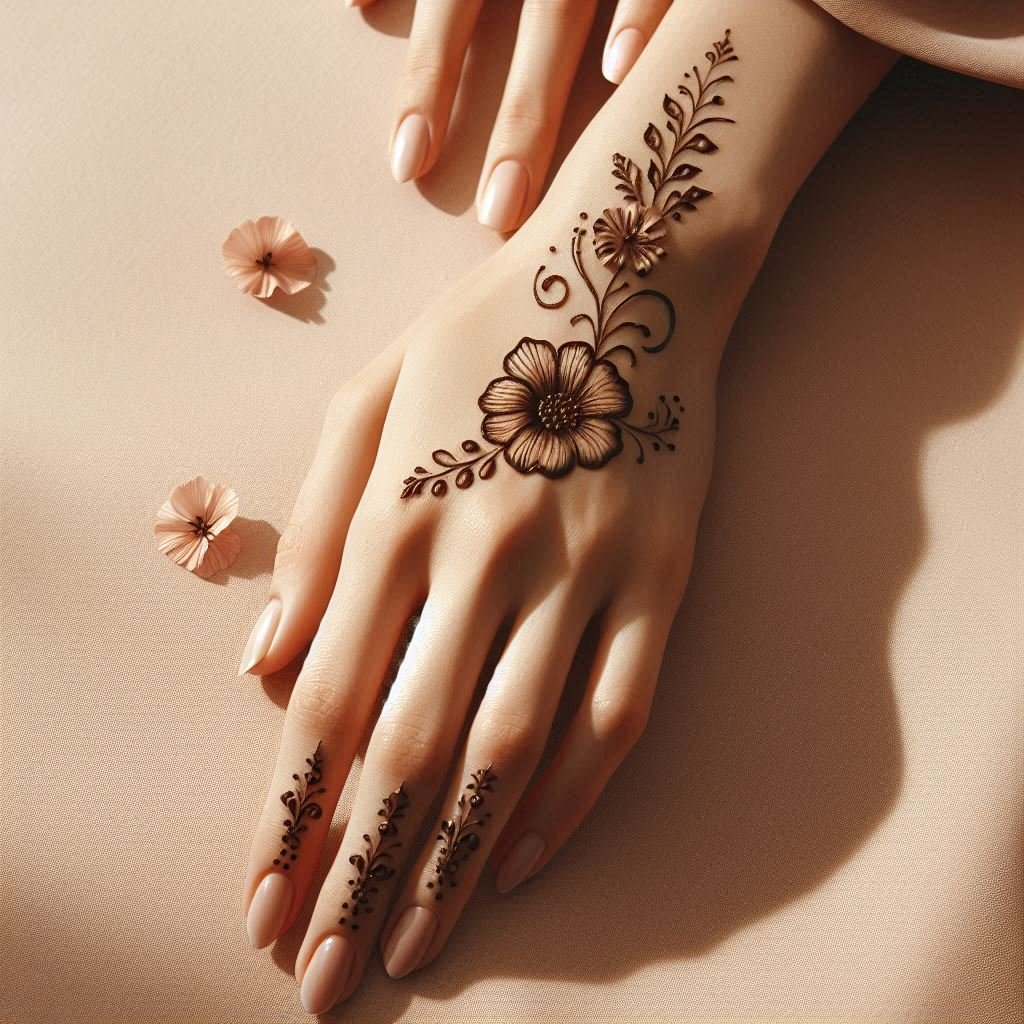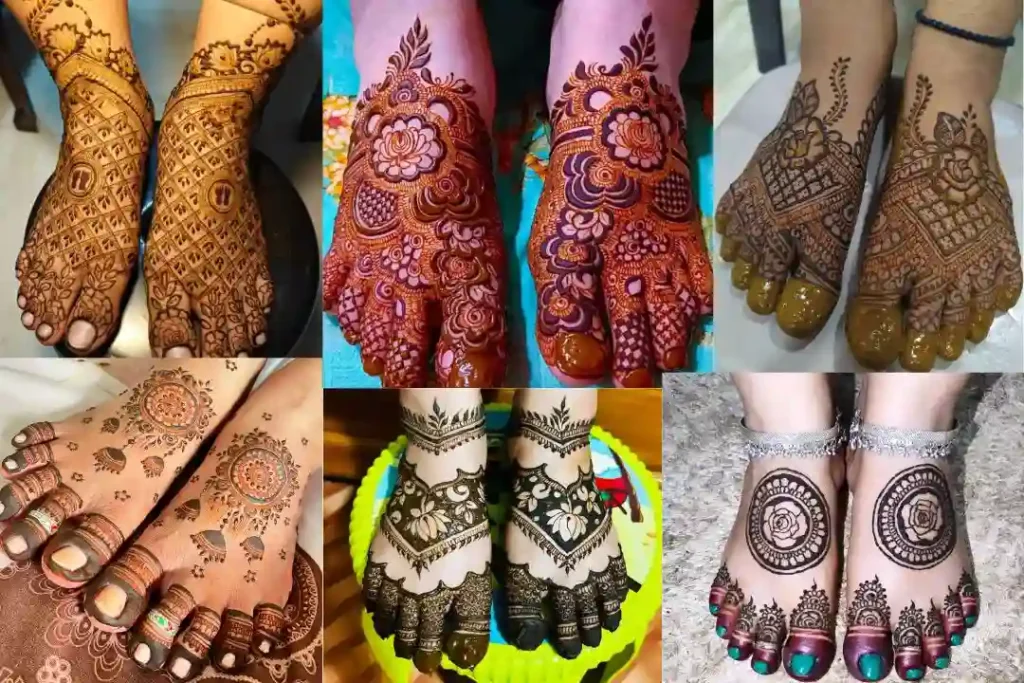
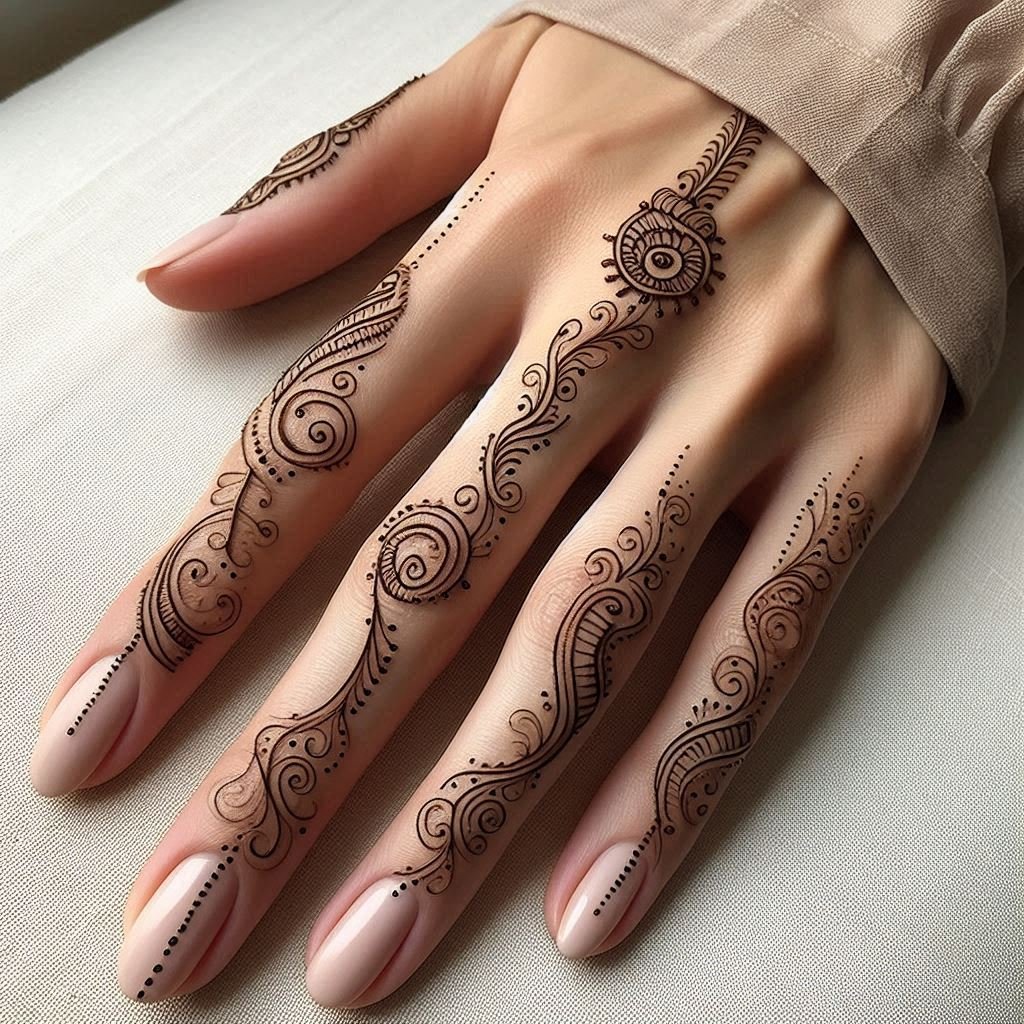
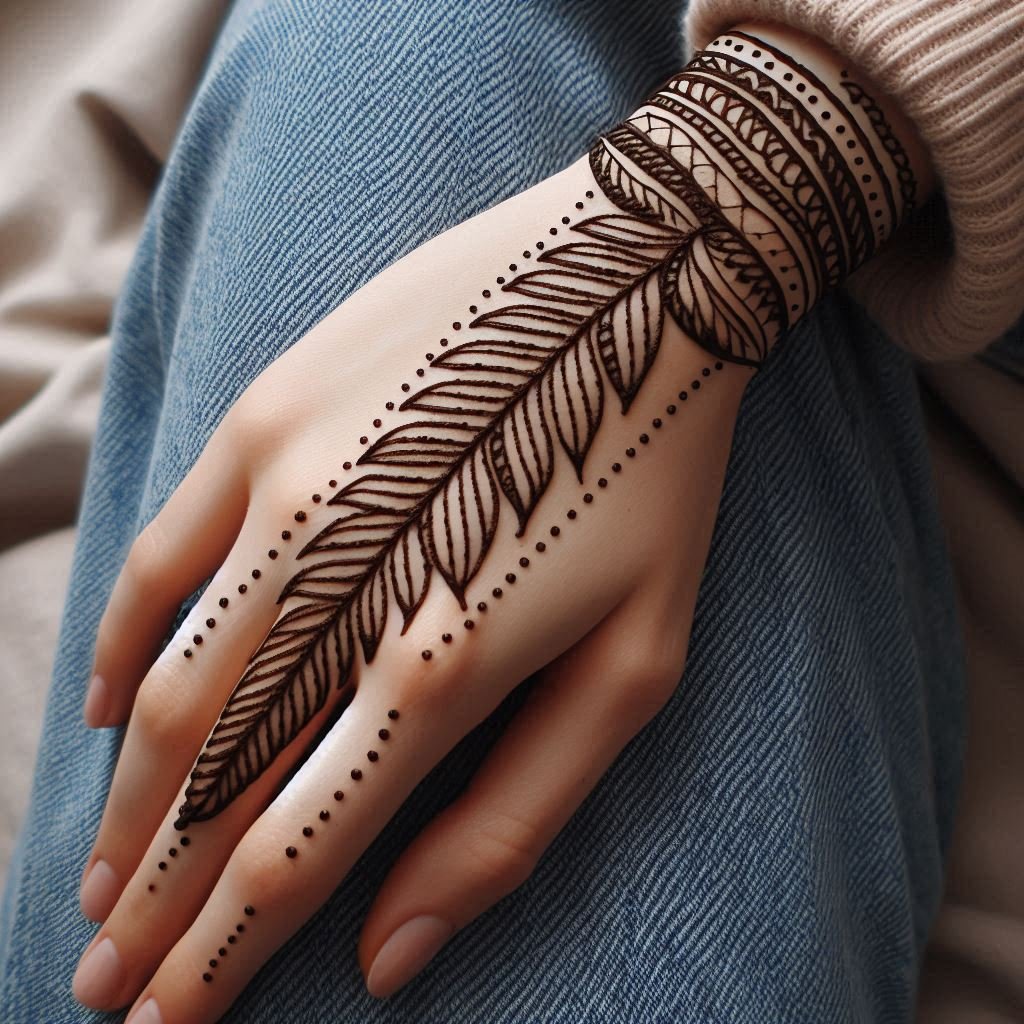
Mehndi, also known as henna, is a beautiful form of body art that has been used for centuries in various cultures to adorn hands and feet. While full-hand designs are popular for weddings and festive occasions, finger mehndi design have become a trendy choice for those looking for a more minimalistic and modern look. Finger mehndi designs are perfect for beginners because they are easy to create, require less time, and still make a stylish statement. In this blog, we will explore the top 10 simple finger mehndi designs for beginners, complete with step-by-step guides and tips to help you perfect each design.
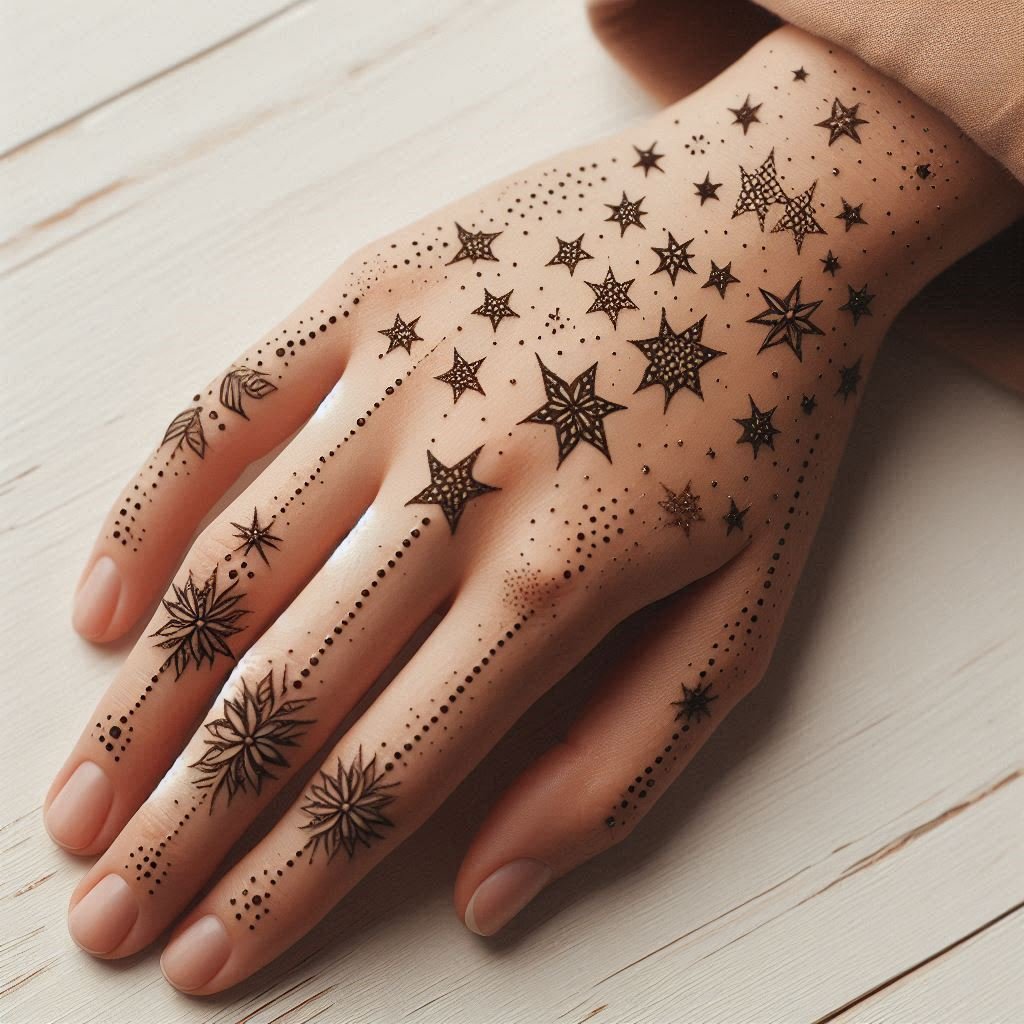
1. Simple Line and Dot Patterns
Description:
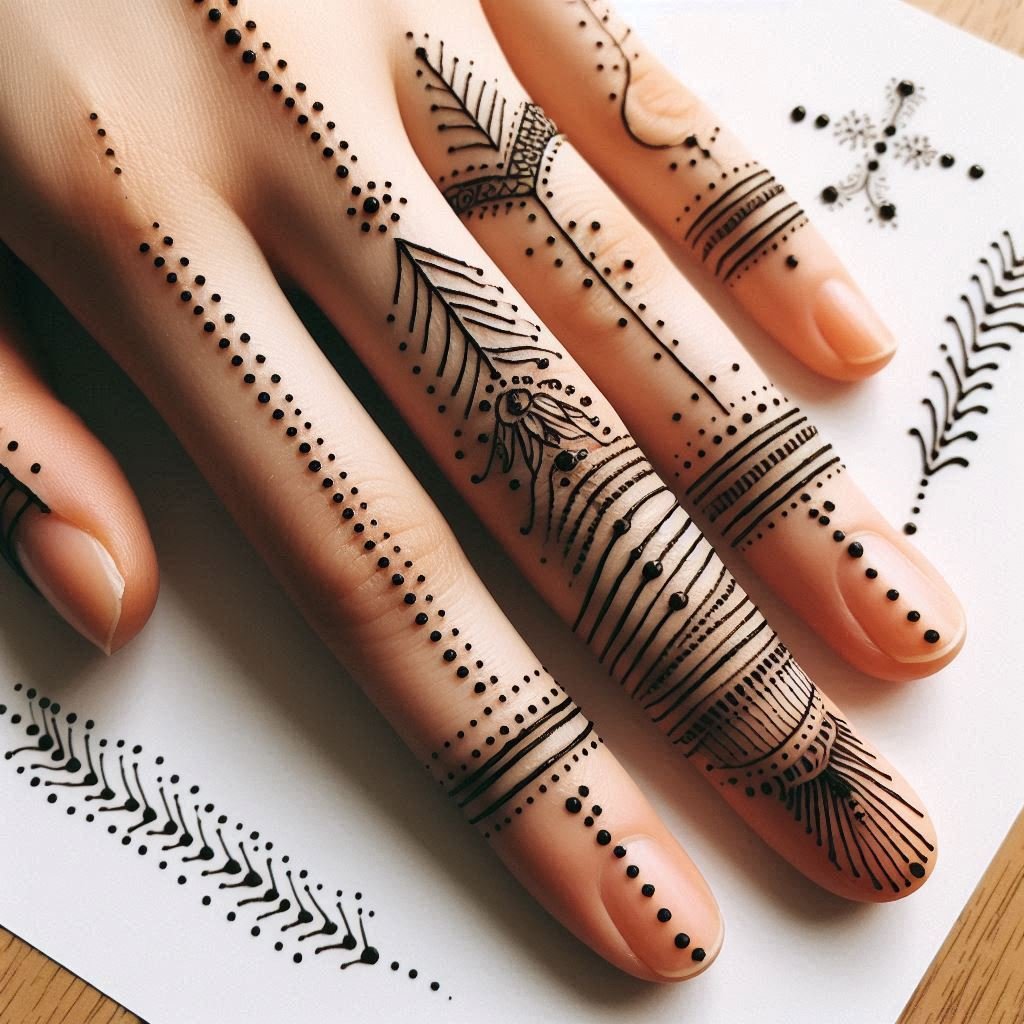
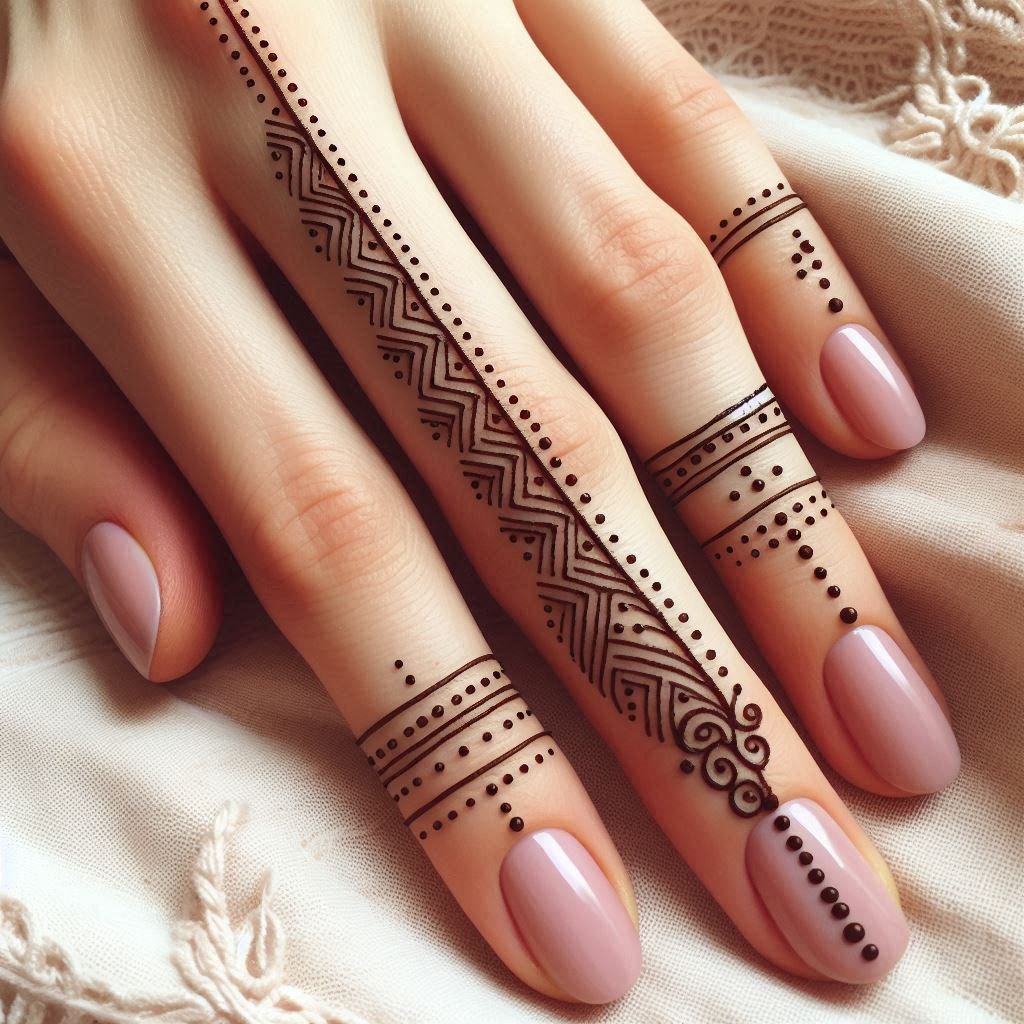
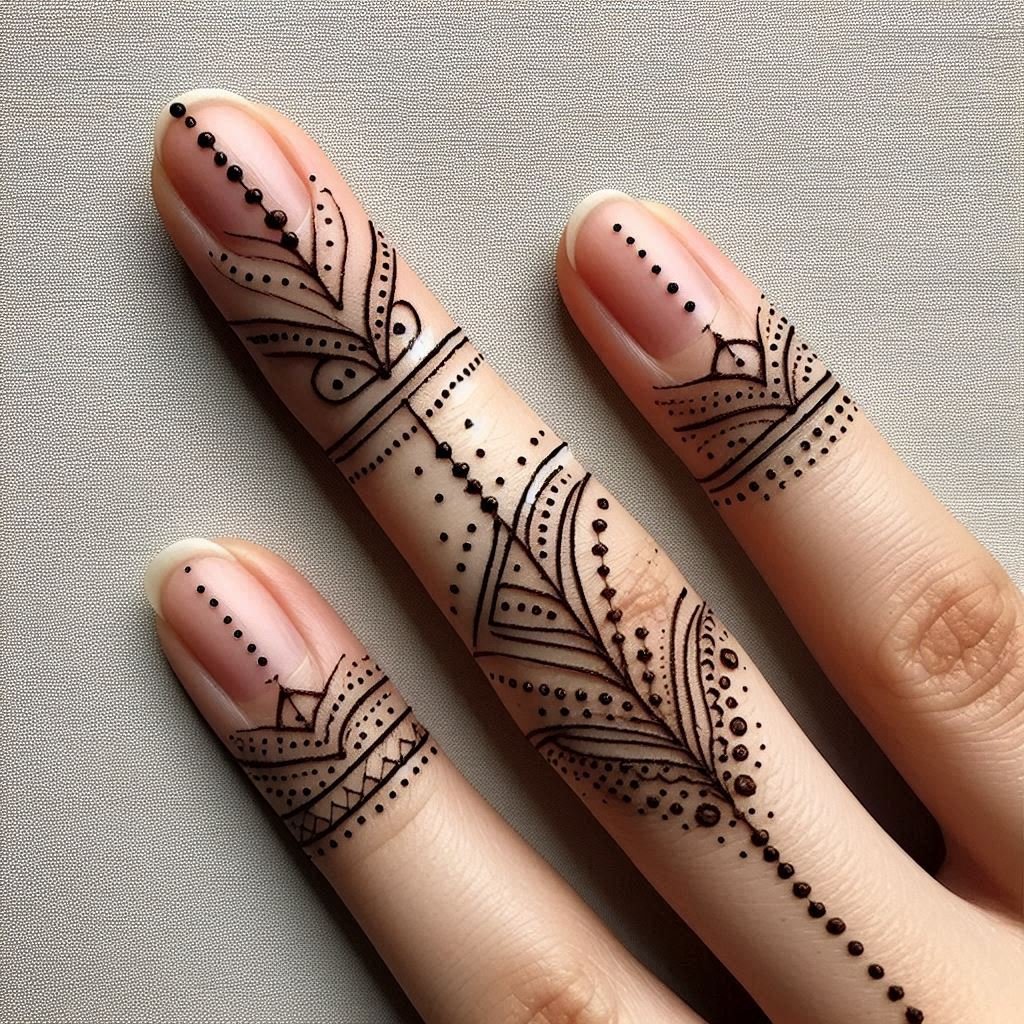
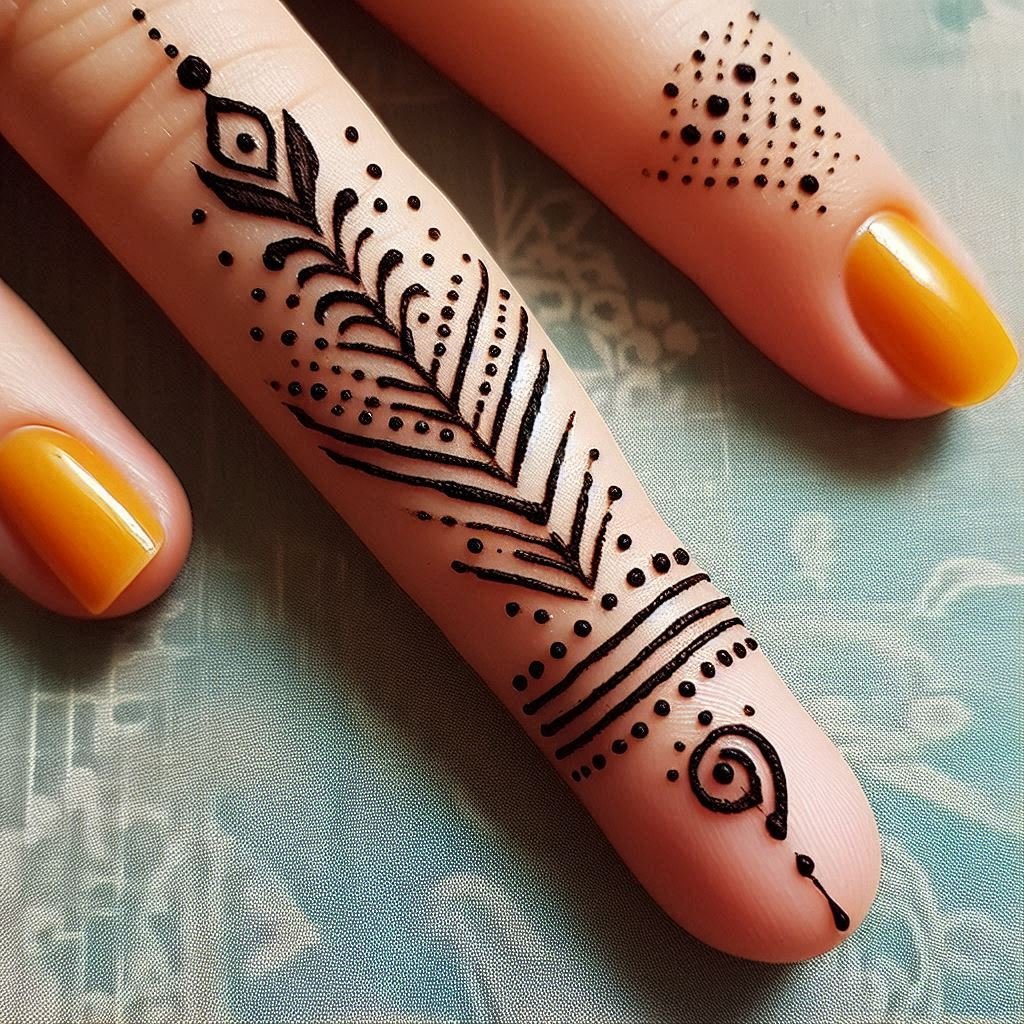
One of the easiest finger mehndi designs is a combination of lines and dots. This design is incredibly simple and can be quickly drawn by anyone, even without much practice.
How to Create:
- Start by drawing a straight line from the base of your finger to the tip.
- Add small dots on either side of the line to create a symmetrical look.
- You can also create a zigzag pattern with lines and dots for a bit more flair.
Tips:
- Keep the lines straight and the dots evenly spaced for a clean look.
- Practice on paper first to get a steady hand.
2. Floral Finger Tip Design
Description:
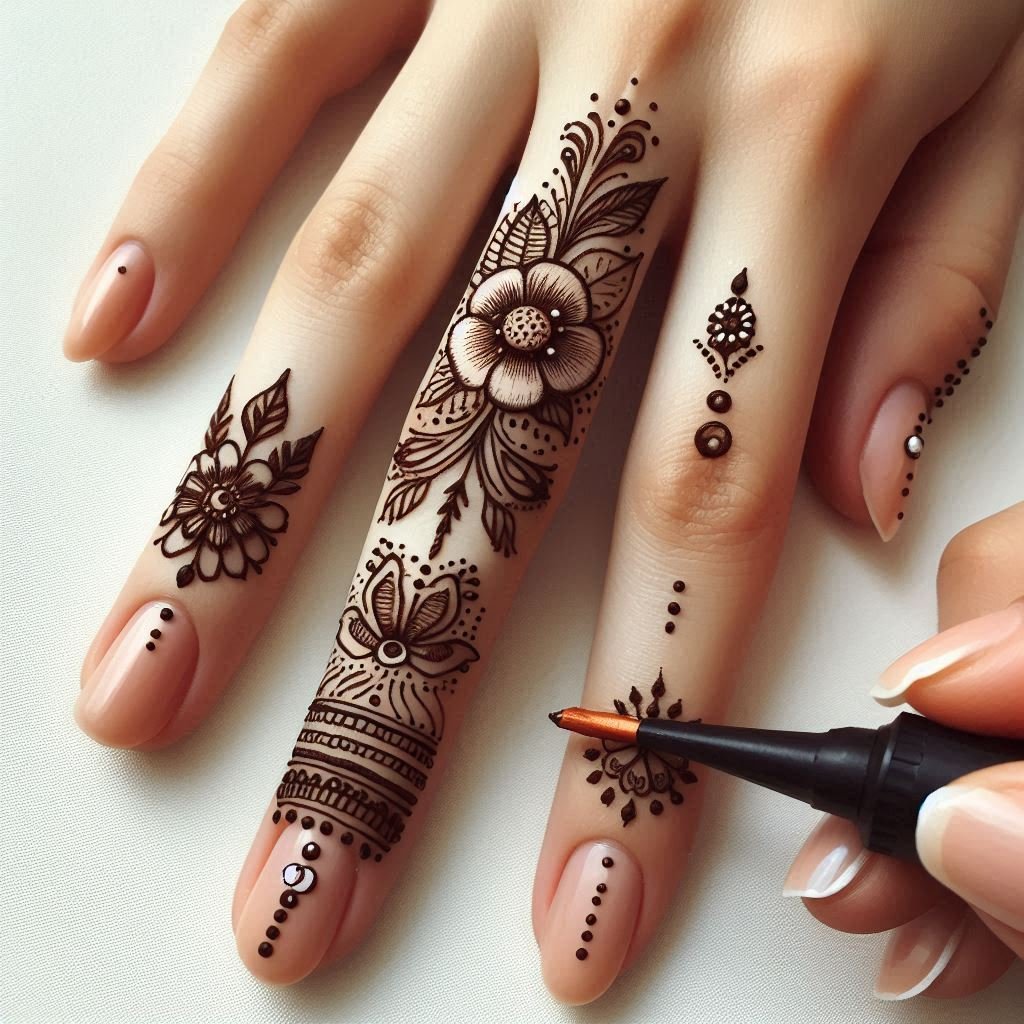
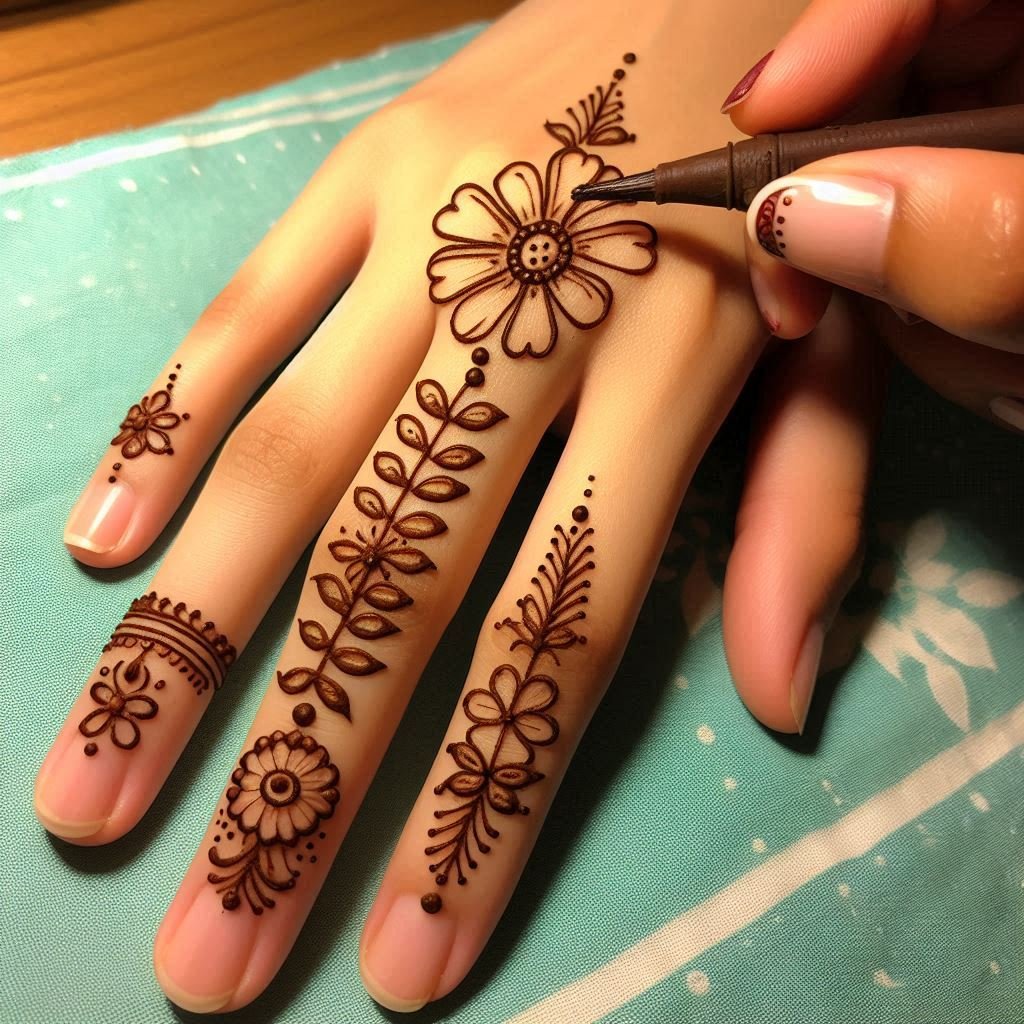
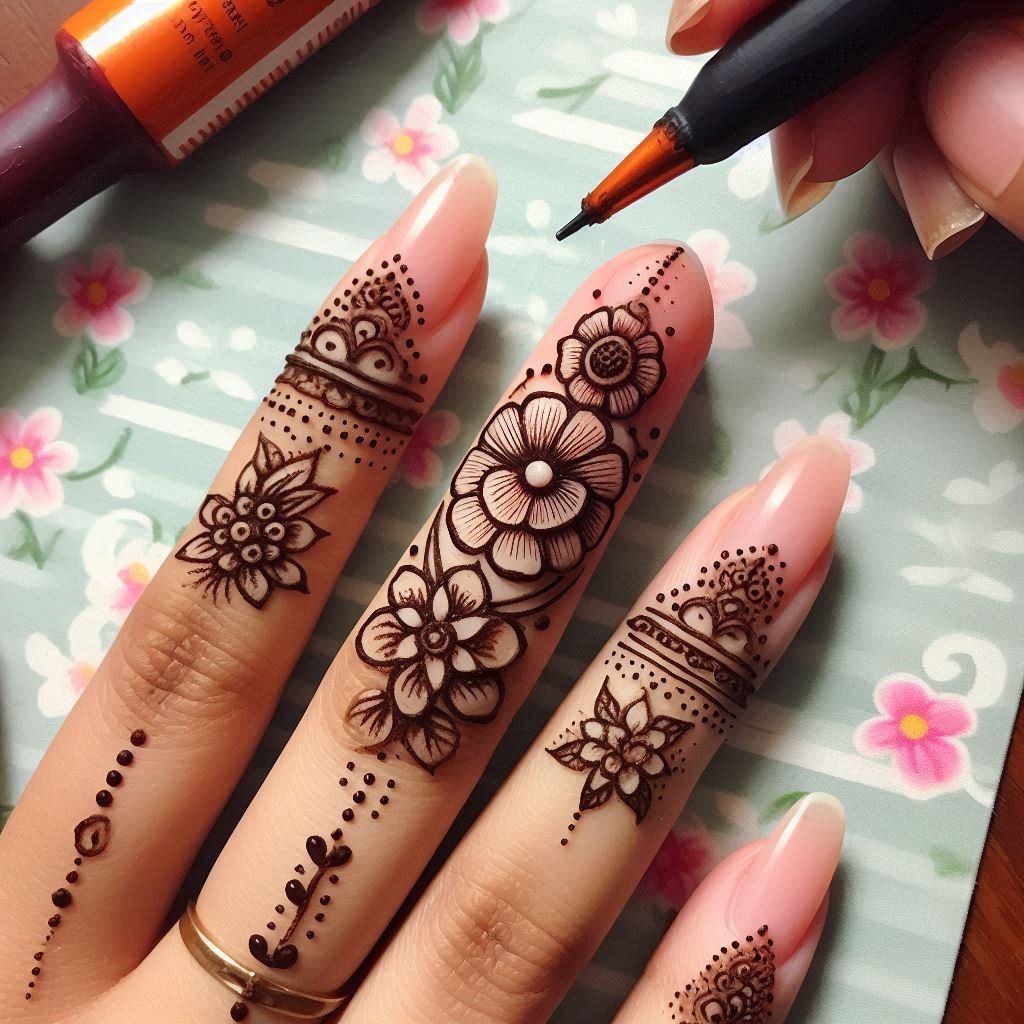
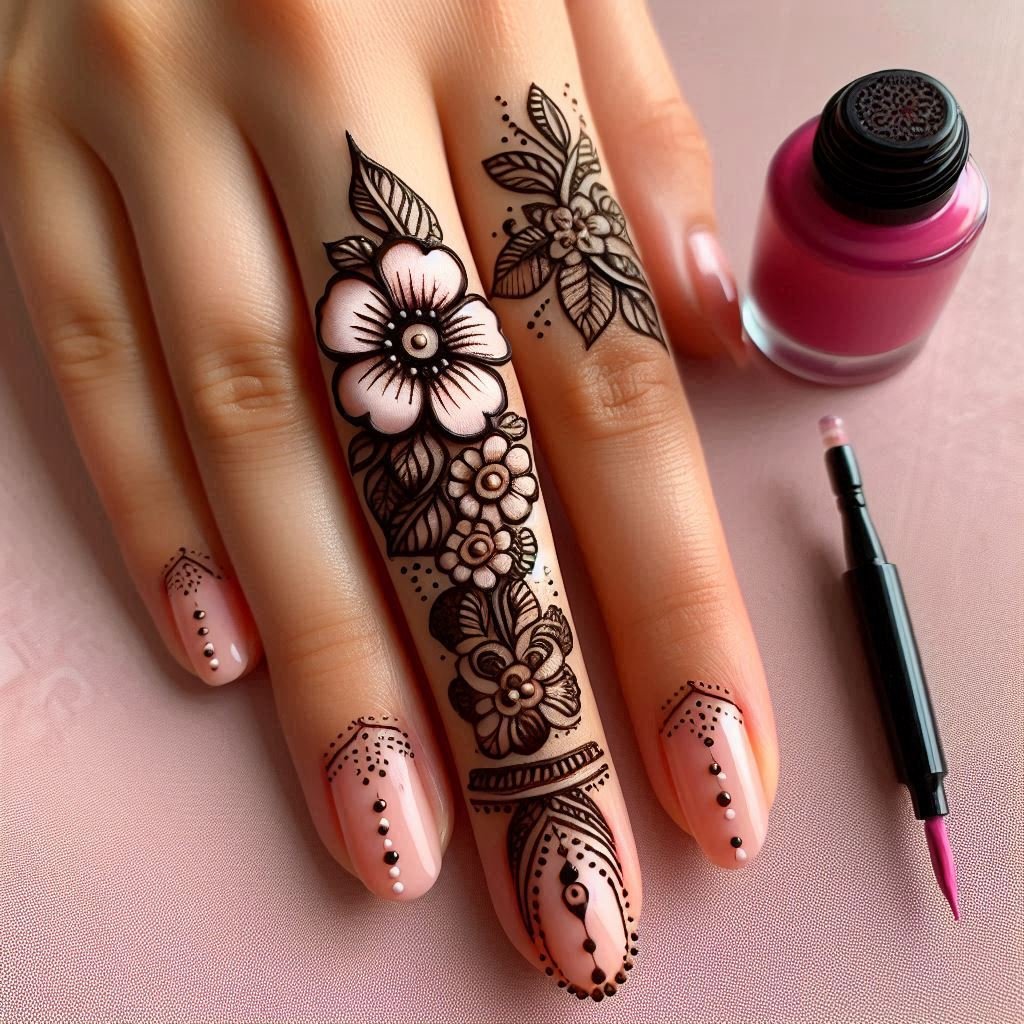
Floral patterns are a classic choice in Mehndi designs. A small flower on each fingertip looks elegant and adds a delicate touch to your hands.
How to Create:
- Begin by drawing a small circle in the center of your fingertip.
- Add petal shapes around the circle to create a flower.
- Enhance the design with small leaves or dots around the flower.
Tips:
- Use a thin-tipped mehndi cone for detailed floral designs.
- Experiment with different flower sizes and petal shapes for variety.
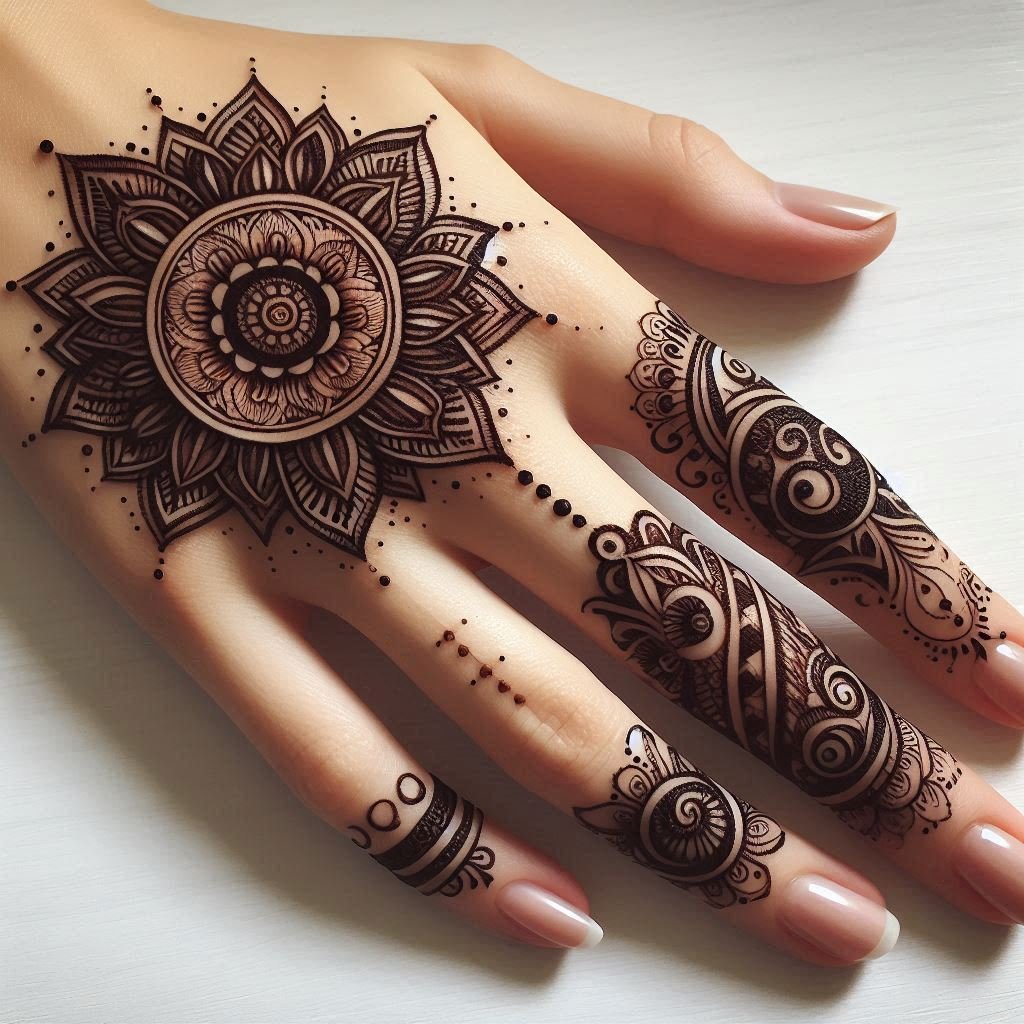
3. Mandala Finger Design
Description:
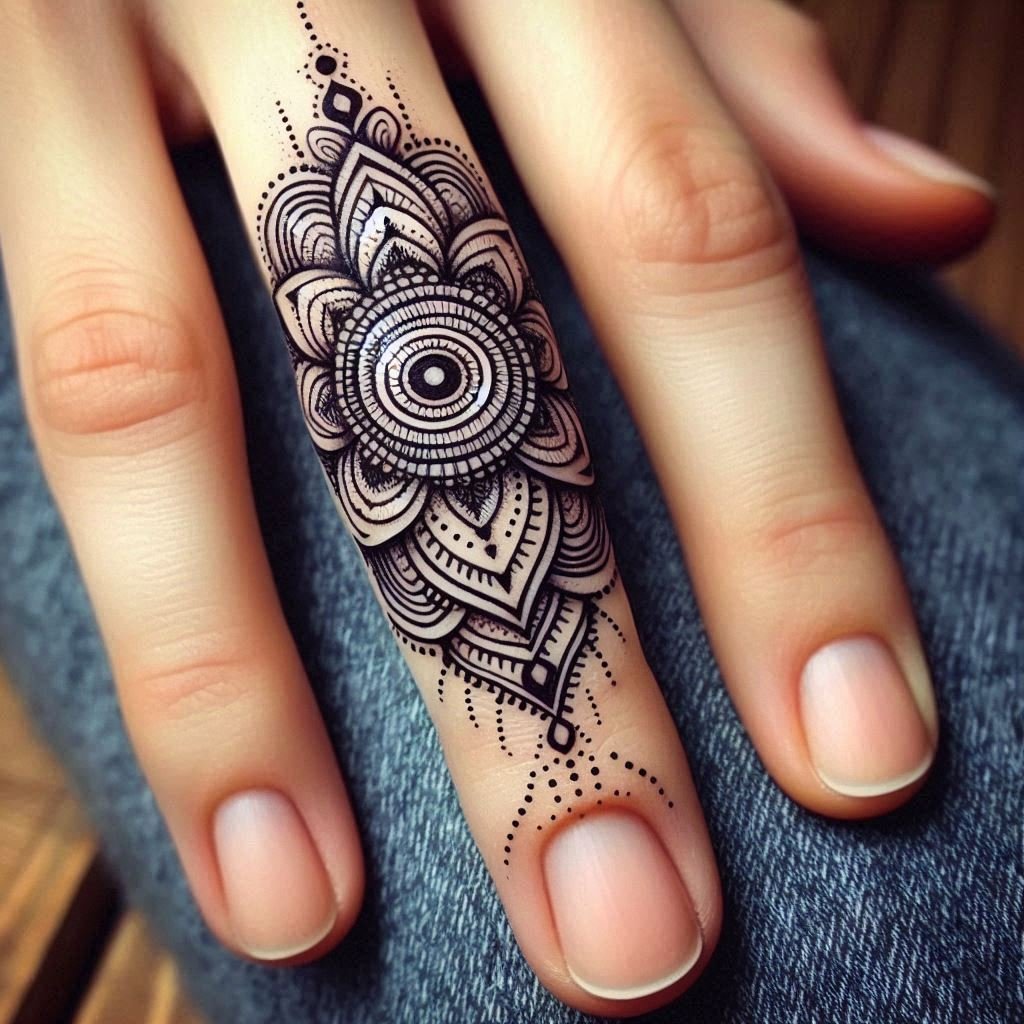
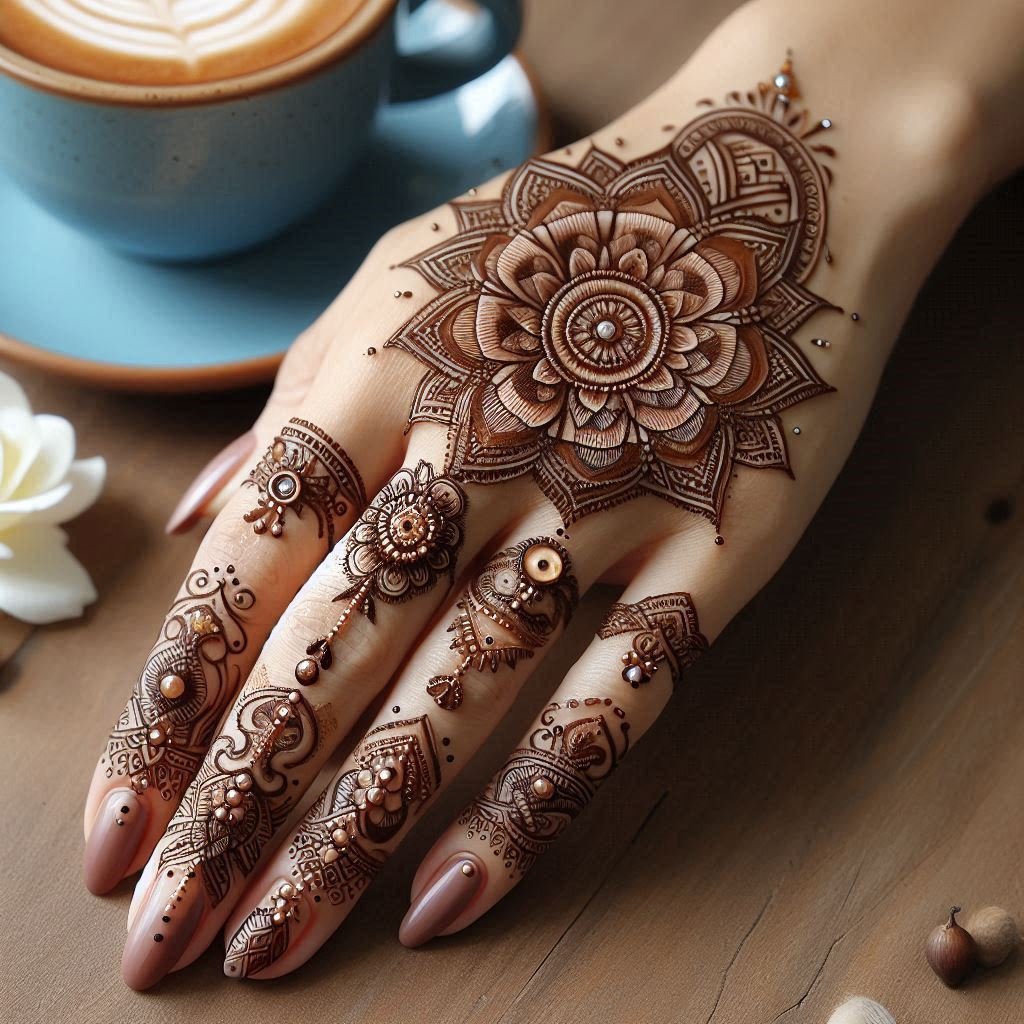
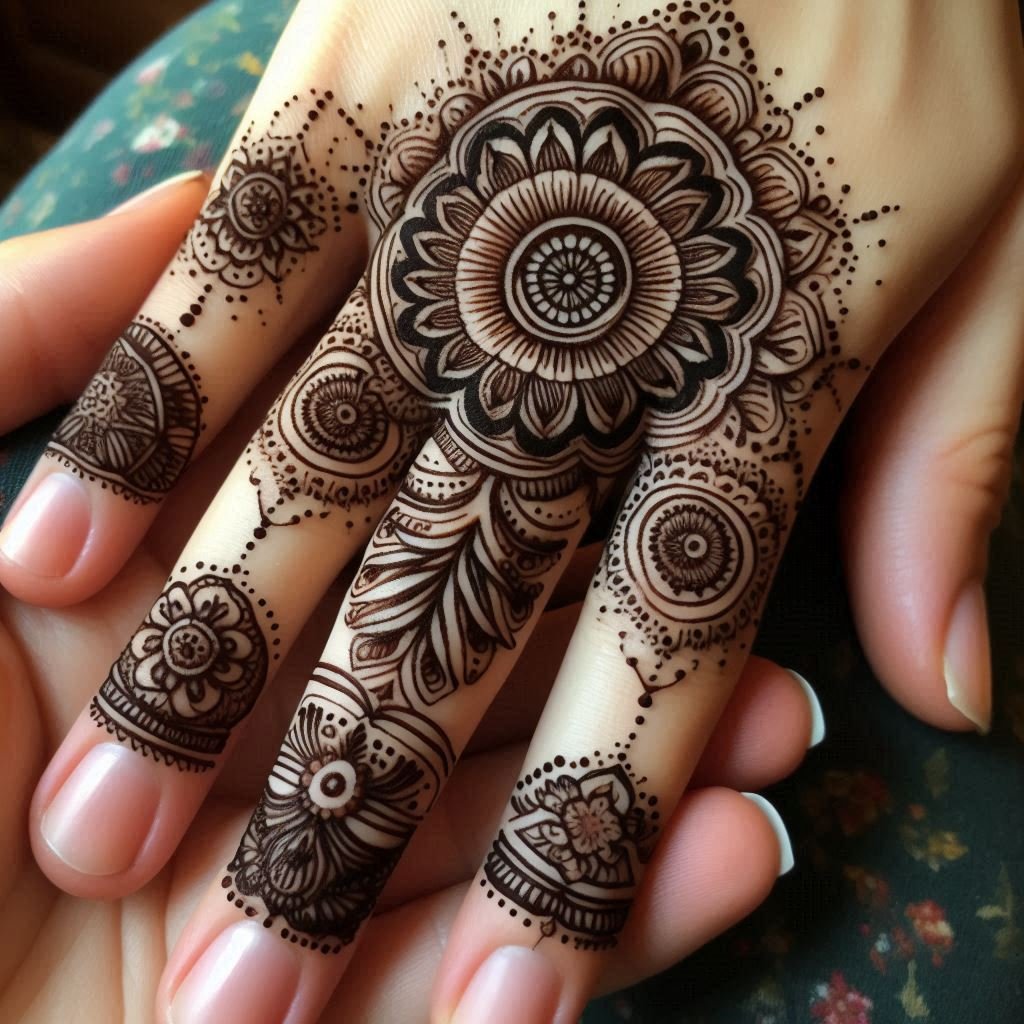
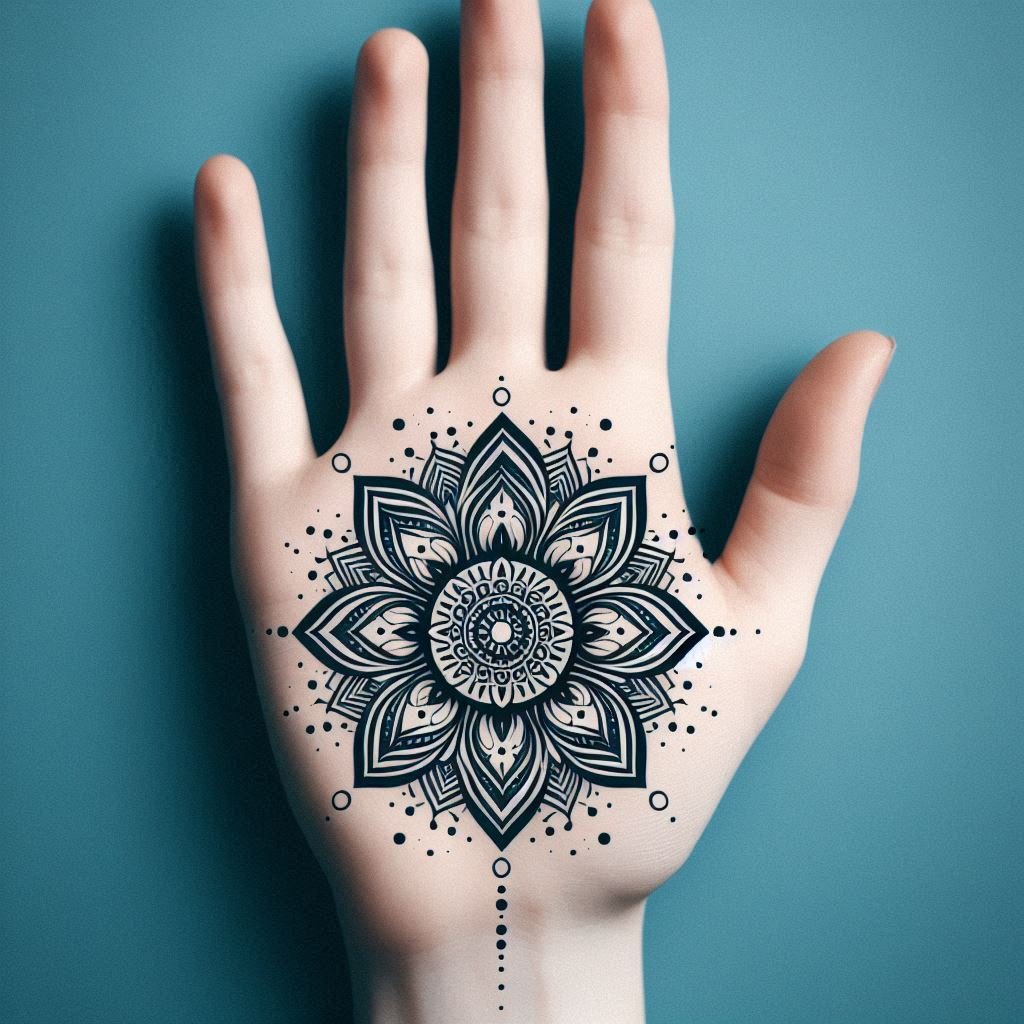
Mandala designs are beautiful and easy to customize. A small mandala at the base of each finger can create a stunning visual effect.
How to Create:
- Start with a small dot in the center of your finger.
- Draw a circle around the dot and add symmetrical patterns like petals or shapes around it.
- Continue to add layers to expand the mandala outwards.
Tips:
- Mandala designs look best when they are symmetrical, so take your time to ensure even spacing.
- Begin with a small mandala and gradually increase the size as you gain confidence.
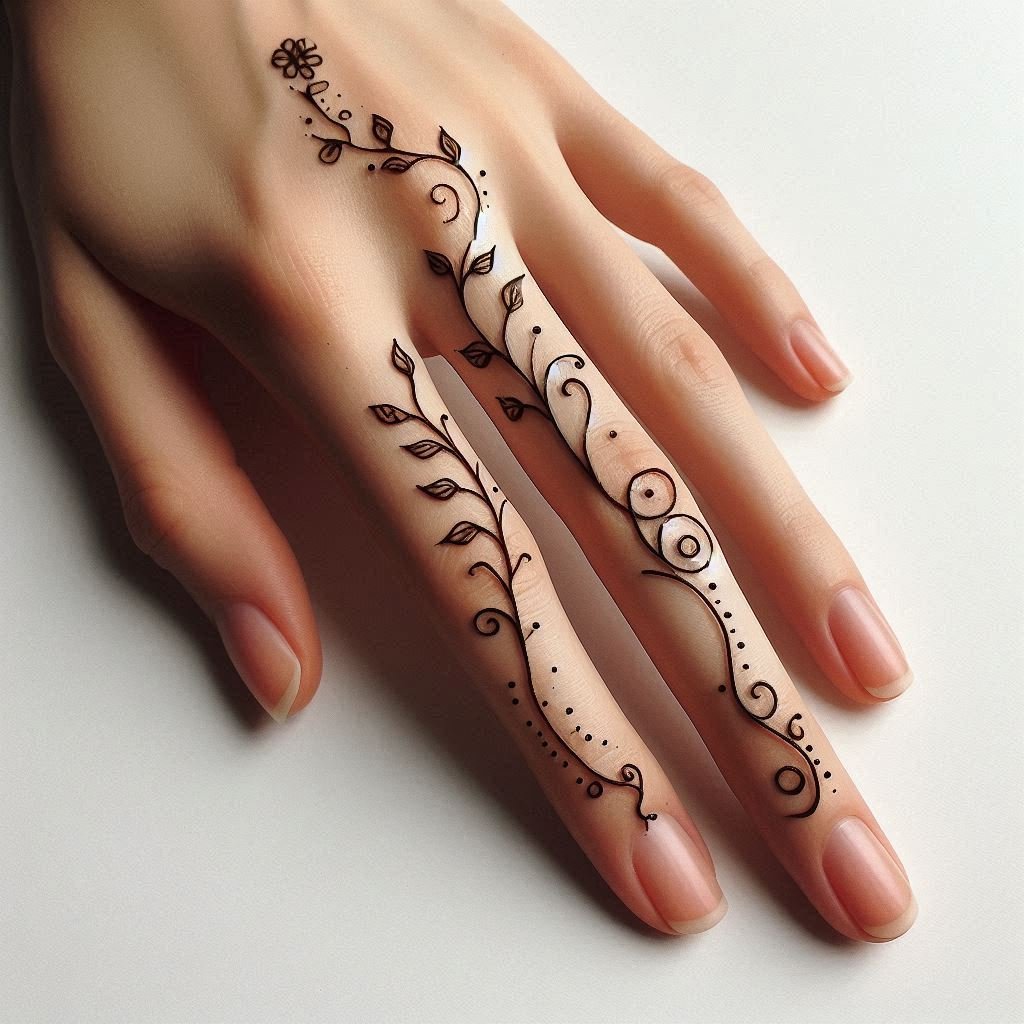
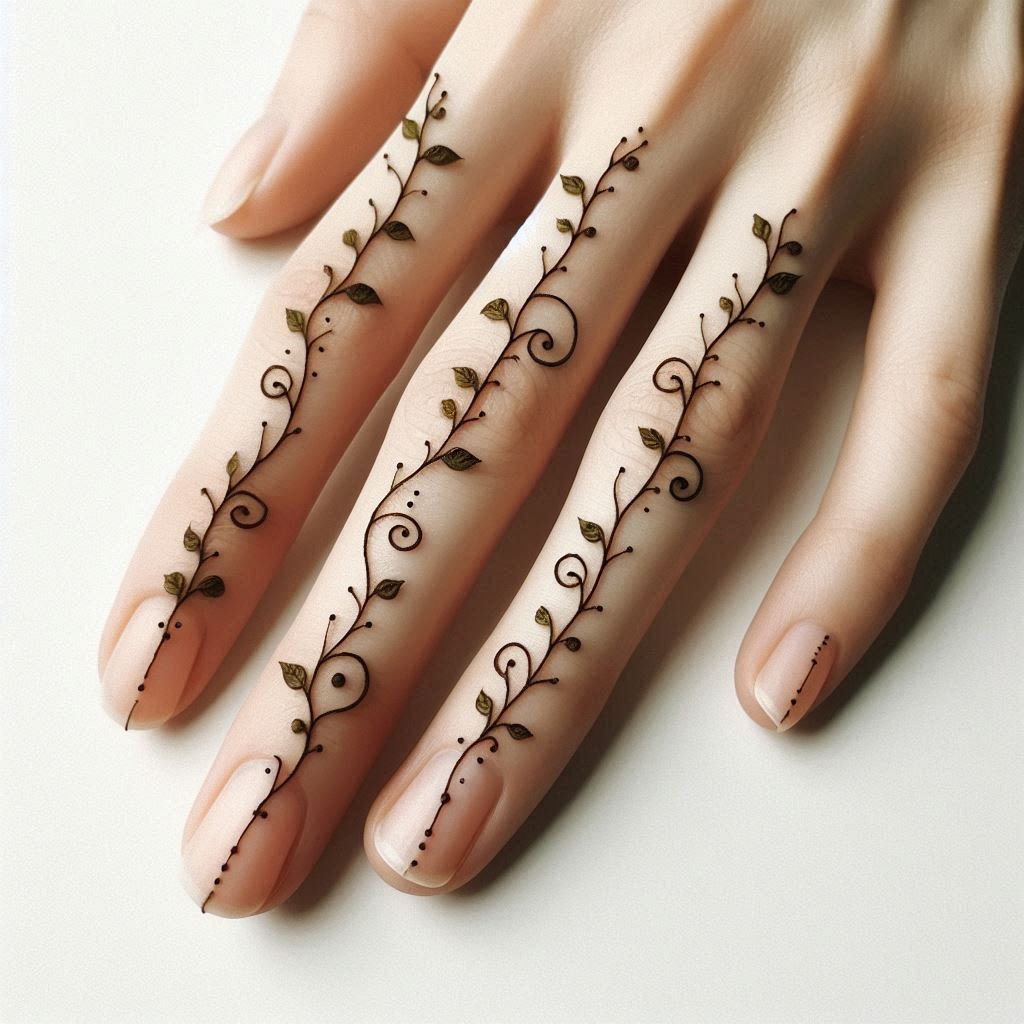
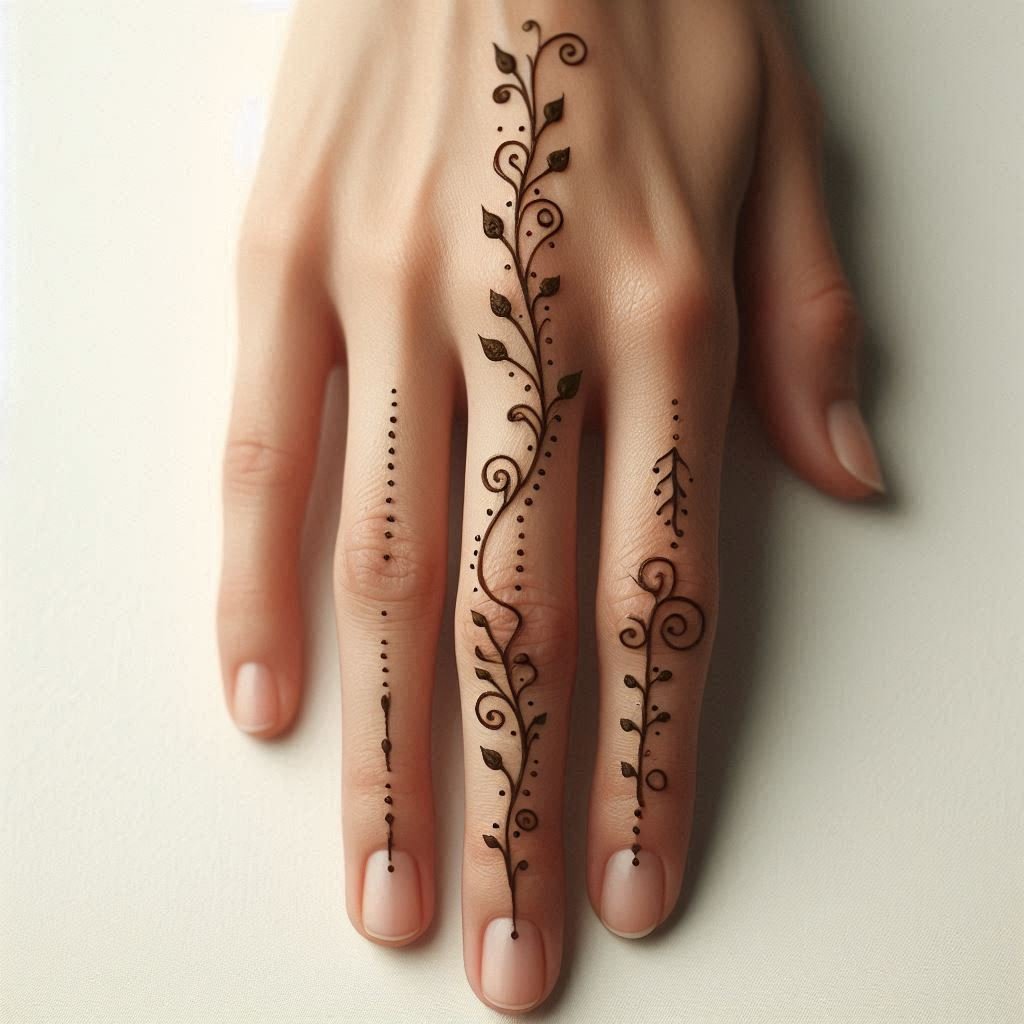
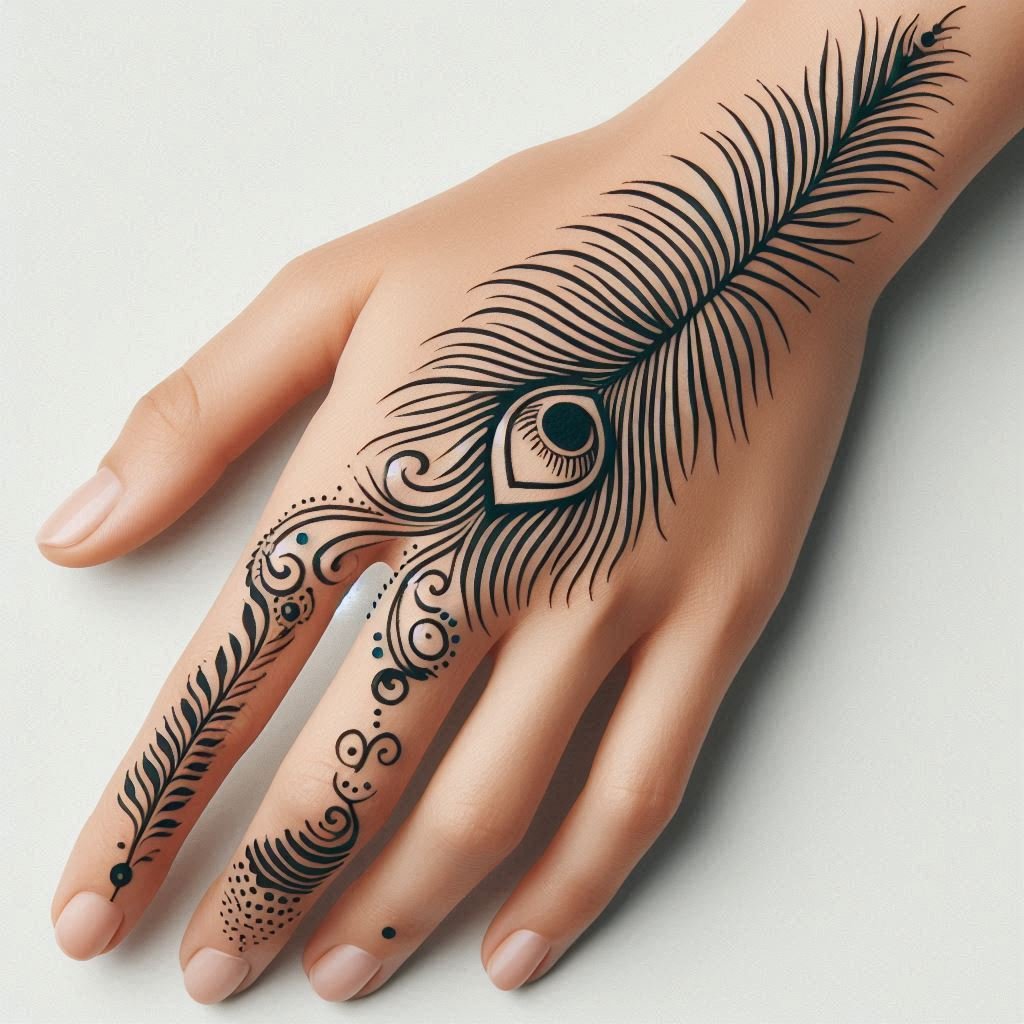
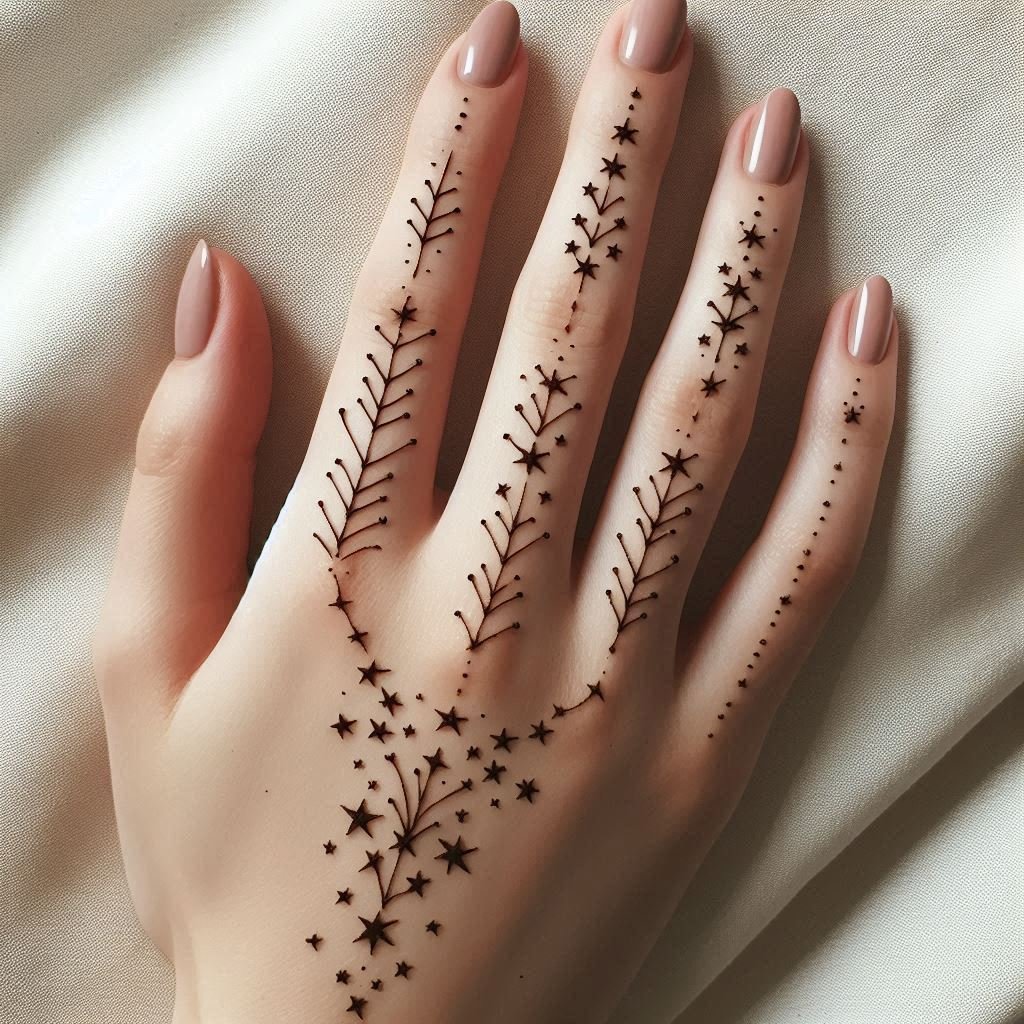
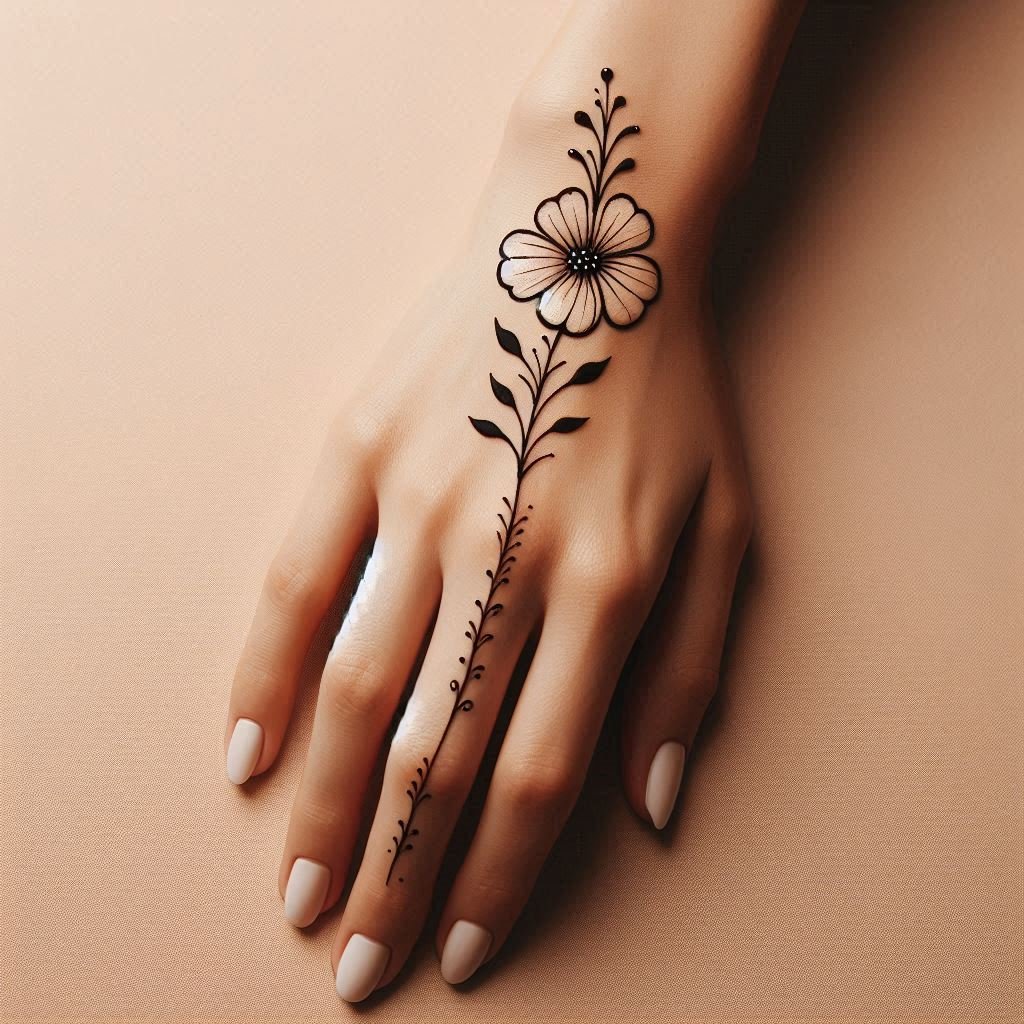
4. Minimalist Lines and Vines
Description:
This design focuses on creating elegant lines and vines that follow the natural curve of your fingers.

How to Create:
- Draw a curved line starting from the base of the finger, moving towards the tip.
- Add small leaves or dots along the line to resemble a vine.
- Repeat on each finger with slight variations to keep it interesting.
Tips:
- Thin lines and small details are key to achieving a minimalist look.
- Practice controlling the pressure on the cone to maintain consistent line thickness.
5. Geometric Shapes
Description:
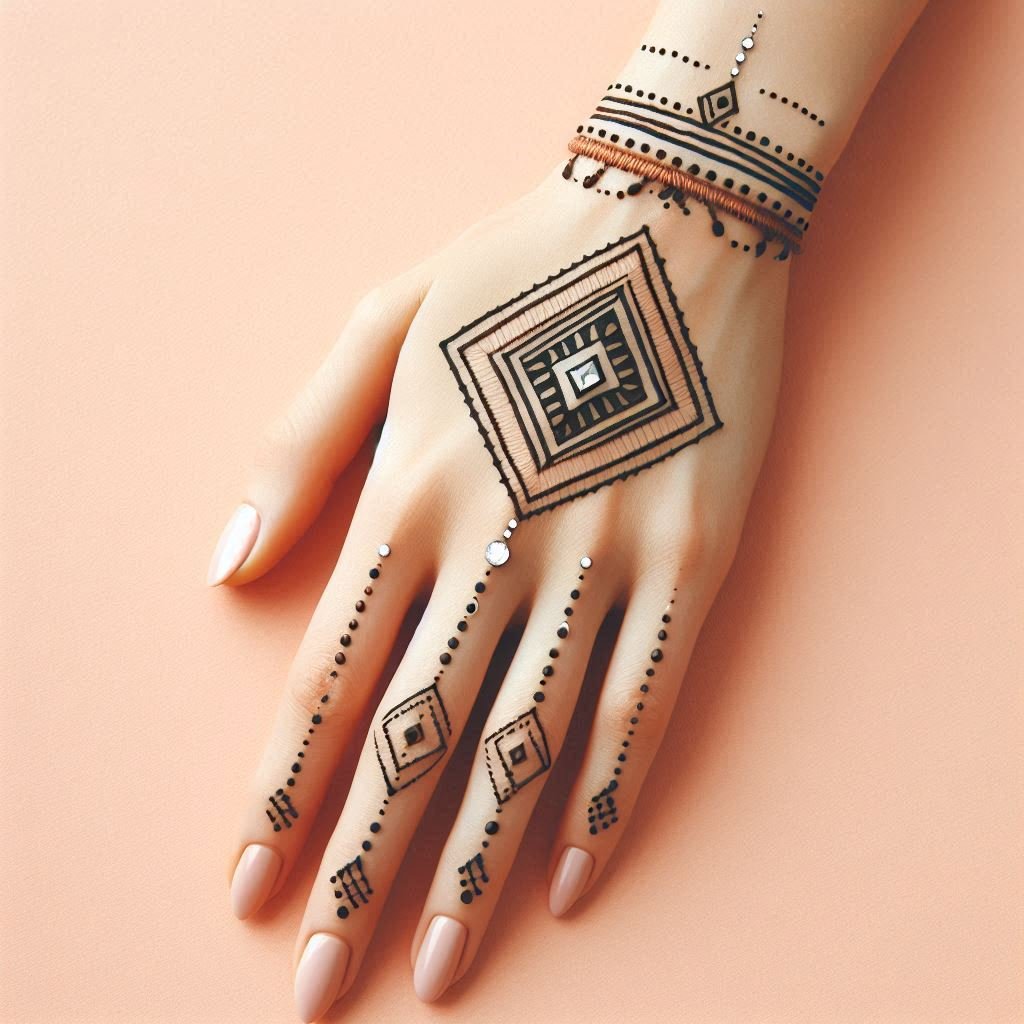
Geometric shapes are perfect for a modern look. They are straightforward to draw and can be arranged in various patterns for a unique design.

How to Create:
- Draw simple shapes like triangles, squares, and diamonds on your fingers.
- Combine these shapes to form a cohesive pattern that extends along the finger.
- You can also outline shapes and fill them in for added dimension.
Tips:
- Keep the shapes consistent in size for a more uniform look.
- Mix solid shapes with outlined ones for contrast.
6. Chain and Jewel Design
Description:
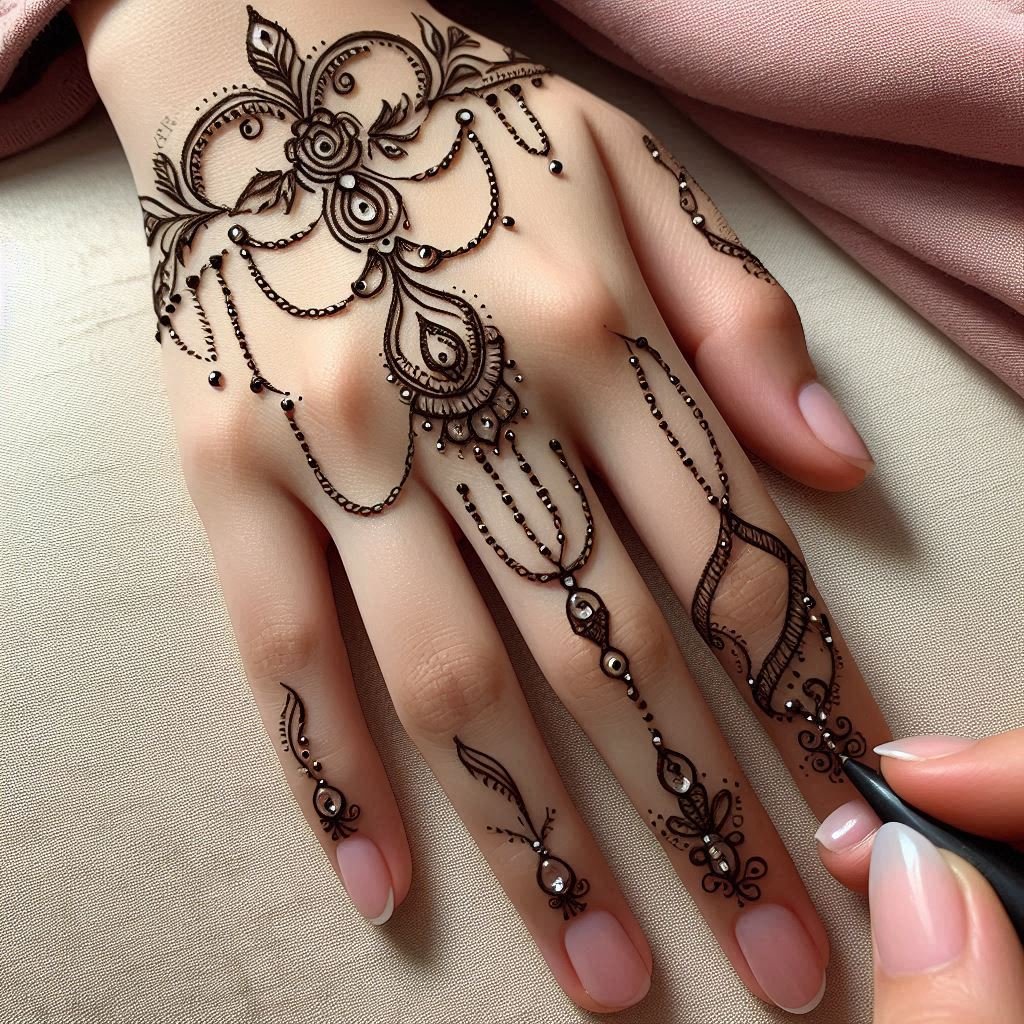
Inspired by jewelry, this design mimics the look of chains or jewels adorning the fingers. It’s elegant and perfect for those who want a sophisticated yet simple design.
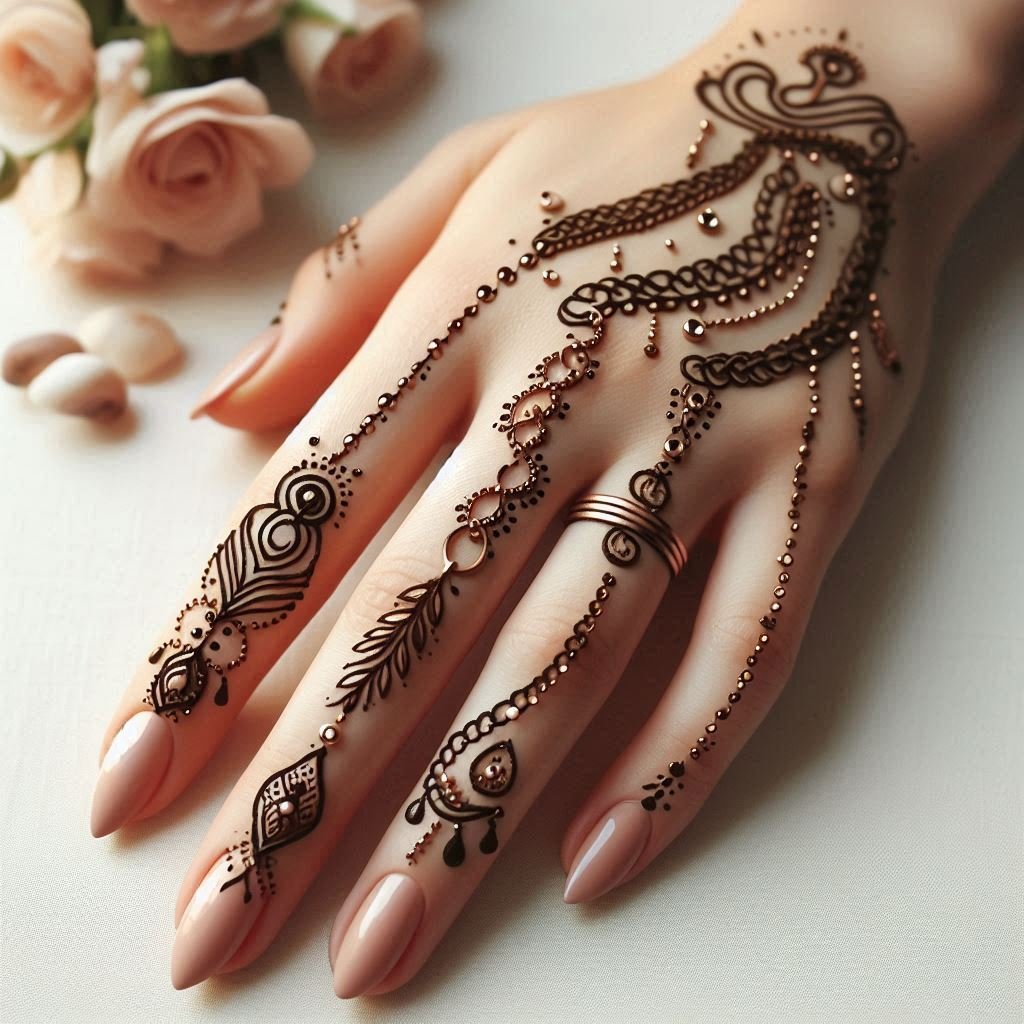
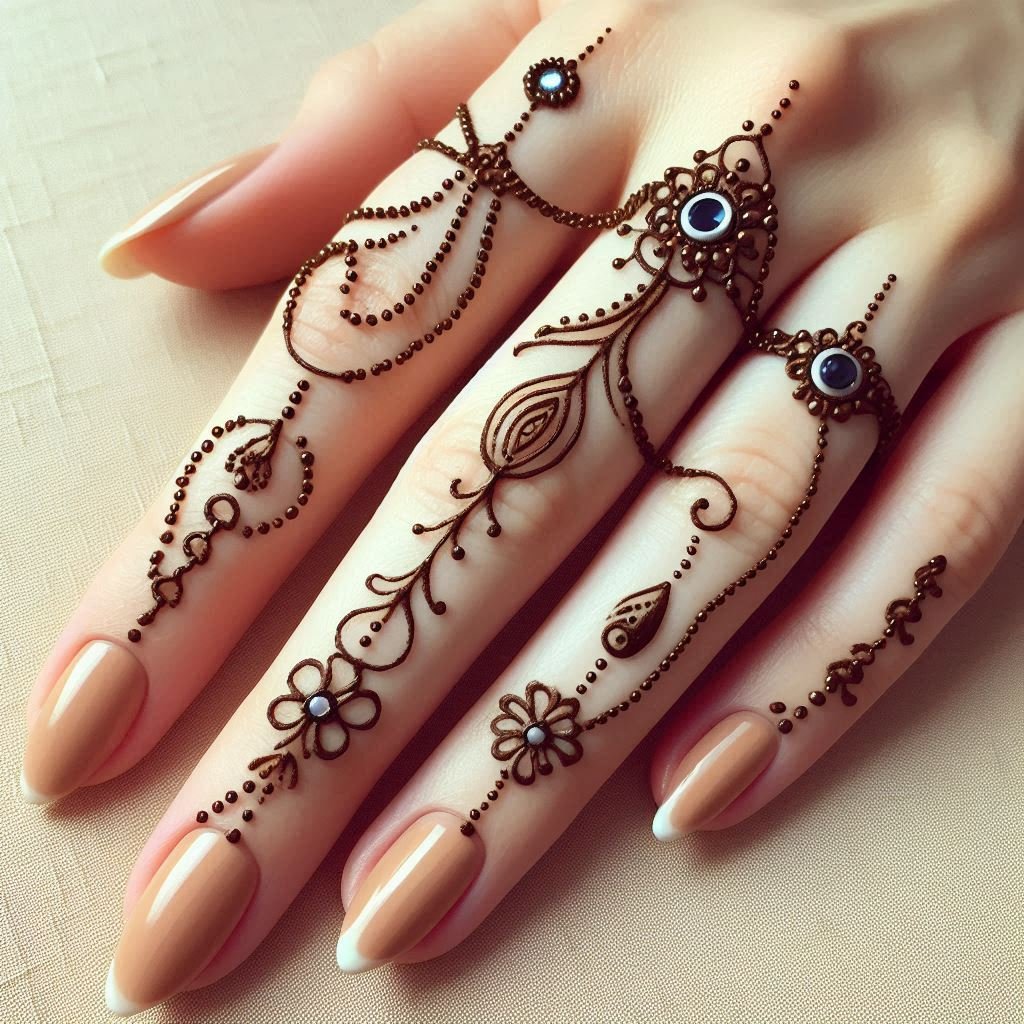
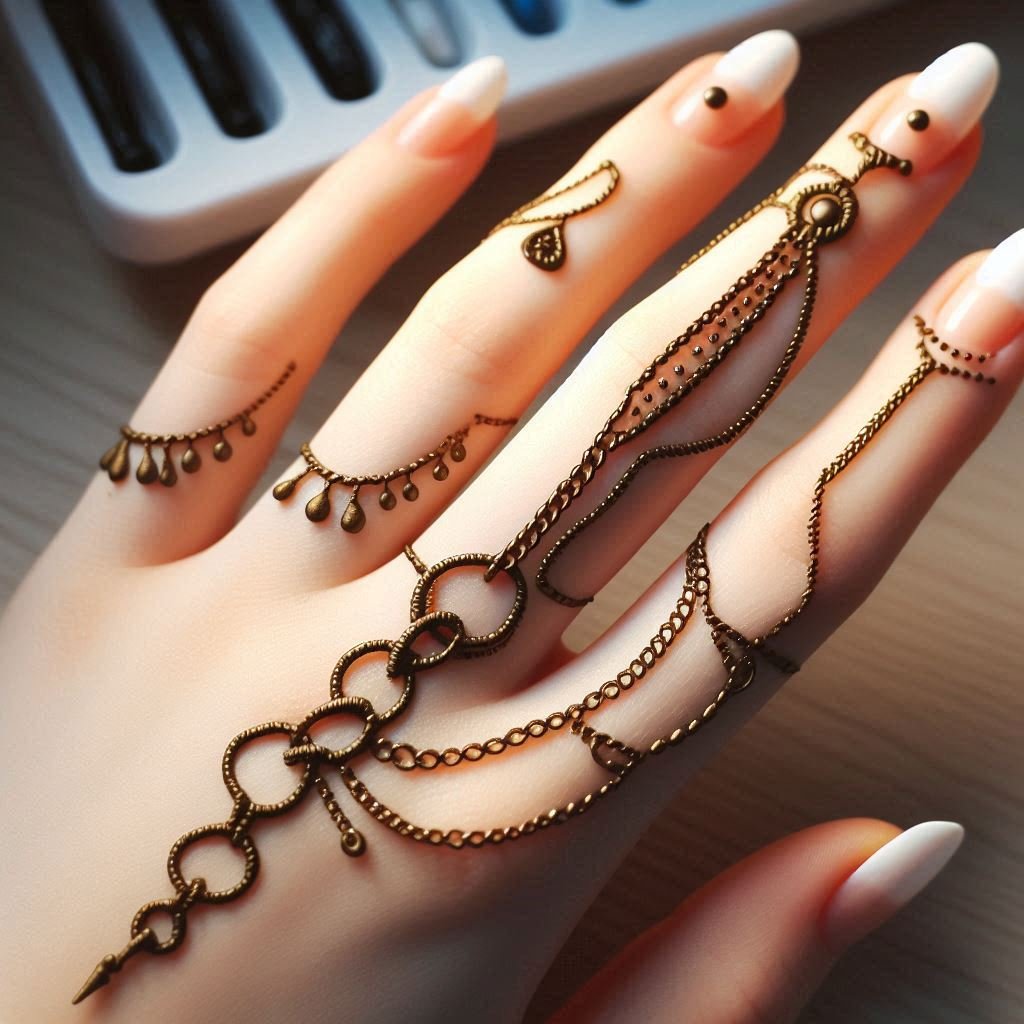
How to Create:
- Start with a small circle or dot at the base of your finger.
- Draw a curved line that wraps around the finger, resembling a chain.
- Add small teardrop shapes or dots hanging from the chain to mimic jewels.
Tips:
- Ensure that the “chain” lines are smooth and curved naturally.
- Use varying dot sizes to create a more intricate jewel effect.
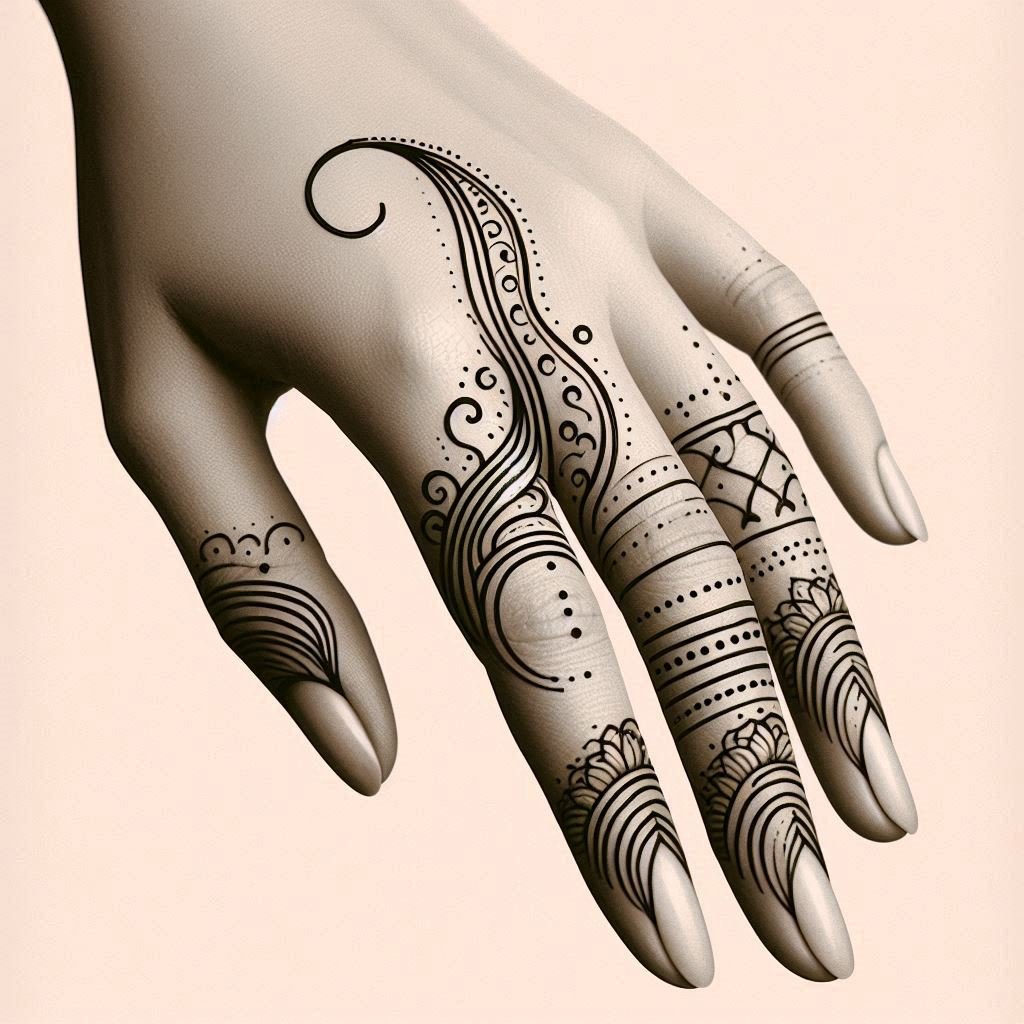
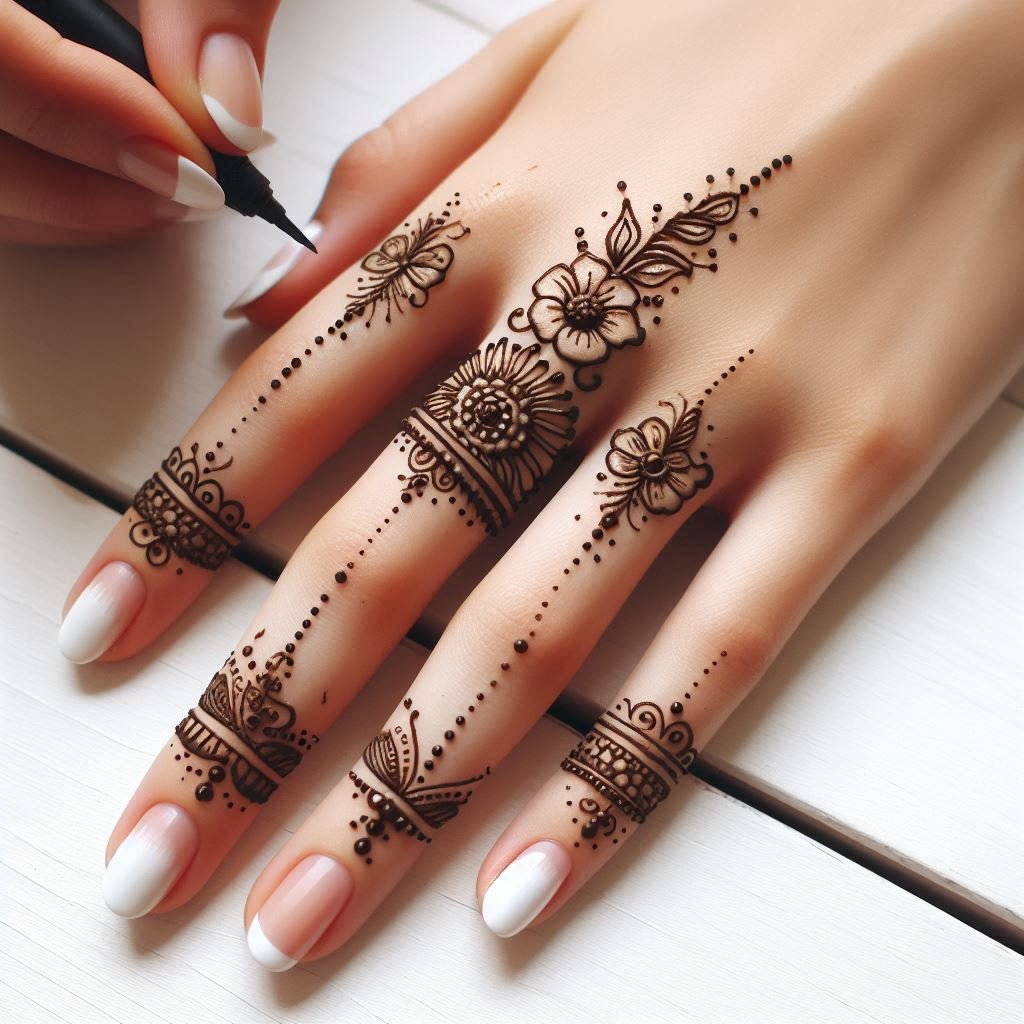
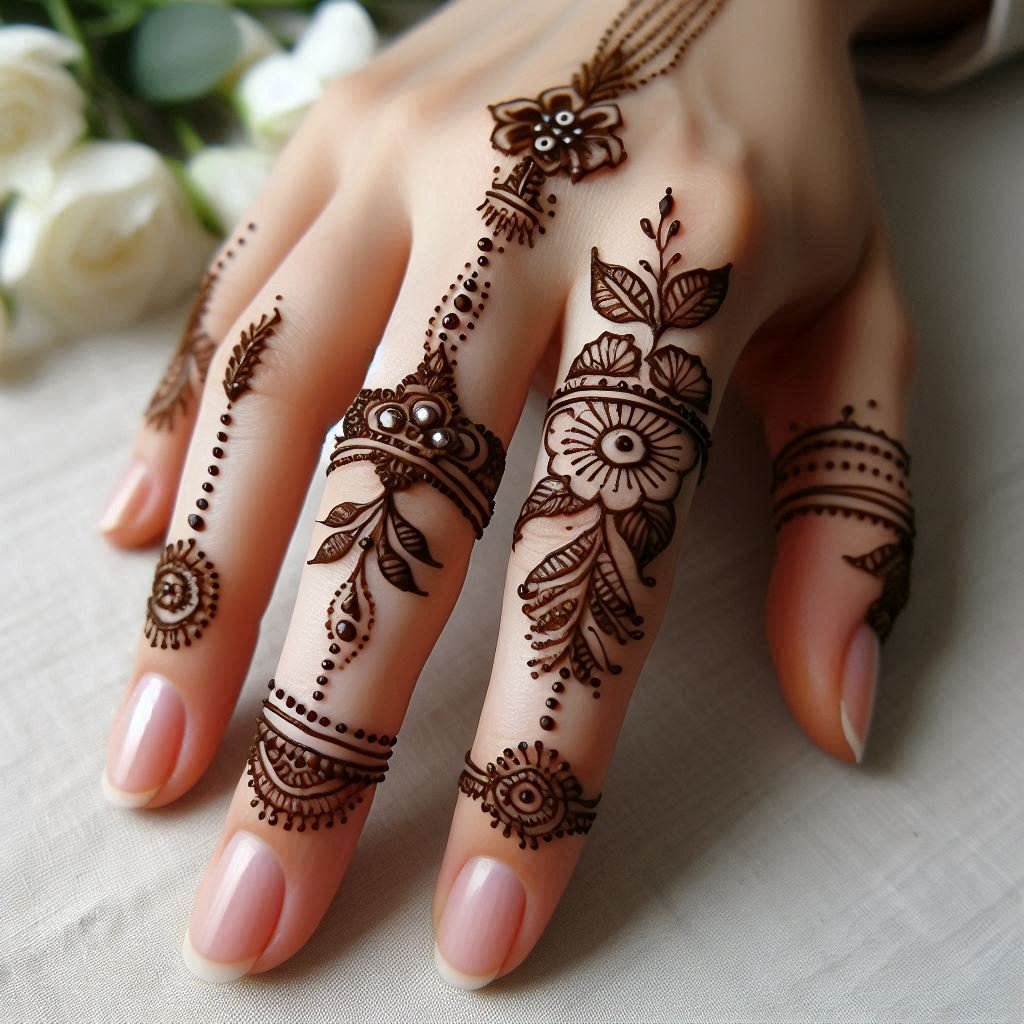
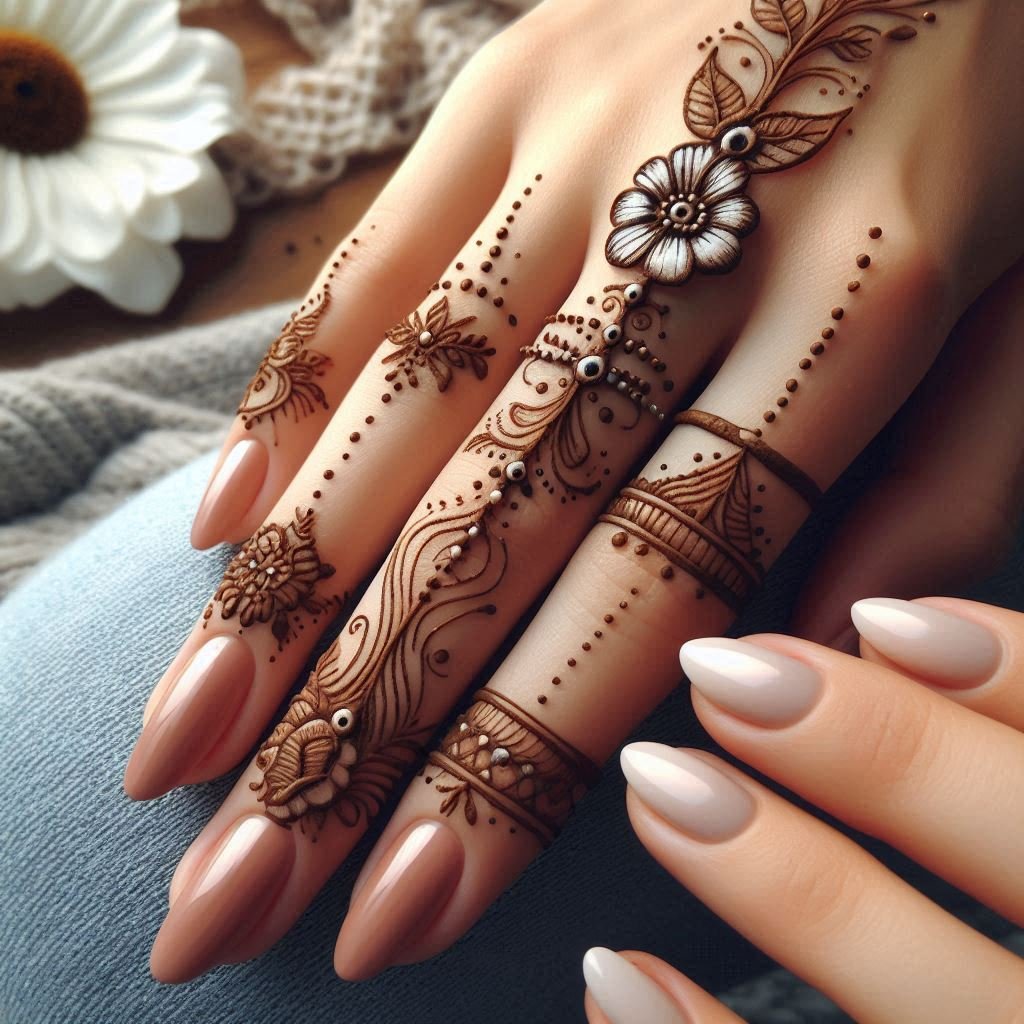
7. Mehndi Ring Design
Description:
Mehndi rings are perfect for those who want the look of jewelry without the actual rings. These designs are typically placed around the finger joints.
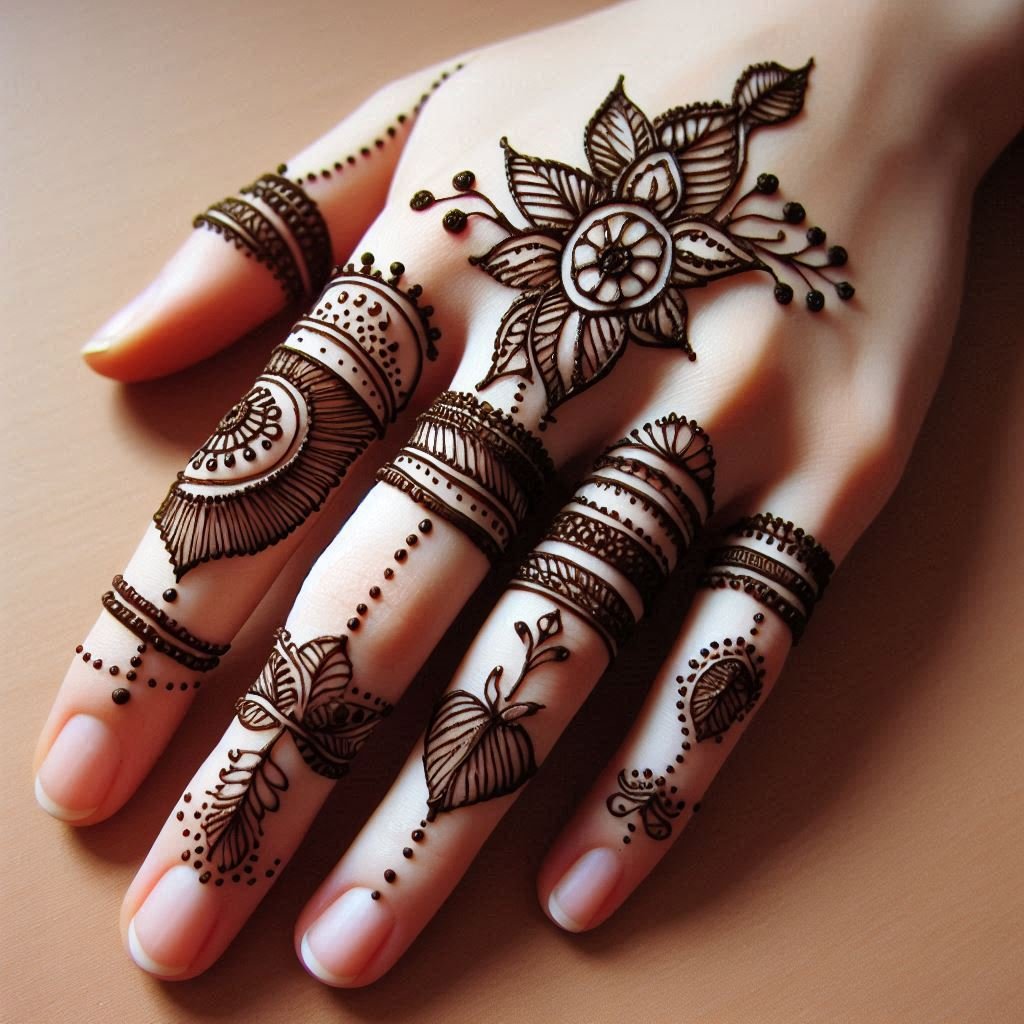
How to Create:
- Draw a thin line around the finger joint to represent the base of the ring.
- Add tiny dots, petals, or leaves to the line for decoration.
- You can create multiple “rings” on one finger for a layered effect.
Tips:
- Keep the lines thin and decorations small to mimic the delicate look of real rings.
- Play around with different placements on the finger for a unique style.
8. Bold Fingertip Design
Description:
For a bold statement, focus your design on the fingertips. This style is great for highlighting the tips of your fingers and can be easily paired with other designs.
How to Create:
- Cover the fingertip with a bold design, such as a filled-in petal, heart, or geometric shape.
- Extend small lines or dots from the filled area towards the base of the finger.
Tips:
- Bold designs require a steady hand, so take your time with the filling process.
- Keep the rest of the finger simple to ensure the focus remains on the fingertip.
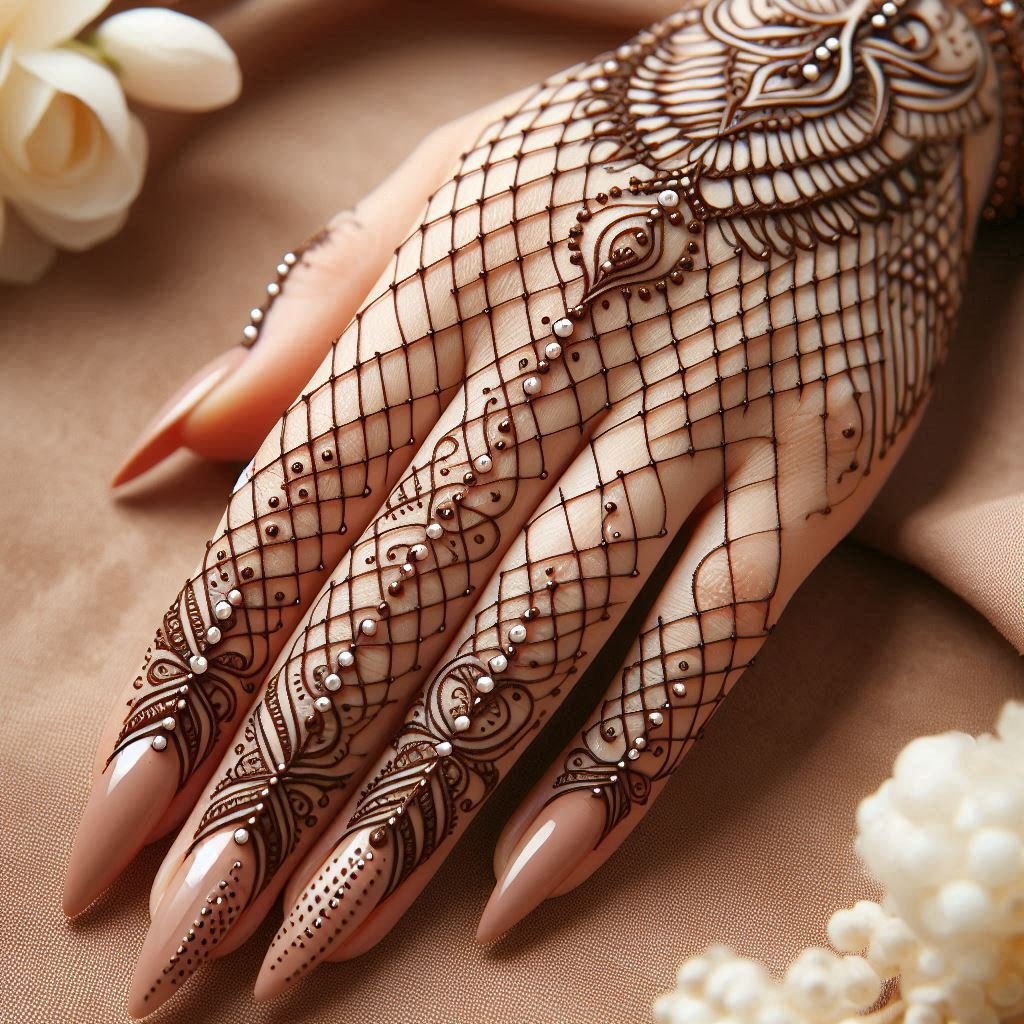
9. Elegant Net Pattern
Description:
A net or mesh pattern looks intricate but is surprisingly simple to create. This design works well for a chic and classy appearance.
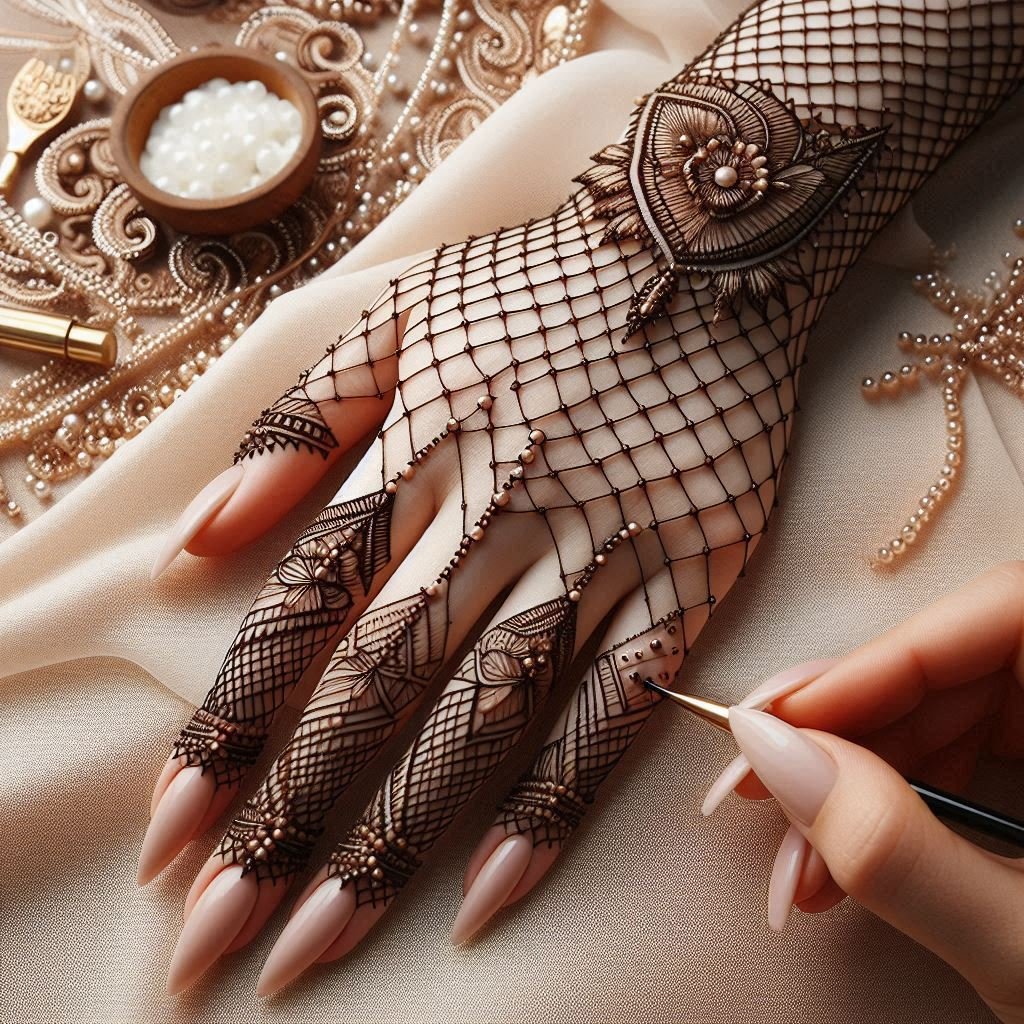

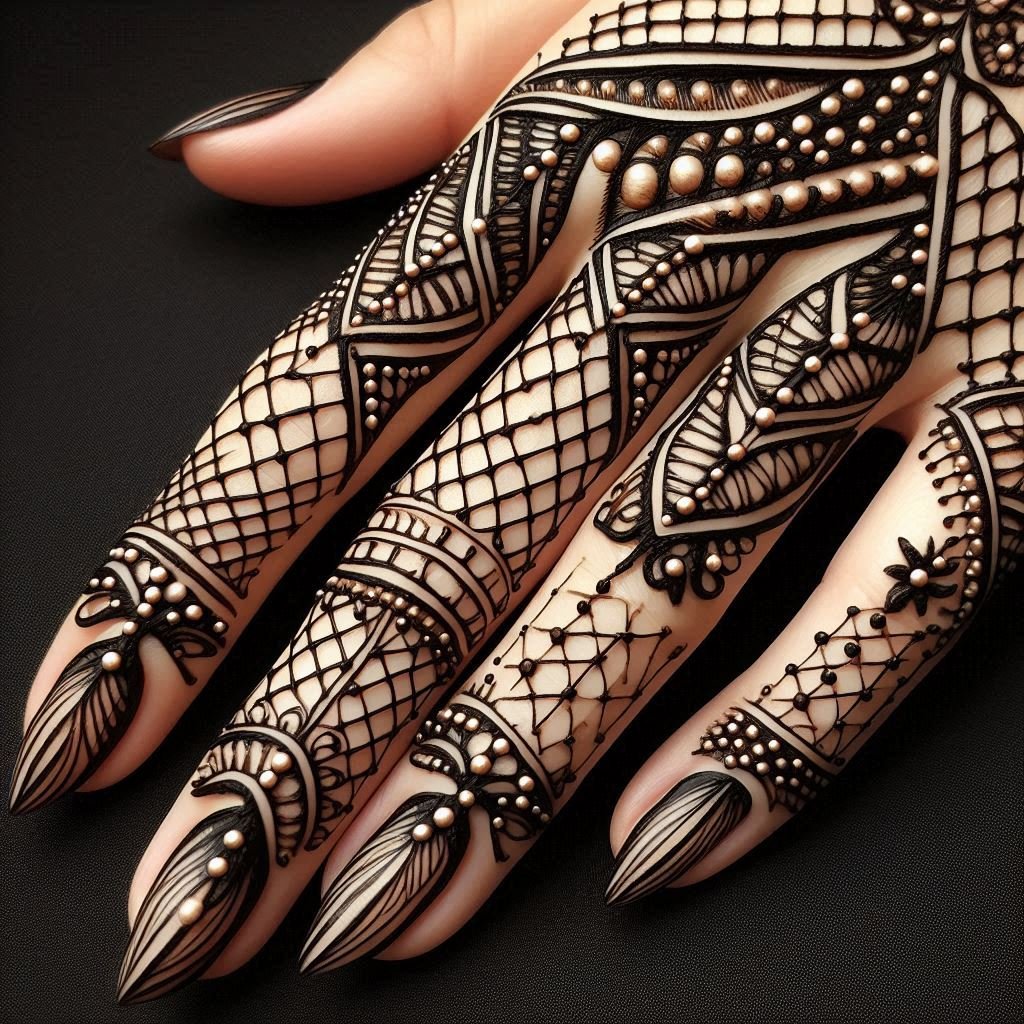
How to Create:
- Draw diagonal lines across the finger to form a grid-like pattern.
- Add small dots at the intersections of the lines to create a net effect.
- You can make the net as tight or loose as you prefer.
Tips:
- Keep the spacing between lines consistent for a neat look.
- Adding dots at the intersections will enhance the elegance of the net pattern.
10. Finger Mehndi with Negative Space
Description:
Negative space designs use the natural skin tone as part of the design, creating a modern and sophisticated look.
How to Create:
- Start by outlining your desired pattern, such as a vine, floral, or geometric shape.
- Leave some areas blank (negative space) within the design.
- Enhance the design with small dots or lines around the negative spaces.
Tips:
- Plan your design ahead to effectively utilize negative space.
- Less is more—focus on a few key elements to keep the design clean and simple.
FAQs About Finger Mehndi Designs
1. What are the best types of finger mehndi designs for beginners?
The best finger mehndi designs for beginners are simple line and dot patterns, floral fingertip designs, and geometric shapes. These designs are easy to learn and quick to apply, making them perfect for those new to mehndi.
2. How can I make my finger mehndi design last longer?
To make your finger mehndi design last longer, avoid washing your hands with soap for at least 24 hours after applying the mehndi. You can also apply a lemon-sugar mixture to seal the design and use natural oils like coconut oil to moisturize your hands and enhance the color.
3. What tools do I need to create finger mehndi designs?
To create finger mehndi designs, you will need a henna cone with a fine tip, tissues or cloth for wiping, and a lemon-sugar mixture for sealing the henna. A steady hand and patience are also essential!
4. How do I fix mistakes when applying mehndi?
If you make a mistake while applying mehndi, quickly wipe it off with a tissue or cloth before it dries. For small errors, you can use a cotton swab dipped in water or lemon juice to gently correct the design.
5. How long does it take for mehndi to stain the skin?
Mehndi typically needs to be left on the skin for at least 4-6 hours to achieve a dark stain. For the best results, leave it on overnight. The stain will continue to darken over the next 24-48 hours.
6. Can I create finger mehndi designs for special occasions?
Absolutely! Finger mehndi designs can be tailored for any occasion, from casual gatherings to formal events like weddings. Choose more intricate designs for special occasions and simpler ones for everyday wear.
7. Are there any tips for creating symmetrical mehndi designs?
To create symmetrical mehndi designs, start by drawing a light outline or guide marks on your skin. Use a mirror to check the symmetry as you work, and practice your design on paper beforehand.
8. How can I practice mehndi designs as a beginner?
As a beginner, practice mehndi designs on paper or a plastic sheet before applying them to your skin. This will help you get a feel for the mehndi cone and improve your control over the flow of the henna paste.
9. Is there a way to darken a mehndi stain after application?
Yes, applying heat (like placing your hands over steam) and using natural oils (like mustard oil or coconut oil) can help darken the mehndi stain. Also, avoid water contact for the first 24 hours after removing the dried paste.
10. Can I mix different styles in one finger mehndi design?
Yes, mixing different styles can create a unique and personalized finger mehndi design. For example, you can combine floral and geometric elements or use a minimalist approach with bold accents to create an eclectic look.
Conclusion
Finger mehndi designs offer a versatile and stylish way to experiment with henna. Whether you are a beginner or an experienced artist, there is a wide range of designs to suit your skill level
