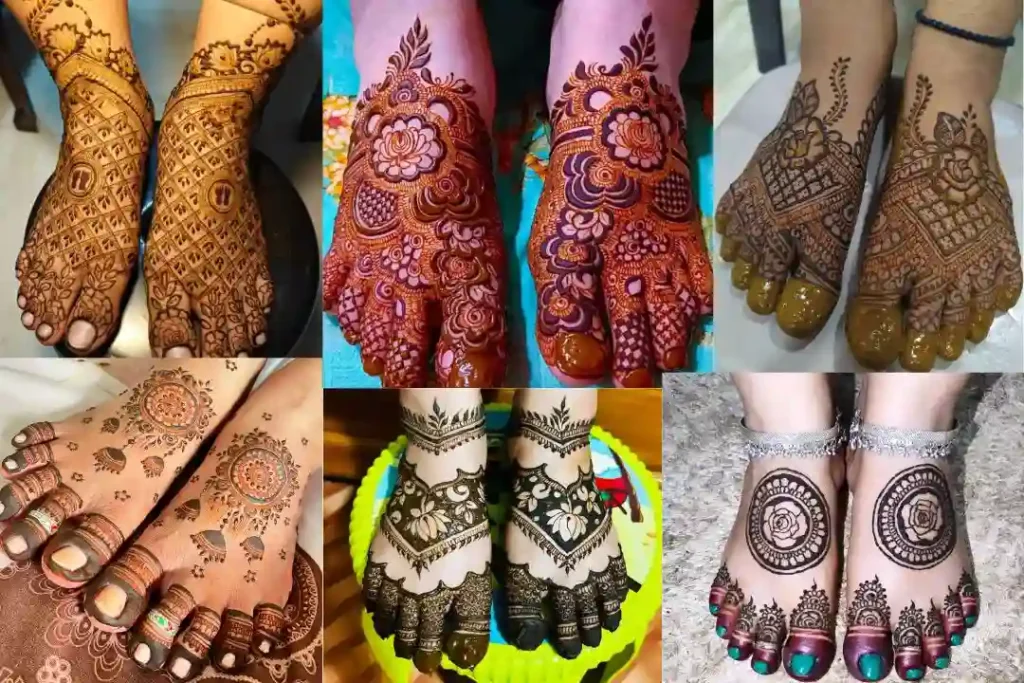
Mehndi, also known as henna, is an ancient art form that has been cherished for centuries. It is a beautiful way to adorn the skin with intricate patterns and designs, traditionally used in celebrations, festivals, and weddings across South Asia, the Middle East, and North Africa. Over the years, mehndi has evolved from a ceremonial tradition to a popular form of body art embraced worldwide. While some mehndi designs can be quite intricate and detailed, many people are now looking for easy mehndi design options that are simple yet stunning.
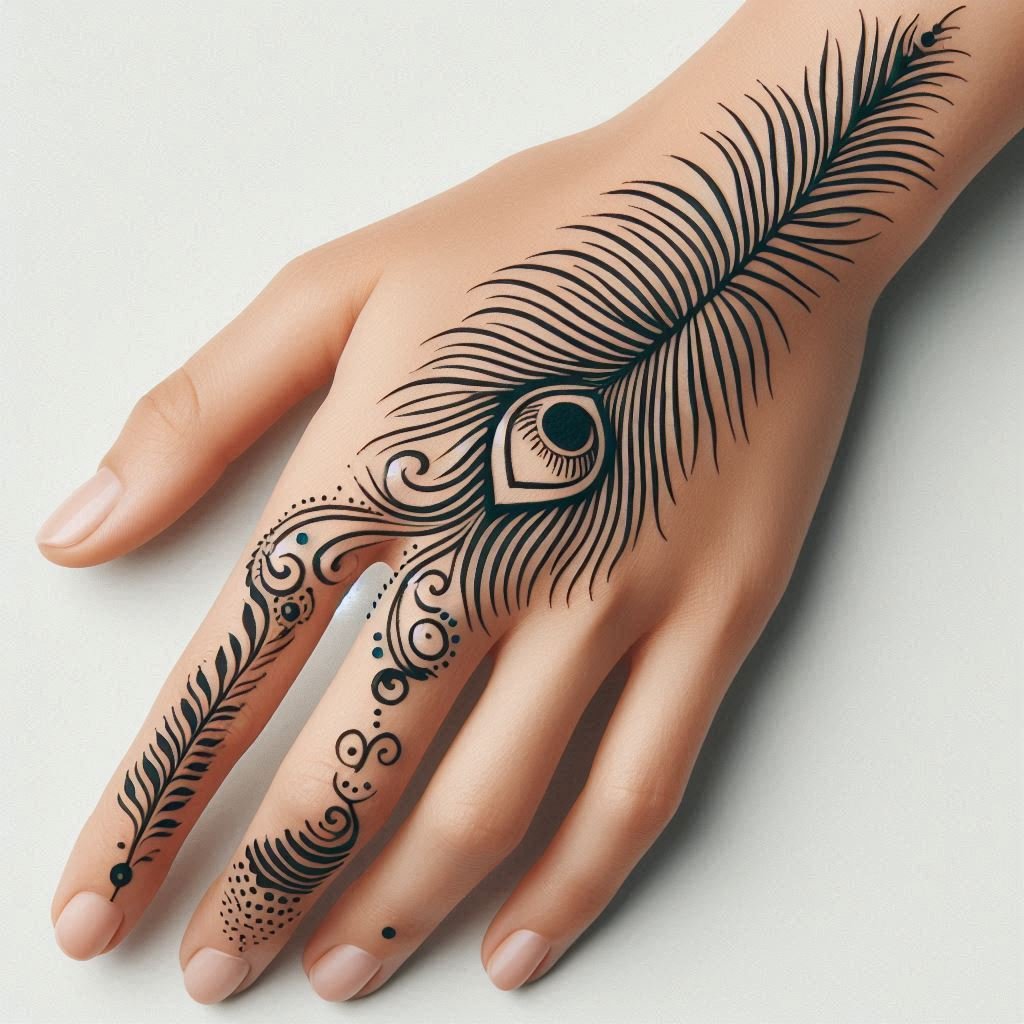
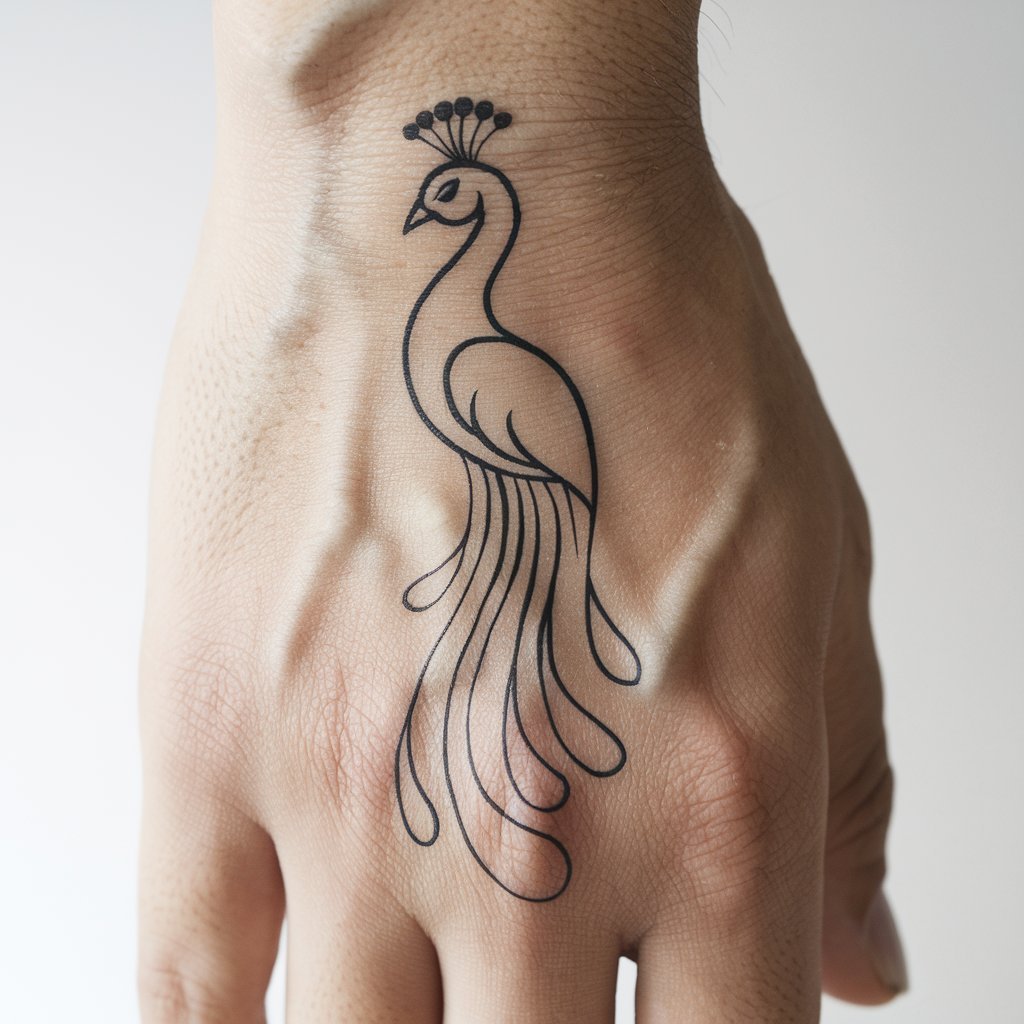
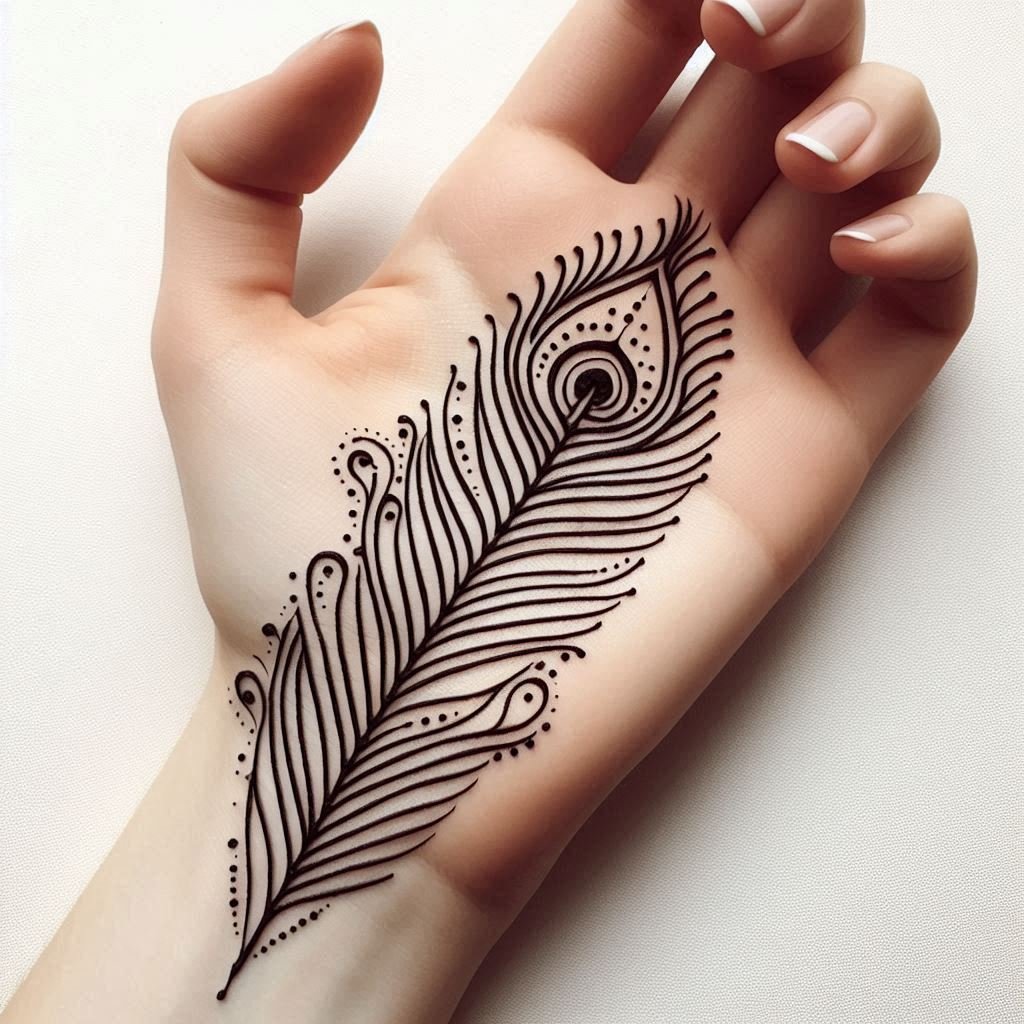
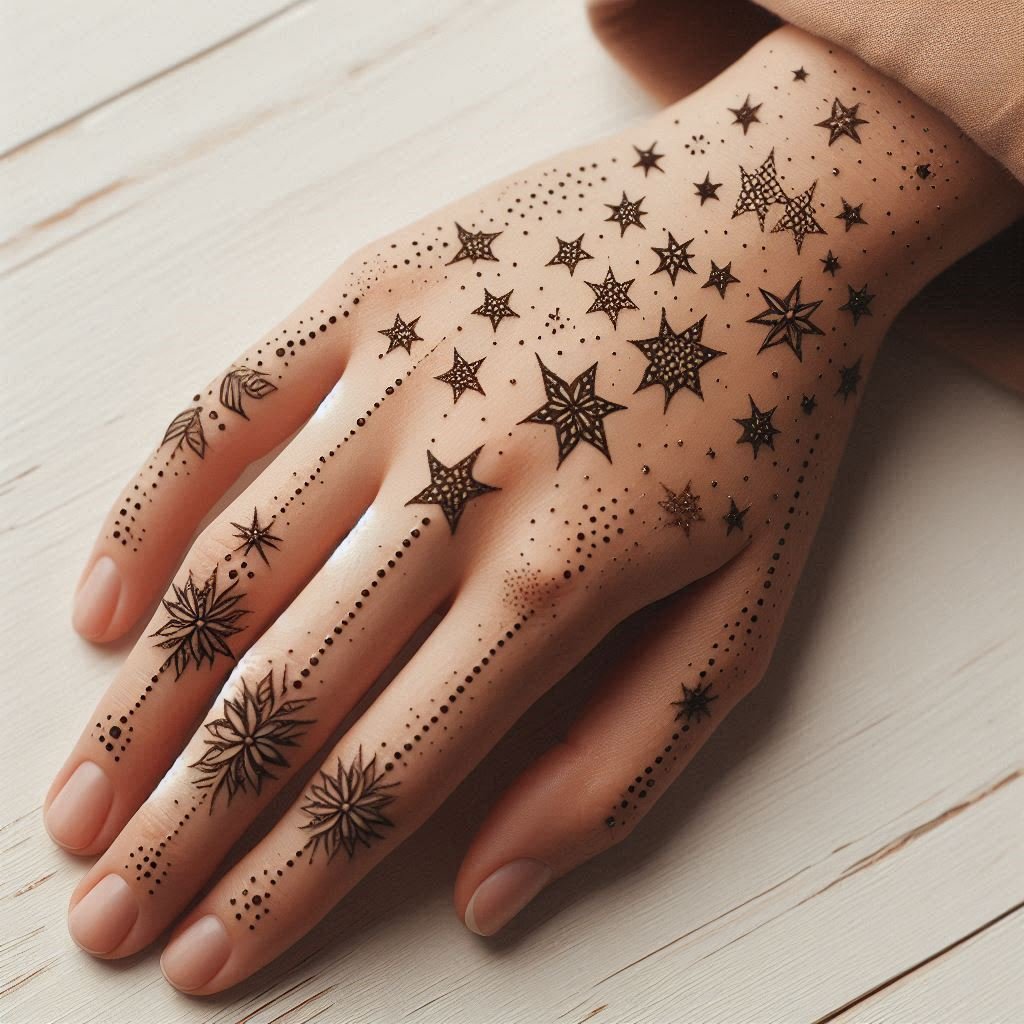
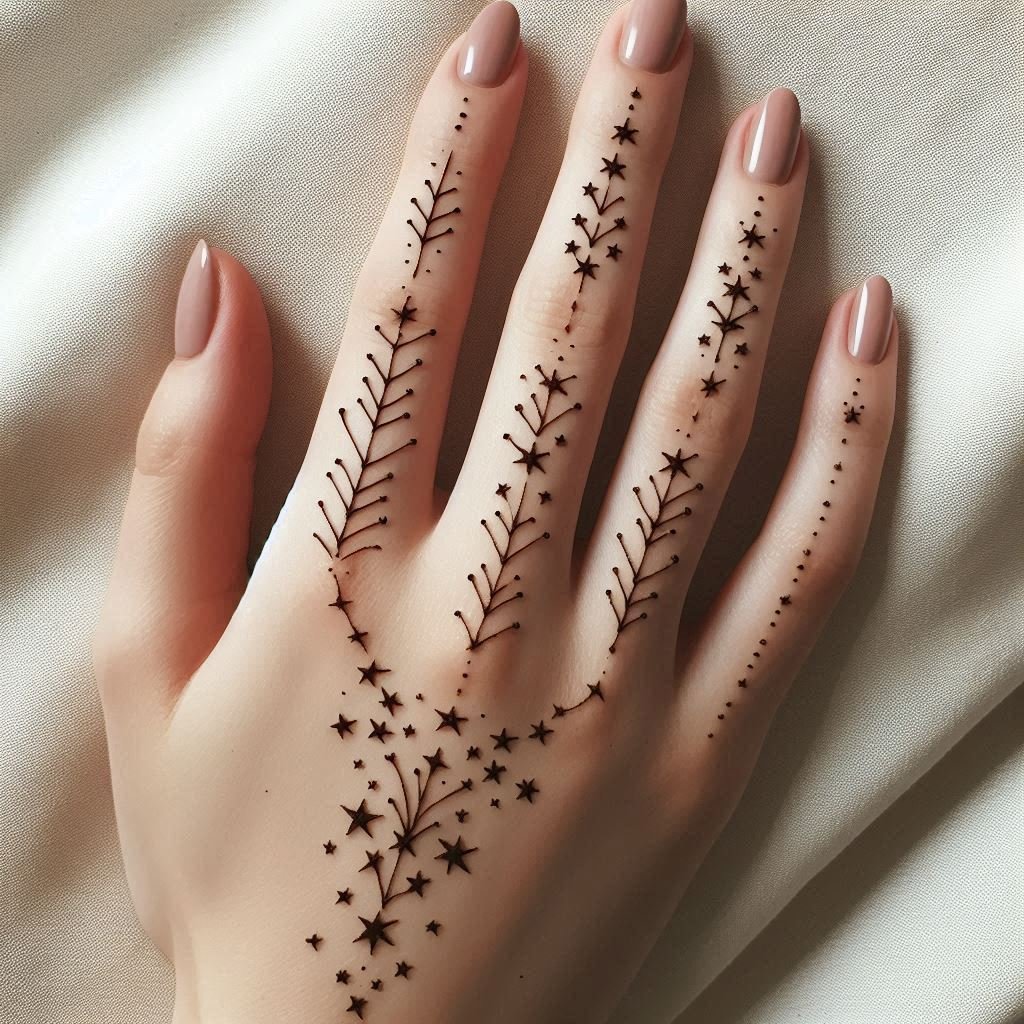
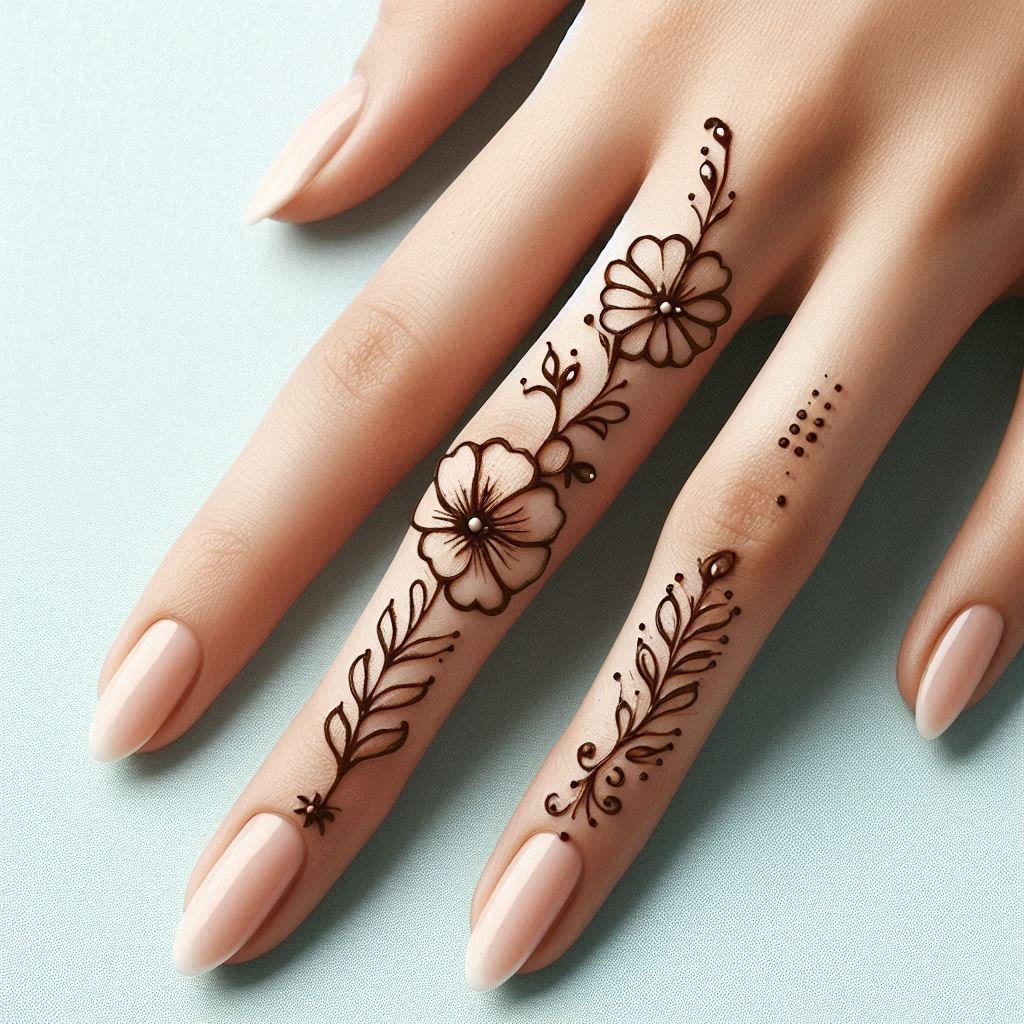
In this comprehensive guide, we will explore the world of easy mehndi design, providing you with inspiration, step-by-step instructions, and answers to some of the most frequently asked questions about this timeless art form. Whether you’re a beginner or an experienced artist, you’ll find valuable tips and techniques to help you create beautiful henna patterns with ease.
Table of Contents
What is an Easy Mehndi Design?
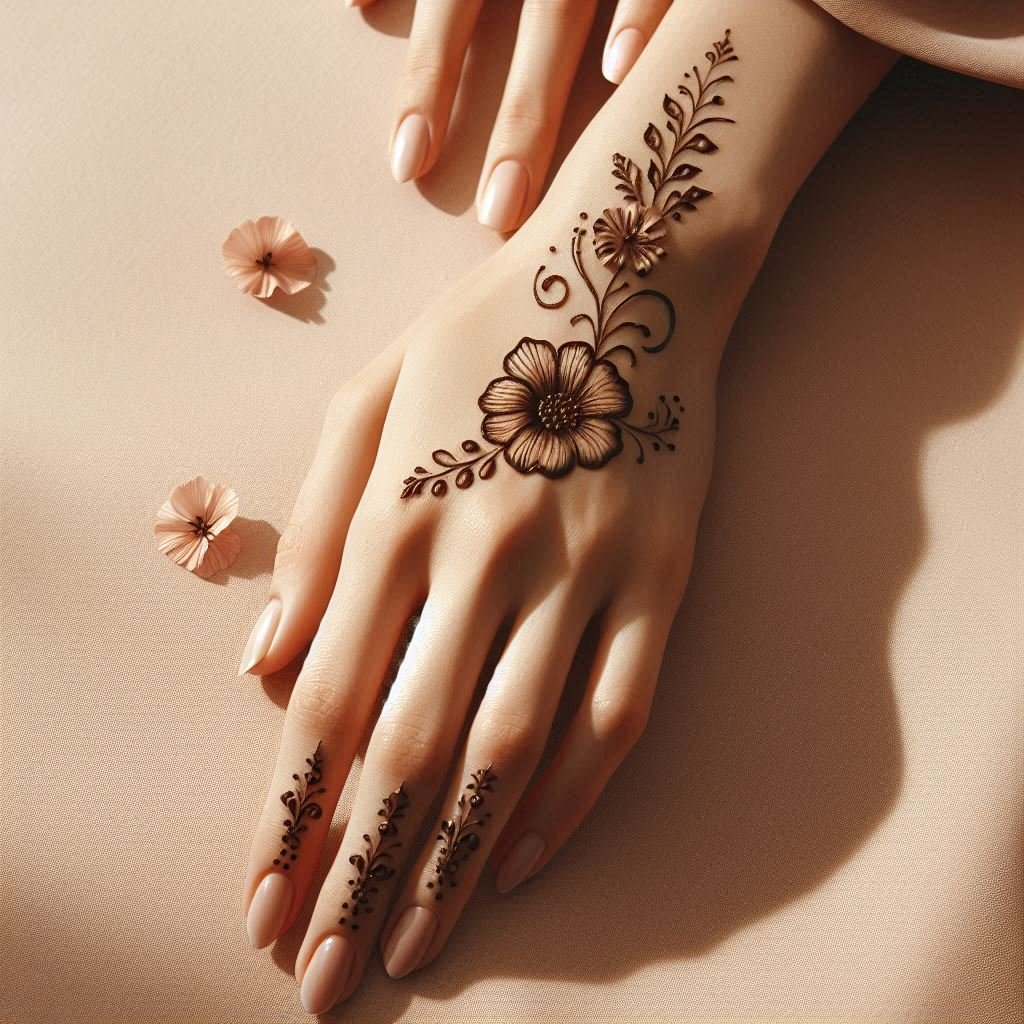
An easy mehndi design typically consists of simple patterns that are less intricate and quicker to apply than traditional designs. These designs often feature basic shapes such as flowers, leaves, dots, and lines, making them ideal for beginners or those who want a more minimalistic look. Despite their simplicity, easy mehndi designs can still be incredibly beautiful and elegant, making them perfect for any occasion, from casual outings to festive celebrations.
Why Choose an Easy Mehndi Design?
There are several reasons why someone might choose an easy mehndi design:
- Time-Saving: Easy mehndi designs are quick to apply, making them ideal for those who don’t have hours to spend on a more complex design.
- Beginner-Friendly: These designs are perfect for beginners who are just starting to learn the art of mehndi. The simple patterns are easier to replicate and require less skill to master.
- Versatility: Easy mehndi designs are versatile and can be worn for various occasions, from everyday wear to special events. Their simplicity makes them a great choice for any outfit or occasion.
- Less Messy: With fewer intricate details, there is less chance of smudging or making mistakes, making the application process cleaner and more straightforward.
Types of Easy Mehndi Designs
There are several types of easy mehndi design options that you can try, each offering a unique style and flair:
- Floral Designs: Floral patterns are a classic choice for mehndi designs. Simple flower motifs can be placed on the palm, back of the hand, or fingers to create a delicate and feminine look.
- Geometric Patterns: Geometric shapes such as circles, squares, and triangles are easy to create and can be arranged in various ways to form a unique design. These patterns are perfect for those who prefer a more modern and minimalist look.
- Paisley Motifs: Paisleys are a traditional element in mehndi designs that can be simplified for a more contemporary style. A single paisley on the hand or wrist can create a striking yet simple design.
- Dot and Line Patterns: Using dots and lines is a great way to create a simple yet elegant mehndi design. This style is perfect for those who prefer a minimalistic approach and can be easily customized to suit your preferences.
- Finger Accents: Focus on decorating just the fingers with small patterns such as dots, lines, or tiny flowers. This minimalist approach draws attention to the fingers and creates a stylish, understated look.
How to Create an Easy Mehndi Design: Step-by-Step Guide
Creating an easy mehndi design is a fun and creative process. Here’s a step-by-step guide to help you get started:
Step 1: Gather Your Materials
Before you start, make sure you have all the necessary materials:
- Henna cone or applicator
- Tissue or cloth for wiping excess henna
- Lemon juice and sugar mixture (for sealing the henna)
- Cotton swabs for applying the lemon-sugar mixture
- A design reference (if needed)
Step 2: Prepare Your Hand
Wash your hands thoroughly to remove any oils or dirt that could prevent the henna from adhering properly. It’s also a good idea to exfoliate your skin to create a smooth surface for the henna.
Step 3: Choose Your Design
Decide on the easy mehndi design you want to create. You can choose from one of the popular styles mentioned earlier or create your own unique pattern. If you’re new to mehndi, it’s a good idea to start with a simpler design and gradually work your way up to more intricate patterns.
Step 4: Start with Basic Shapes
Begin by drawing the basic shapes of your design. For example, if you’re doing a floral pattern, start with the main flower in the center of your palm. If you’re doing a geometric design, begin with the primary shape (such as a circle or triangle) and build from there.
Step 5: Add Details Gradually
Once you have the basic outline, start adding details to your design. This could include small leaves around a flower, additional lines within a geometric shape, or dots and accents to fill in empty spaces. Remember to keep it simple; the goal is to create a clean, elegant design without overcrowding the hand.
Step 6: Utilize Negative Space
Negative space is an important element in easy mehndi designs. It helps to create a balanced composition and draws attention to the patterns. Be mindful of the areas you leave blank, as this will enhance the overall appearance of your design.
Step 7: Apply the Lemon-Sugar Mixture
Once you are satisfied with your design, allow the henna to dry for about 10-15 minutes. Then, apply a lemon-sugar mixture over the design using a cotton swab. This helps to seal the henna and ensures a darker stain.
Step 8: Let the Henna Dry Completely
Allow the henna to dry completely on your hand, ideally for 4-6 hours or overnight for a richer color. Avoid moving your hand too much during this time to prevent smudging.
Step 9: Remove the Henna
Once the henna is dry, gently scrape it off using a tissue or the back of a spoon. Do not wash your hands with water immediately after removing the henna, as this can affect the stain. Instead, apply a light oil (such as coconut or olive oil) to moisturize the skin and enhance the color.
Step 10: Enjoy Your Beautiful Design
Now, you have a beautiful easy mehndi design that is perfect for any occasion! The stain will darken over the next 24-48 hours, revealing its full beauty.
FAQs About Easy Mehndi Design
1. What is the best way to make my easy mehndi design last longer?
To make your easy mehndi design last longer, follow these tips:
- Apply a lemon-sugar mixture to the design after it dries to help seal the henna.
- Avoid washing your hands with soap for the first 24 hours after application.
- Keep your skin moisturized by applying oil or balm regularly.
- Avoid excessive water exposure, such as swimming or long baths, as this can fade the henna.
2. Can I create an easy mehndi design on my own, or do I need a professional artist?
Absolutely! You can create an easy mehndi design on your own, especially with practice and patience. Start with simple patterns and gradually work your way up to more intricate designs. There are plenty of online tutorials and design references that can help you learn and improve your skills.
3. How do I choose the right henna cone for an easy mehndi design?
When choosing a henna cone for an easy mehndi design, look for one that has a fine tip for precise application. The consistency of the henna paste is also important; it should be smooth and easy to work with. Make sure to choose natural henna without any added chemicals for the best results and skin safety.
4. How long does an easy mehndi design take to apply?
The time it takes to apply an easy mehndi design depends on the complexity of the pattern. Generally, a simple design can take anywhere from 15 to 30 minutes to apply, while more detailed designs may take longer. If you’re new to mehndi, take your time and practice to improve your speed and technique.
5. Can I customize my easy mehndi design?
Yes, one of the great things about easy mehndi design is that it is highly customizable. You can modify patterns to include elements that have personal significance, such as initials, symbols, or motifs that you love. Feel free to experiment and create a design that reflects your unique style and personality.
6. How do I remove an easy mehndi design if I don’t like it?
If you’re not happy with your easy mehndi design, you can try a few methods to lighten or remove the stain. Rubbing your hands with lemon juice or a mixture of baking soda and water can help to lighten the color. Additionally, exfoliating your skin with a scrub can speed up the fading process. However, henna is a natural dye, so it may take a few days for the color to fade completely.
7. What are some common mistakes to avoid when applying an easy mehndi design?
Some common mistakes to avoid when applying an easy mehndi design include:
- Applying too much pressure on the henna cone, which can cause the paste to smear.
- Not allowing the henna to dry completely before moving your hand, leading to smudges.
- Overcrowding the design with too many details, which can
